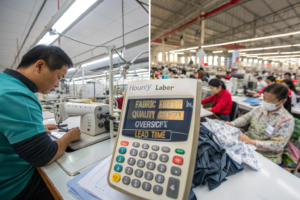
Let me be straight with you: if you're inspecting knitted fabric after it arrives at your cutting room, you've already lost. The battle against defects isn't won at the inspection table; it's won in the knitting mill, the dyeing vat, and the finishing range. I've seen too many brands accept "a little bit of barre" or "some minor skew" as "normal," only to have their garment reject rates skyrocket and their brand reputation for quality evaporate. In knits, a small flaw in the fabric doesn't just stay small—it gets magnified when cut and stretched over a body. Your QC guide shouldn't just be a checklist of what to look for; it should be a preventative playbook you share with your supplier before production starts.
So, how do you truly avoid common defects? You shift from detection to prevention by understanding the root cause at each stage of production. This means moving beyond just AQL sampling and engaging in Technical QC: specifying the right yarn, approving the knitting parameters, auditing the dyeing process, and defining acceptable tolerances for distortions. It's about making your quality standards a collaborative part of the production plan, not a post-mortem. The brands that do this don't just get fewer defects; they get predictable yields, smoother production, and a supplier that respects them as a knowledgeable partner.
The cost of ignoring this is brutal. A 2% defect rate on a 10,000-meter order means 200 meters of waste. But the real cost is in delayed shipments, frantic re-cutting, and lost customer trust. This guide will walk you through the major defect categories, their technical causes, and—most importantly—the specific questions to ask and actions to take during production to stop them from ever happening.
What Are the Most Critical Knitting Defects and How to Prevent Them?
Knitting defects are baked in the moment the yarn loops together. If it's wrong here, no amount of dyeing or finishing can fix it. You need to catch these at the greige (un-dyed) fabric stage. The "Big Three" knitting defects are Barre, Drop Stitches, and Needle Lines.
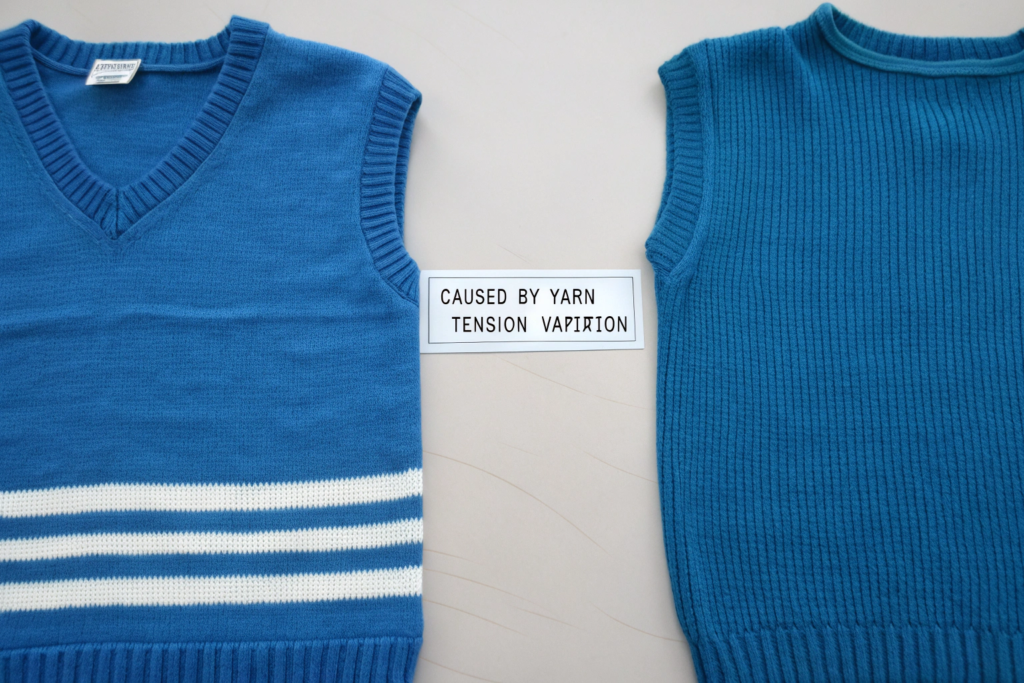
Barre is the king of headaches. It appears as unintentional horizontal stripes or streaks in the fabric, often only visible after dyeing. It’s not a color problem; it’s a physical yarn variation problem. The root cause is usually one of three things: 1) Yarn tension variation between different feeds on the knitting machine, 2) Yarn lot mixing (using cones from different dye lots or even slightly different twist levels), or 3) Machine wear (worn sinkers or damaged needles creating inconsistent loop formation).
Prevention is 100% possible. Here's your action plan:
- Yarn Specification & Management: In your tech pack, mandate single dye-lot yarn for the entire order. Require the mill to perform a Uster Tester report for the yarn, checking for evenness (CV%), thin/thick places, and neps. Approve this report before knitting starts.
- Machine Setup Audit: Before bulk knitting, the mill should run a "strip test." They knit a ~50-meter strip with all feeds, then dye it in a light shade (like pastel grey or blue). This magnifies any barre. You must approve this strip. If barre appears, they must adjust machine tension, clean/replace parts, and re-test.
- On-Machine Monitoring: Modern knitting machines have real-time monitoring for yarn breaks and tension. Ask for proof that these systems were active and calibrated during your run.
How Do You Stop Drop Stitches and Needle Lines Before They Happen?
- Drop Stitches appear as small holes or vertical runs in the fabric. Cause: A needle fails to catch the yarn, often due to incorrect yarn feeding tension, a dirty or bent needle, or improper stitch cam setting.
- Needle Lines are continuous vertical lines. Cause: A damaged or misaligned needle creates a distorted loop in every course, forming a line.
Preventive Controls:
- Pre-Production Machine Maintenance Log: Require the mill to provide a log showing the machine was cleaned, needles and sinkers were inspected/replaced, and stitch cams were set according to the fabric specification before your order was loaded.
- Start-Up Piece Inspection: The first 5-10 meters off the machine should be inspected on a light table by the mill's QC. They should provide you with a photo/video of this inspection. Any drop stitches mean immediate machine adjustment.
- Yarn Path & Tension: The yarn's journey from cone to needle must be smooth. Ask about their yarn pre-tensioners and tension disks—are they clean and uniformly set? A reputable mill will have a standard setup sheet for each fabric type.
In 2023, a UK loungewear brand had a 5% rejection rate due to drop stitches in a fine-gauge cotton jersey. We traced it to static electricity causing yarn to jump off the feeder in their mill's dry environment. The solution wasn't more inspection; it was installing ionizing air jets at the yarn feed points and using a yarn wax with anti-static properties. The defect rate dropped to 0.2%. This is the power of root-cause prevention.
What Fabric Parameters Must You Lock Down in the Tech Pack?
Your tech pack is your first line of defense. For knits, it must go beyond "100% Cotton Jersey." You need numerical, measurable targets:
- Weight (GSM): Specify a range (e.g., 180 GSM +/- 5%).
- Width (After Relaxation): Specify the finished, relaxed width, not the on-machine width.
- Stitch Length (CPC - Courses per Centimeter): This is the single most important knitting parameter controlling weight, drape, and shrinkage. Demand the mill report the CPC they will use and get a sample made to that spec for approval.
- Shrinkage Allowance: Agree on maximum shrinkage (e.g., 5% lengthwise, 3% widthwise after one home wash). This requires the mill to properly relax and finish the fabric.
Without these specs, you're giving the mill a blank check to produce variable fabric, and defects like excessive shrinkage or inconsistent weight become your problem. For a comprehensive look at setting up quality controls in knitting, industry publications are a solid resource.
How Do Dyeing and Finishing Processes Create (or Solve) Defects?
The dye house is where hidden knitting issues are revealed and new ones can be created. The three major post-knit defect categories are Color Issues, Distortion (Skew/Bow), and Hand-Feel Problems.
Color Defects: This includes side-to-side shading (listing), center-to-selvage shading, and dye streaks. The primary causes are improper dye migration, uneven heating in the dyeing machine (jet or overflow), or using different yarn types without proper pre-treatment.
Preventive Action:
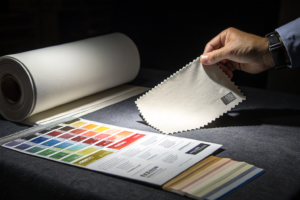
- Lab Dip Approval with Physical Swatch: Never approve a lab dip from a digital image. You must feel and see the physical swatch under multiple light sources (D65, TL84, UV). Check for uniformity.
- Dyeing Machine Audit: For critical solid colors, ask if they will use a "one-bath" process (entire batch in one machine) to avoid lot-to-lot variation. Inquire about their liquor ratio and circulation system—modern, low-liquor-ratio machines give more even results.
- Fabric Preparation is Key: The fabric must be perfectly scoured and bleached to have uniform absorbency. Any residual oil or wax from knitting will cause a dye resist spot.

How to Control Skew, Bow, and Spirality in Knitted Fabrics?
These distortion defects make pattern pieces impossible to align, wasting fabric and causing garment twisting.
- Skew/Bow: A "bowing" arc or diagonal distortion of the weft courses. Caused by uneven tension across the fabric width during dyeing, finishing, or calendering.
- Spirality: A severe twist in the fabric tube, causing side seams to spiral on a garment. Primarily caused by high-twist yarns (like single jersey) relaxing unbalanced after wet processing.
Prevention Strategy:
- Yarn Selection: For single jersey, specify low-twist or balanced twist yarn to minimize spirality tendency.
- Controlled Finishing: The finishing (drying, stentering) machine must have automatic bow/skew correction devices (like pin or clip stenter with edge guides). Your tech pack must specify maximum allowable skew/bow (e.g., 3% of fabric width).
- Relaxation: The fabric must be allowed to relax fully after knitting (in a relaxation tumbler) and again after dyeing, before it is opened and stenter-framed. Ask about their relaxation process.
We had a US brand in 2024 nearly cancel a 20,000kg order of cotton single jersey due to spirality. The root cause was the yarn spinner had changed their ring spinning tension, increasing the twist liveliness. The fix wasn't in finishing; it was in specifying a steam autoclave relaxation process for the yarn cones before knitting. This pre-relaxed the twist. The fabric met the spirality tolerance, and the order was saved. This level of troubleshooting requires a supplier with deep vertical knowledge.
Why Does Hand-Feel Vary and How Do You Standardize It?
A fabric that is too stiff, too loose, or inconsistently soft between lots kills a brand's premium feel. Hand-feel is controlled by softeners and mechanical finishing.
- Chemical Softeners: Silicon-based softeners give a silky feel, cationic softeners give a fluffy feel. The type, amount, and application method (pad vs. exhaust) must be standardized and documented.
- Mechanical Action: Brushing, sanding (emerizing), or peach finishing alter the surface. The machine settings (roller speed, pressure) must be locked down.
Your QC Must Include a Hand-Feel Standard: Alongside your color swatch, create a "Hand-Feel Standard" physical swatch that has been approved for softness and drape. Send this to the mill and your inspection team. Use simple descriptive scales: "Target: Soft and Drapable. Not acceptable: Stiff or Greasy." For objective backup, some labs use PhabrOmeter testing, but the human hand is still the ultimate judge for apparel.
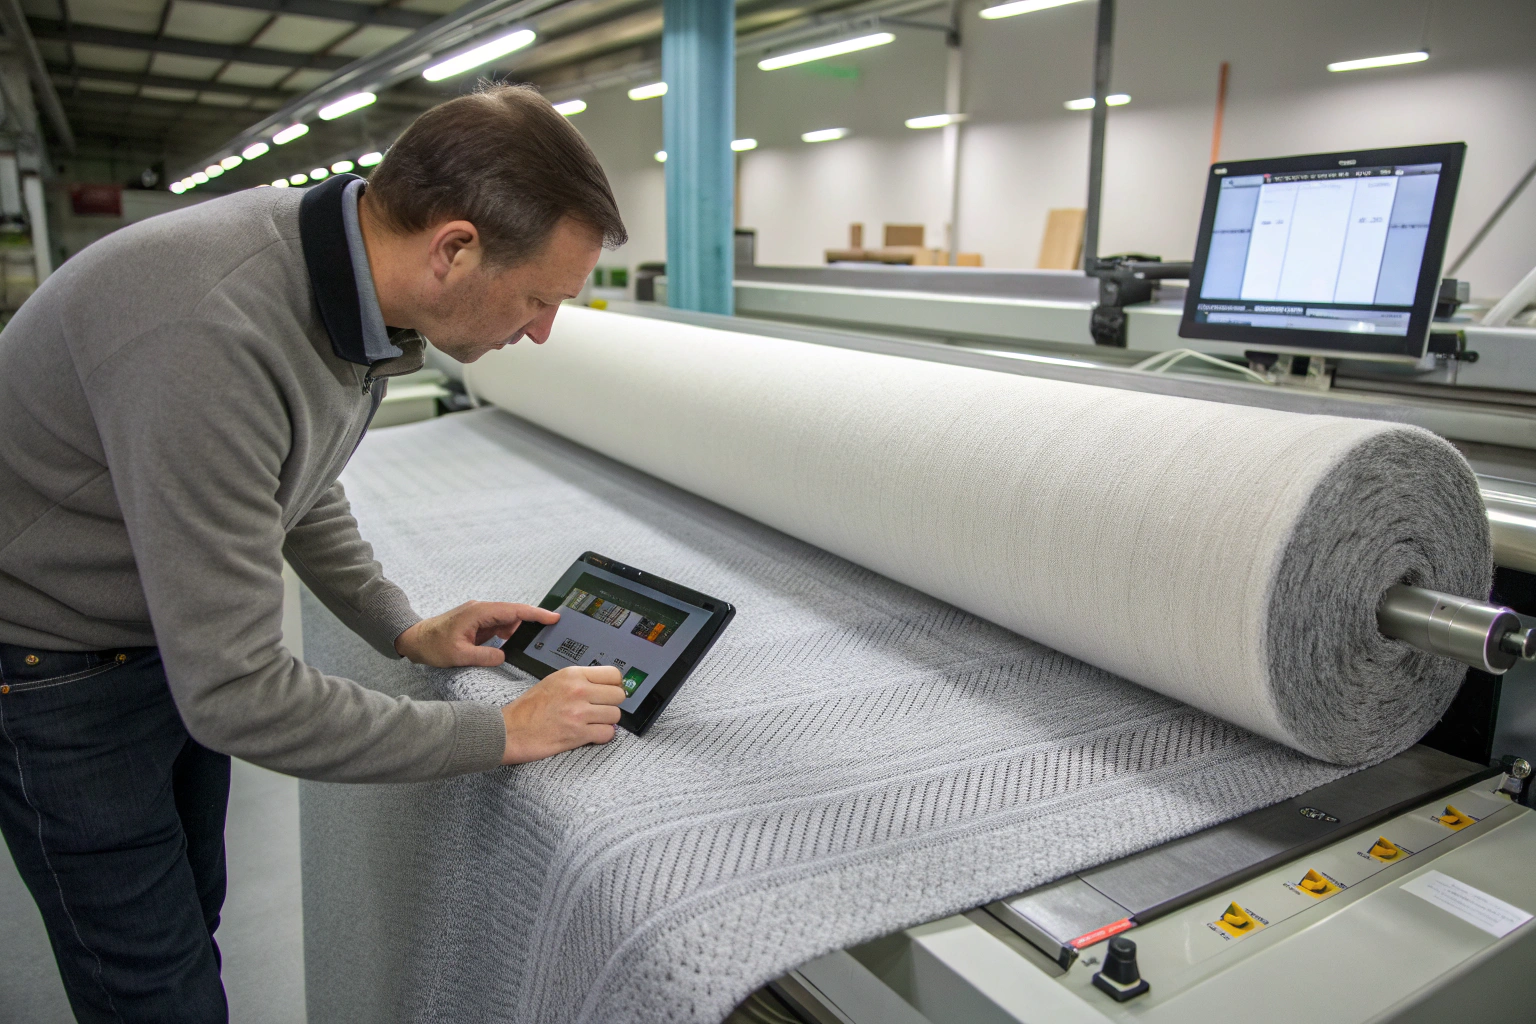
What Does an Effective In-Line and Final QC Protocol Look Like?
Your supplier should have their own robust QC at three stages: Greige Fabric, After Dyeing, and After Finishing. Your role is to audit their process and conduct your own Pre-Shipment Inspection (PSI).
The 4-Point Inspection System (ASTM D5430) is the global standard for knits. It assigns penalty points based on defect size:
- 3 inches or less: 1 point
- Over 3 inches, up to 6 inches: 2 points
- Over 6 inches, up to 9 inches: 3 points
- Over 9 inches: 4 points
A "hole" (any opening) is automatically 4 points.
Your PSI Protocol:
- Sampling: Inspect at least 10% of the rolls, randomly selected from across all production lots.
- Environment: Must be done on a backlit inspection table with the fabric running at a consistent, slow speed. The inspector should view both sides.
- Grading: Calculate total penalty points per 100 square yards (or square meters). The common acceptance level for apparel is ≤ 15 points per 100 sq. yd. (Grade "Second").
- Major vs. Minor Defects: Define "Major" defects (holes, stains, continuous barre > 1m) that cause automatic roll rejection regardless of point score.
Crucially, your inspector must know what is process-related versus occasional. A single oil spot is an occasional defect. Repeating barre every 50cm is a systemic process defect, and the entire batch may need to be rejected or downgraded, regardless of the points on the sampled rolls.

How Do You Use AQL for Knitted Fabric and When Is It Not Enough?
AQL (Acceptable Quality Level) is a statistical sampling tool for final acceptance. For fabric, AQL 2.5 or 4.0 is common. However, AQL is designed for random defects, not systematic defects.
The Fatal Flaw: If a fabric has a widespread, repeating defect like barre that affects 30% of the production, an AQL sample might, by chance, pick rolls that look okay. You'd pass the shipment, then discover the disaster in your cutting room. Therefore, AQL must be supplemented by:
- Bulk Lot Evaluation: Visually check several rolls from the beginning, middle, and end of production before they are packed.
- Test for Systemic Defects: Specifically look for barre, skew, and color consistency across multiple rolls laid side-by-side under the same light.
- Trust Your Process Audits: If you've approved the yarn report, the knitting strip test, and the dyeing process, your reliance on final AQL diminishes. Your confidence is built upstream.
A good resource to understand the limits and application of AQL in textiles is the American Society for Quality's overview on sampling.
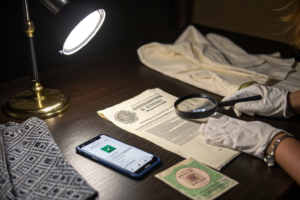
What Key Tests Should Be in Your Fabric Quality Dossier?
Beyond visual inspection, demand a test report from an accredited lab for each bulk lot. Essential tests for knits include:
- Composition Verification: Ensure it's 100% what you paid for.
- Colorfastness: To washing (AATCC 61), rubbing (crocking) (AATCC 8), and light (AATCC 16).
- Dimensional Stability (Shrinkage): AATCC 135 (home wash) or ISO 5077.
- Pilling Resistance: Martindale (ASTM D4970) or Random Tumble Pilling (ASTM D3512).
- Fabric Weight (GSM): ASTM D3776.
- Skew/Bow Measurement: AATCC 179.
At Shanghai Fumao, we provide this as a digital Fabric Passport QR code with each roll. Scanning it gives the buyer instant access to the full test report, batch details, and even process photos. This level of transparency builds trust and streamills your QC.
How to Build a Defect Prevention Partnership with Your Mill?
The ultimate way to avoid defects is to choose a supplier with integrated control and treat them as a partner in quality.
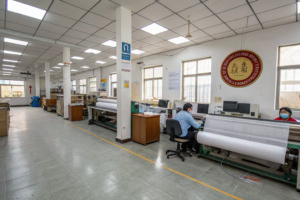
- Conduct a Technical Capability Audit: Before placing an order, visit or take a virtual tour. Ask to see their knitting machine maintenance logs, their lab, their dye house controls, and their inspection process. Do they have a Uster Tester? A backlit inspection table? A standardized shade matching light box?
- Share Your Defect History: Show them photos of past problems you've had (with other suppliers or with them). Say, "We cannot accept this. What will you do in your process to prevent it?"
- Implement Joint Pre-Production Reviews: For each new fabric, hold a meeting with their production, technical, and QC managers to review your tech pack and agree on control points.
- Agree on Communication Protocols: How will they notify you of a problem during production? A good partner will stop and inform you immediately, not try to hide it.
A partner like Shanghai Fumao operates this way. Our vertical control from yarn sourcing to finishing allows us to lock in parameters at every step. We see our clients' quality standards as an integral part of our production blueprint, not an external inspection hurdle.
Conclusion
Avoiding common defects in knitted fabrics is a proactive engineering challenge, not a reactive inspection chore. By understanding the root causes at the yarn, knitting, dyeing, and finishing stages, and by building those preventative checkpoints into your sourcing protocol and supplier partnership, you transform quality from a cost center into a reliable competitive advantage. The goal is to receive fabric that is right the first time, every time, enabling your cutting and sewing to flow smoothly and your final product to meet the highest standards.
This requires investment in specification, communication, and partnership, but the return—in saved time, saved material, preserved margins, and protected brand equity—is immense.
If you are tired of playing defect whack-a-mole and want to build a predictable, high-quality knit fabric supply chain, let's talk. At Shanghai Fumao, our integrated manufacturing and CNAS-accredited lab are built for defect prevention. We can help you implement this technical QC approach. Contact our Business Director, Elaine, to discuss a partnership focused on flawless execution. Reach her at: elaine@fumaoclothing.com.