I want you to picture something for me. You just received a 5,000-yard shipment of custom printed fabric. It is for your best-selling summer dress. You cut the first layer, sew the side seams, and then you see it. The horizontal stripe that was supposed to hit at the hip bone is now curving up toward the belly button like a smile. Or worse, the plaid that was straight on the left side of the dress is now running downhill on the right side. Your heart sinks. Your production manager is yelling. Your launch date is in three weeks. And you now own 5,000 yards of expensive, unusable rags. That feeling? That is the cost of skewing and bowing in printed textiles. It is a silent killer of margins.
At Shanghai Fumao, we see this nightmare play out in other mills’ shipments every single week. The buyer trusted the factory. The factory trusted the finisher. Nobody checked the fabric straightness before the knife hit the cloth. The dirty secret of the textile printing industry is that most bowing and skewing happens in the final 48 hours of finishing, and by then, the fabric is already on the cutting table at the garment factory. That is why the number one question I get from technical designers on LinkedIn is not "What is the latest print trend?" It is, "How do you actually control distortion in large-scale digital printing? "
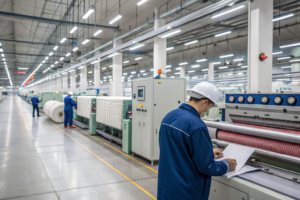
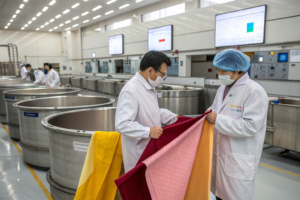
The answer is not one magic machine. It is a system. It is a mindset. We have been printing fabric in Keqiao for over two decades. We run two dedicated printing factories with a combined capacity of over 200,000 meters per day. We have seen every type of distortion imaginable. And we have built a multi-stage defense against it. In this article, I am going to walk you through exactly how we prevent your geometric print from turning into a funhouse mirror. I will tell you about the straightening machines we use, the tension control secrets we swear by, and the AQL inspection protocols that catch the 2% of fabric that slips through even the best machines. This is not just marketing fluff. This is the operating manual for how we keep our clients coming back.
If you have ever been burned by a crooked print, or if you are about to place a PO for a high-end plaid shirting, keep reading. I am about to give you the checklist you need to vet any supplier.
Why Does Fabric Distortion (Skewing) Happen During Roll-to-Roll Printing?
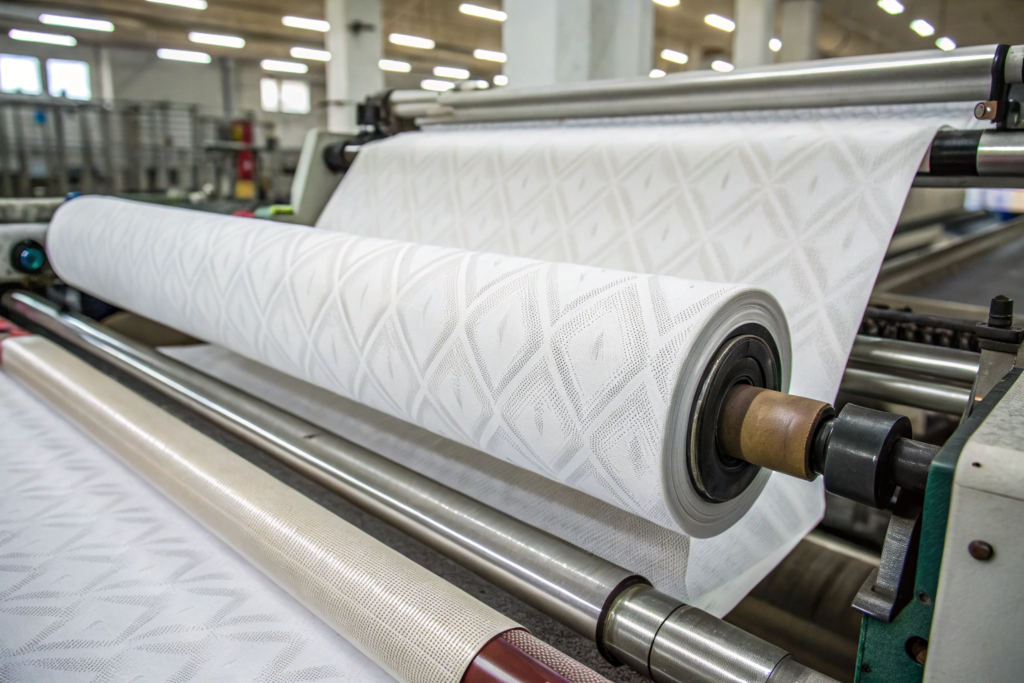
Let me be honest with you. Fabric is not a piece of paper. It is a living, breathing thing. It moves. It breathes. It stretches. And when you run it through a rotary screen printing machine at 40 meters per minute, the forces acting on that fabric are brutal. The most common call I get from a frustrated customer is: "The print was straight when you shipped it, but now my cutting table says it is bowed!" What happened? The fabric relaxed during shipping. The tension we used to wind it on the roll hid the internal stress in the yarn structure.
The root cause of skewing (where the weft yarn runs diagonally) and bowing (where the weft yarn curves like a smile or a frown) is almost always uneven tension in the finishing process. Think about a woven fabric. It is made of warp yarns (the ones that run the length of the roll) and weft yarns (the ones that run across the width). During knitting or weaving, and especially during scouring and heat-setting, one side of the fabric might get pulled tighter than the other. If you print a perfect grid on top of a twisted internal structure, that grid is going to look crooked once the fabric finally settles into its natural, relaxed state. It is like drawing a straight line on a stretched rubber band; when you let go, the line curves.
I had a client—a high-end men’s shirting brand from Italy—who came to us in January 2025 with a nightmare. They had run a batch of fine cotton poplin with a micro-geometric print. The previous mill delivered it with a bow of nearly 4 inches across the width. That meant the tiny squares printed on the fabric were not square at all. They were trapezoids. The shirts were unsewable. The mill blamed the greige fabric. The greige mill blamed the spinner. Everyone pointed fingers. But the real culprit? Poor stenter frame setup.
What Is the Difference Between Skew (Bias) and Bow Distortion in Wovens?
This is where you need to know the vocabulary of the mill floor. If you email me and say "my print is crooked," I have to ask follow-up questions. But if you email me and say, "I have 4% bow in the center of the roll," I know exactly what we are dealing with. Let me break it down simply:
Skew (or Bias Distortion): This is a diagonal shift. Imagine a ladder. The rungs are the weft yarns. Skew means all the rungs are tilting in the same direction. The left side of the fabric is ahead of the right side. This usually happens because the fabric was pulled through a scouring bath with more tension on the left selvedge than the right. Or because the roll was wound up crooked. We measure skew as a percentage of the fabric width. For a high-quality print, we want skew under 2%. That is our internal standard at Shanghai Fumao.
Bow (or Curved Distortion): This is when the weft yarn makes an arc. It could be a "Smile Bow" (curving down toward the selvedges) or a "Frown Bow" (curving up in the middle). Bow almost always comes from the heat-setting process. When you dry a wide fabric in a stenter frame, the edges dry faster than the middle. The center of the fabric stays wet and heavy, sagging behind the edges. That sag gets locked in place when the fabric hits the hot zone. If you print a horizontal stripe on a bowed fabric, you are printing a stripe that matches the bow. But when you cut that fabric into garment panels and let it relax on the cutting table for 24 hours, that internal stress releases. The stripe tries to become straight again, which makes your printed line look wavy.
Here is a quick reference table for what we see on the inspection table:
| Distortion Type | Visual Appearance | Primary Cause |
|---|---|---|
| Skew | Weft line is straight but at an angle (e.g., 10 degrees off 90). | Uneven tension during winding or padding. |
| Smile Bow | Weft line curves downward at edges; center is lower. | Edges dried faster than center in stenter. |
| Frown Bow | Weft line curves upward at edges; center is higher. | Over-correction of a Smile Bow; center over-dried. |
| S-Curve | Weft line wavy like a snake. | Uneven nip roller pressure across width. |
Can Uneven Tension in Digital Textile Printing Be Truly Eliminated?
Here is the hard truth: You can never eliminate tension. You can only manage it. Fabric has to be under some tension to move through a machine. The key is to make that tension consistent across the entire width of the fabric, and to relax it before the fabric hits the cutting table. A lot of mills skip that last part. They stretch the fabric tight to pass inspection, roll it up tight, and ship it. That is cheating.
In our printing facility, we have a rule: "Zero tension at the print head." Whether we are running a rotary screen for a 10,000-meter run of floral viscose or a digital printer for a 200-meter sample of custom logo silk, the fabric must enter the print zone with as little drag as possible. We use a compensator roller right before the belt. This is a dancer arm that absorbs the jerks and pulls from the upstream unwinder. It smooths out the motion.
I remember a specific job in March 2025 for a US client. They were printing a high-stretch polyester spandex knit—the kind of fabric that loves to curl and skew. They had been rejected by two other printers because of distortion. Our secret? We use a belt adhesion system. We glue the fabric flat to a continuous conveyor belt with a water-soluble adhesive. The belt carries the fabric through the print heads. The fabric cannot move. It cannot skew. It cannot bow. It is physically held in a neutral, relaxed geometry while the ink fires. After printing, we wash the glue off and dry the fabric without pulling it lengthwise. We dry it on a relaxed belt dryer. The result? Less than 1% distortion on a 60-inch wide spandex knit. That is world-class. (Here is where I have to brag a bit—we have two of these belt printers, and they are booked solid for a reason.)
If you are sourcing printed knits, you must ask your supplier: "Do you use a belt printer with adhesive or a pinch-roller system?" Pinch rollers will distort stretch fabric. It is physics. You cannot beat it. You have to bypass it with a sticky belt.
How Does Stenter Frame Calibration Prevent Bow in Wide-Width Fabric?
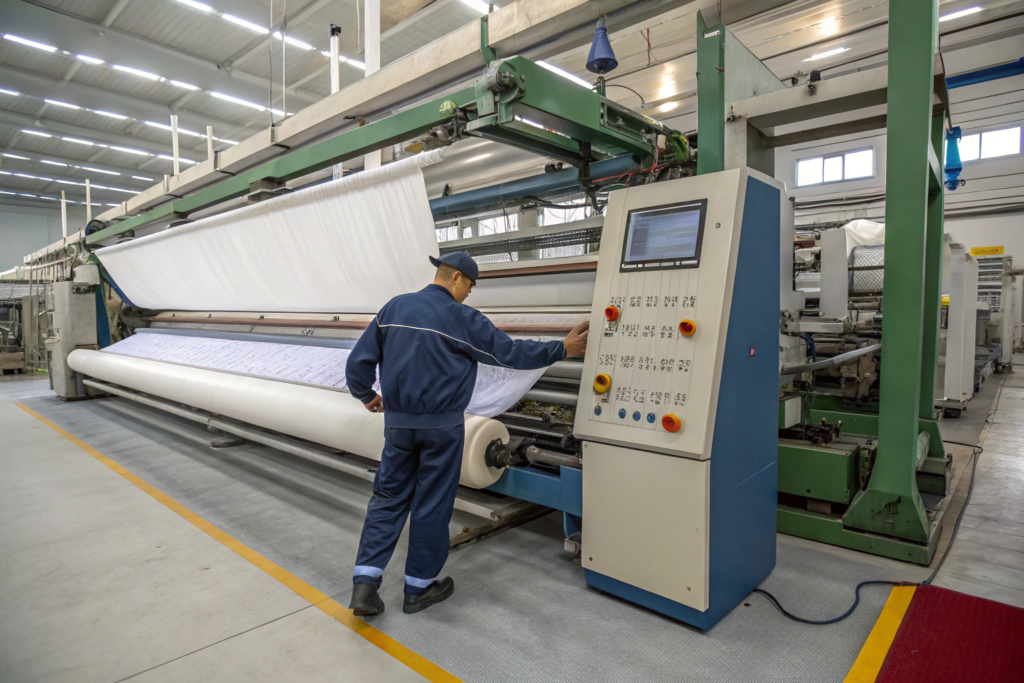
Alright, let’s talk about the most important machine in the finishing department: The Stenter Frame. If the printing machine is the artist, the stenter is the canvas stretcher. If you get the canvas crooked, the painting will be crooked forever. The stenter is a massive oven, sometimes 100 feet long. The fabric enters wet, gets held by pins or clips on the edges (the selvedge), and is stretched sideways while hot air blasts it dry. This is where fabric width is set and bow is corrected.
The secret to preventing bow is not just having a stenter. Every mill in Keqiao has a stenter. The secret is in the calibration of the Mahlo or Weftrol straightening device mounted at the entry of the stenter. This device uses a series of photoelectric sensors or a camera system that looks through the fabric to see the actual position of the weft yarns. It is looking for the "bow and skew angle" in real-time. If it sees a 5% smile bow, it automatically adjusts the speed of the left and right chains to "overfeed" the edges relative to the center. This pushes the smile back up into a straight line.
I had a client from the UK in October 2024 who was pulling his hair out over a wide-width linen print (118 inches wide). Linen has very low elasticity. It does not like to be bent. The wider the fabric, the harder it is to keep the center from sagging. He had bow of 6 inches in the middle of the print. That is a disaster for a wide-width curtain panel. We ran his job on our BRUCKNER stenter with a Mahlo RFMC-16 weft straightener. The difference? The Mahlo uses real-time digital signal processing instead of older analog photodiodes. It can "see" the weft yarn even in dense, dark prints where older sensors go blind. We set the overfeed curve to +3% at the edges and +1.5% at the quarter points. This pushed that sagging center forward until it was perfectly aligned with the edges.
Why Is "Overfeed" the Critical Setting for Perfect Print Geometry?
This is a term you need to add to your sourcing vocabulary: Overfeed. It is a number, usually a percentage. If you see a tech pack that says "Stenter Overfeed: 5%", it means the chain at the edge of the fabric is moving 5% faster than the main drive roller. The fabric is being deliberately bunched up slightly in the machine direction.
Why do we do this? Because when you dry fabric under tension lengthwise, you "pull" the crimp out of the yarn. The fabric becomes longer and narrower than it was designed to be. Then, later, when it gets wet again or steamed in a garment factory, it shrinks in length and grows in width. That is a recipe for print distortion. Overfeed counteracts this. By overfeeding the fabric into the heat zone, we allow the warp yarns to "crimp" back up. We are stabilizing the dimensional stability of the fabric.
Here is a real example of how this affects printing. Let’s say you print a perfect circle on a fabric that was underfed (stretched tight during drying). When that garment is washed, the fabric will shrink in length. That circle will become a squat oval (squashed top and bottom). But if we overfeed correctly, the fabric retains its natural shrinkage potential in the length direction. The circle stays a circle.
At Shanghai Fumao, our standard overfeed for a printed cotton voile is between 4% and 6%. For a viscose challis, which shrinks like crazy, we might go as high as 8% or 10% to get the residual shrinkage under 3%. This is not guesswork. Our operator has a chart next to the stenter control panel with specific overfeed settings for every single base cloth we run. We log the fabric weight (GSM) and width before and after the stenter for every single roll. That is how we guarantee consistency from roll #1 to roll #100.
What Role Does Moisture Content Play in Heat-Setting Distortion?
Moisture is the invisible enemy. You cannot see it, but it is the number one cause of bow variation across the width. Think about it: The edges of the fabric enter the stenter and hit 180-degree Celsius air immediately. The moisture flashes off. The fabric is dry in 2 seconds. The center of the fabric, however, is thicker and farther from the hot air nozzles. It takes 4 or 5 seconds to dry. During those extra 2-3 seconds, the center of the fabric is still heavy with water. It sags. Gravity pulls it down. That sag becomes a permanent Smile Bow because the polymer chains in the fiber (especially in polyester) are thermoset in that sagged position.
You cannot fix this by just cranking up the heat. That burns the edges. The solution is uniform moisture application before the stenter. In our coating and printing prep line, we have a WEKO rotor damping system. This machine sprays a micro-fine mist of water across the entire width of the fabric right before it enters the weft straightener. This equalizes the moisture. The edges are just as damp as the center. Now, when the fabric hits the hot zone, the entire width dries at the same rate. The center does not have a chance to sag.
I learned this lesson the hard way about 15 years ago. We were running a heavy polyester twill for outdoor furniture. Beautiful print. But the middle of every roll had a 2-inch Frown Bow. We checked the stenter. Fine. We checked the print screen. Fine. Finally, an old German technician who was visiting pointed at the floor. "The humidity in your coating room is 35%. The edges are air-drying before they even touch the stenter." He was right. The dry edges were expanding in the heat while the damp center was shrinking. We installed a humidifier in the room and a damping system on the line. The bow disappeared overnight. That is the level of detail you need to control wide-width fabric finishing. It is not just about the machine; it is about the environment around the machine.
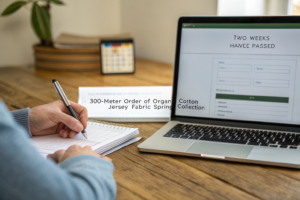
Why Does 48-Hour Relaxation Stop Post-Shipping Print Issues?
Let me tell you about a conversation I have at least once a month. A customer receives a roll of printed satin. They cut it open the minute it arrives at their New Jersey warehouse. They lay it on the table. The print looks slightly bowed. They panic. They call me. I say, "Unroll it, hang it over a bar, and call me in two days." They call back 48 hours later. "It is straight now. How did you know?" It is not magic. It is fabric memory.
Textiles have what we call "compressive shrinkage" and "elastic recovery." When we wind a roll of fabric on a cardboard tube, we put it under tension. We have to, or the roll is loose and sloppy and impossible to ship. That winding tension can temporarily hide a 1% bow or stretch out a slight skew. It is like rolling up a sleeping bag tight. When you unroll it, it takes a while to fluff up. If you cut that sleeping bag in half while it is still compressed, the edges will not match the shape of the bag when it is open. The same is true for textile printing alignment. You need to let the fabric "breathe" before you put a knife to it.
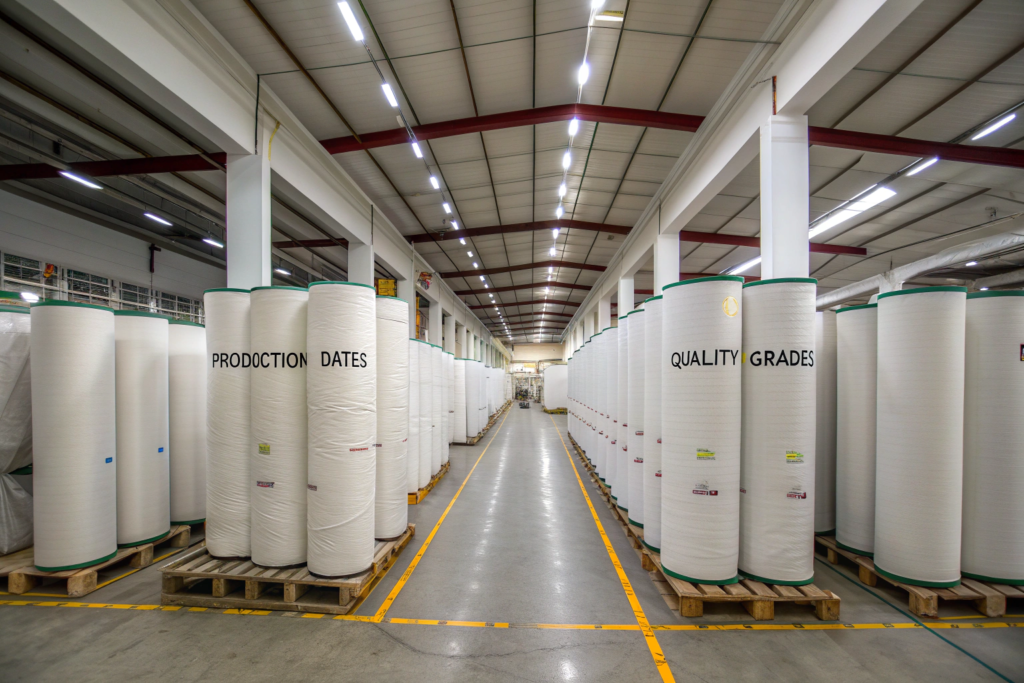
Our standard operating procedure at Shanghai Fumao is this: Every roll of printed fabric rests for a minimum of 24 hours, ideally 48, after final inspection before we pack it. This is a huge commitment of floor space. We have a 5,000-square-meter warehouse just for "WIP (Work in Progress) Relaxation" . The fabric sits there, off tension, usually draped over large A-frame racks or standing vertically on pallets. This allows the internal yarn stresses to equalize. The moisture content balances out with the ambient humidity. The fabric finds its "true" shape.
How Does ASTM D3882 Testing Catch Hidden Bow Before Cutting?
We do not just trust the relaxation process. We verify it. This is where laboratory testing separates the professionals from the amateurs. The industry standard for measuring bow and skew is ASTM D3882 (Standard Test Method for Bow and Skew in Woven and Knitted Fabrics). It is a simple test, but 90% of factories in the market do not actually do it.
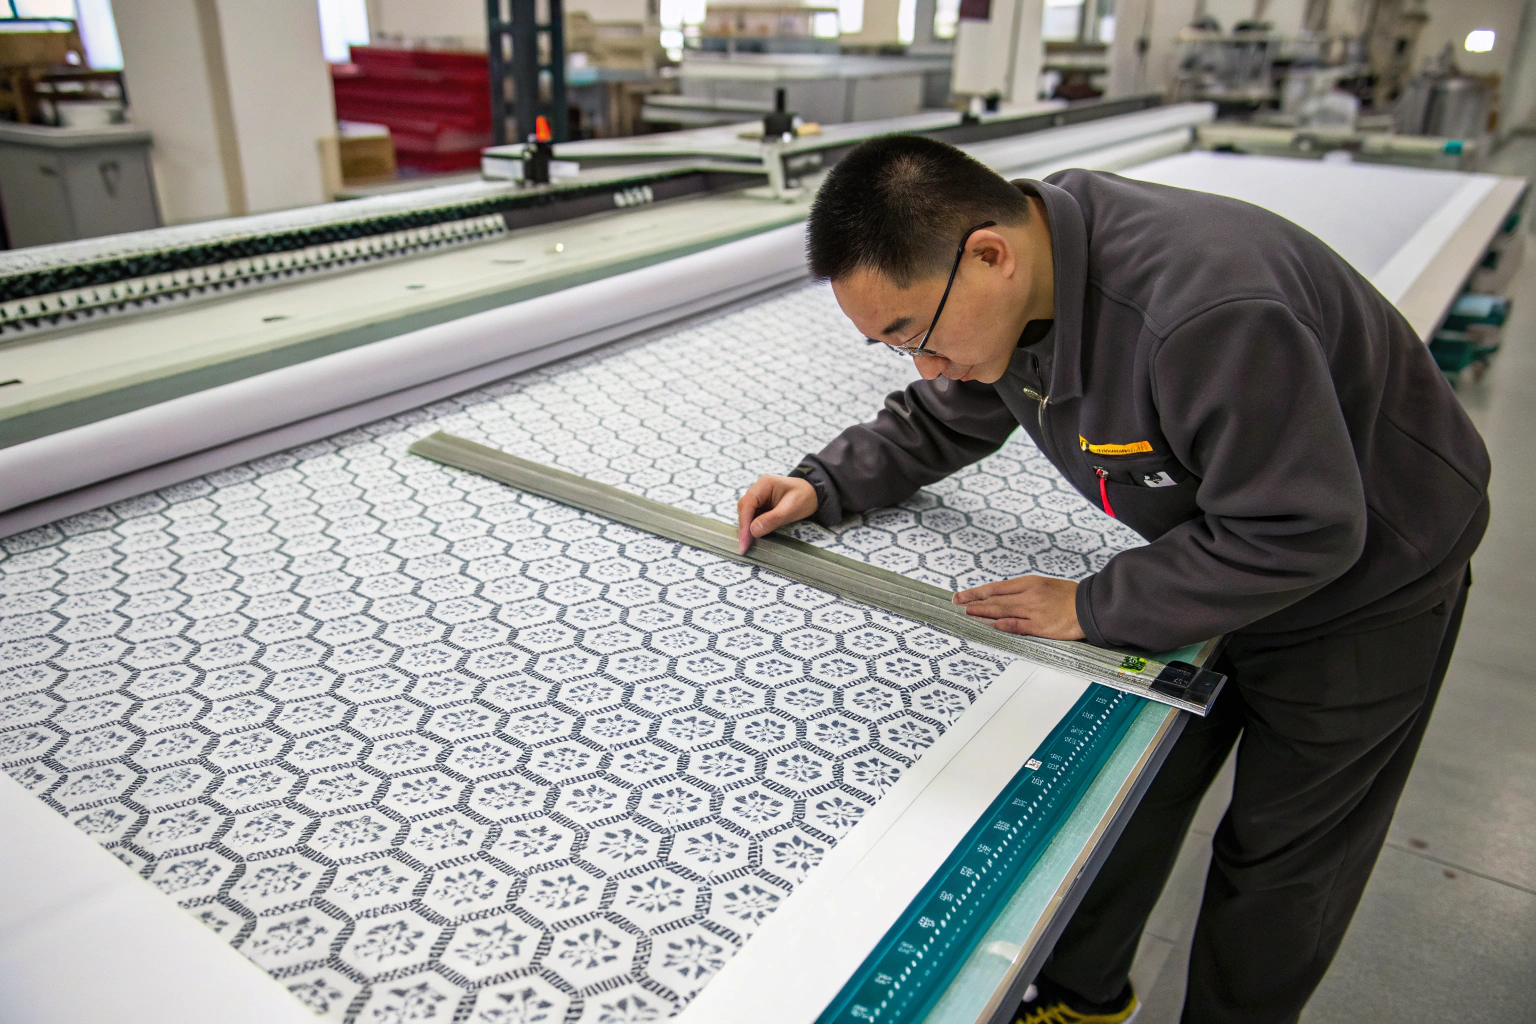
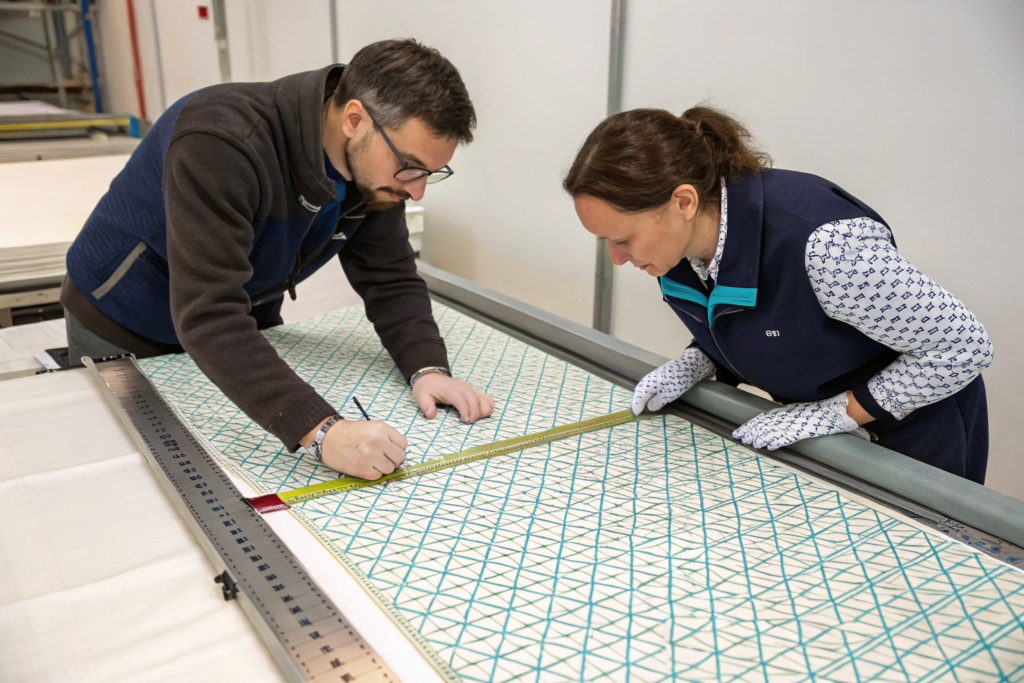
Here is how we do it at Shanghai Fumao. We take a full-width swatch from the end of the roll (because that is where the winding tension is highest and distortion is worst). We lay it on a large, flat, back-lit inspection table. We draw a line exactly perpendicular to the selvedge. Then we follow the visual line of the print or a pulled weft thread. Using a calibrated ruler, we measure the maximum distance between the drawn straight line and the actual curved/angled line. That distance, divided by the fabric width, times 100, gives us the percentage of bow/skew.
Most garment brands will allow a maximum of 3% bow for a solid color or random print. But for a plaid or stripe? The tolerance drops to 1.5% or even 1% . Why? Because the human eye is incredibly sensitive to crooked lines on a plaid shirt. A 2% bow on a plaid might look like the shirt is twisted on the body. We print a lot of yarn-dyed look stripes using digital printing. For those orders, we test every single roll to ASTM D3882. We do not ship a roll that is over 1.5%. Period.
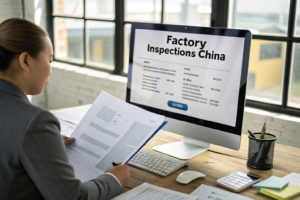
If you are a buyer and you want to vet your Asian textile supplier’s straightness claims, ask them this: "Can you send me a photo of the ASTM D3882 test result for this lot number?" If they pause or say "What is that?"—run. They are not checking for bow. They are hoping you will not notice.
Does Roll Diameter and Storage Position Affect Fabric Memory?
Yes. Absolutely. And this is something almost nobody talks about until they have a problem. Roll diameter and storage position are critical to preserving print straightness. Think about the physics. A tight roll on a small 2-inch core means the inner layers of fabric are under immense compressive force. The outer layers are under tension. If you store that roll horizontally, stacked under ten other rolls, gravity is squashing the bottom of the roll. This creates a flat spot. That flat spot is permanent fabric deformation.
We learned this the expensive way about eight years ago. We shipped a container of velvet to a customer in Los Angeles. Velvet is a pile fabric; it crushes easily. The rolls were stored flat on a warehouse shelf for six weeks while the customer waited to cut. When they unrolled them, there was a distinct "flat bar" mark across the width every few feet where the roll had sat on the shelf. The pile was crushed, and the backing fabric had taken a set. The print was straight, but the fabric was ruined.
Now, our rule is simple:
- Core Size: We use minimum 3-inch ID cores for all export shipments. For delicate fabrics like silk charmeuse or cupro, we use 4-inch cores. This increases the radius of curvature and reduces internal stress on the inner layers.
- Storage Position: All printed rolls are stored vertically (standing up) or on A-frame racks. Never flat. Never stacked horizontally. This ensures the weight of the roll is supported along the entire selvedge, not concentrated on one pressure point. We put this in big bold letters on our packing slip: "STORE ROLLS VERTICAL. DO NOT STACK."
(Here is a tip from the mill floor: If you receive a roll and it has a flat spot or a memory crease, try hanging it in a steamy bathroom for an hour. The moisture and gentle heat can sometimes relax the fibers back to flat. It does not always work, but it is worth a shot before you reject the whole roll.)
Which AQL Inspection Methods Guarantee On-Grain Cutting for Apparel?
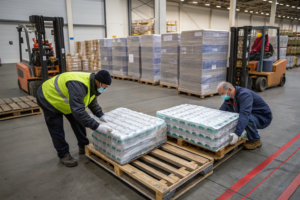
Let’s get down to the final layer of defense: The Human Eye. I love our machines. I trust our stenter settings. But I do not trust anything 100% until a trained inspector looks at it under the right light. The AQL (Acceptable Quality Level) inspection is where we catch the 2% of fabric that slipped through the mechanical cracks. And for printed textiles, the inspection for bow and skew is a completely different animal than inspecting for holes or stains.
The standard for checking straightness is 4-Point System or 10-Point System, but those are mostly for counting defects per 100 yards. Bow and skew are critical defects. That means if it is out of tolerance, the entire roll is rejected. You do not get to just cut out the bad part. Why? Because if you cut 50 layers of fabric on a cutting table, and the bottom layer is bowed 3% more than the top layer, every single piece in that stack is compromised. You cannot fix a bowed print with sewing.
Our inspection process for geometric prints is what I call the "Triple Check."
- In-Line Camera: Our digital printers have a camera system that checks the repeat registration every few meters. This catches print head misfires.
- Post-Relaxation Weft Straightener: Before the final inspection, the fabric goes through a tubular or open-width weft straightening machine. This is a final "tune-up" to correct any minor skew introduced during winding.
- Backlit Table Inspection: This is the gold standard. The fabric is pulled over a fiberglass table with fluorescent lights underneath. This backlighting makes the weft yarns and the print grid glow. The inspector uses a clear, straight-edge ruler etched with a grid.
How Does Fumao Use Backlit Inspection Tables for Geometric Print Verification?
The backlit table is where the truth comes out. You cannot hide a crooked line from a bright light and a ruler. In our fabric inspection factory in Keqiao, we have 12 of these tables running 10 hours a day. For any order that includes a plaid, check, stripe, or border print, we flag the order as "Table Inspect 100%."
Here is the specific method we use:
The inspector pulls the fabric across the table and stops at the start of the repeat. She lays the clear grid ruler down so that the ruler line aligns perfectly with the selvedge edge. Then, she looks at the printed line on the fabric. Is the printed line parallel to the ruler line? If it deviates by more than the allowed tolerance (say, 0.75 inches on a 60-inch wide fabric for a 1.25% skew), she stops the machine.
She then pulls a weft thread (a single crosswise yarn) from the edge of the fabric. This is the ultimate test. A pulled weft thread shows the true structural alignment of the yarn, regardless of the print. If the printed line matches the pulled weft thread, then the problem is in the weaving prep, and the print is actually on-grain. If the printed line is crooked but the pulled weft is straight, the problem is in the printing machine tension. Both are defects, but they require different corrective actions in the mill.
We recently had an order in February 2026 for 8,000 yards of cotton shirting with a micro check. The client was a new startup doing custom men’s shirts. Their cutting room in Texas was small, and they did not have automated laser cutters. They cut by hand. That means they need the grain to be dead perfect. We ran a 100% backlit inspection on this order. Out of 160 rolls, we flagged 3 rolls for excessive skew (2.8%) . Those rolls did not ship. We reprinted replacements. Yes, it cost us a few hundred dollars in fabric and ink. But it saved the client from making 50 unsellable $120 shirts. That is why they reorder with us. That is the Shanghai Fumao difference.
What Is the "Sawtooth" Selvedge Method for Checking Weft Alignment?
This is an old-school trick. It is not high-tech, but it is the fastest way to spot a skew problem before you even unroll the whole bolt. I taught this to a buyer from a major French fashion house last year, and he thought it was genius.
You know the selvedge—the finished edge of the fabric that does not unravel? On a woven fabric, look closely at it. You will see a slight sawtooth or wavy edge where the weft yarn loops back into the body of the fabric. If the fabric is perfectly on-grain, that sawtooth edge will be consistent and perpendicular to the length of the roll.
But if the fabric is skewed, one edge of the selvedge will look tight and straight while the opposite edge looks loopy and wavy. That is because the weft yarn is being pulled at an angle. It is putting stress on one side of the fabric structure.
Here is the method: Lay the roll on the floor. Cut a small slit in the fabric about 12 inches from the end, perpendicular to the selvedge. Grab the corner and tear the fabric across the width. If the fabric is woven from natural fibers like cotton or linen, it will tear along the weft grain. Lay that torn edge on the table. If the torn edge is parallel to the cut end of the fabric, the fabric is on-grain. If the torn edge angles off sharply, you have skew. This is a destructive test, so you only do it on the end of a roll you are about to sample or cut. But it gives you an instant, undeniable read on the internal yarn alignment. We use this method at the greige stage to check the loom-state fabric before we ever send it to the dye house. If the greige is skewed, you cannot fix it in finishing. You have to reject the roll.
Conclusion
We covered a lot of ground today, from the tension rollers of a digital printer to the hot air of a stenter frame to the bright lights of an inspection table. The thread that ties it all together is this: Avoiding skewing and bowing in printed textiles is not about one magic fix. It is about a culture of precision.
It starts with understanding that fabric is a flexible, living material that remembers every stress it has been under. It continues with mechanical weft straightening and precise stenter calibration to lock that straightness in place with heat. And it ends with 48 hours of patient relaxation and a backlit inspection that does not lie. If you skip any one of these steps—if you rush the drying, if you skip the relaxation, if you only inspect 10% of the rolls—you are rolling the dice. And with geometric prints and high-end plaids, the house always wins. The house being gravity, tension, and moisture.
At Shanghai Fumao, we have been dealing with this invisible battle for over 20 years. We have the machines, yes. But more importantly, we have the memory of every mistake we have ever made. We know that a 3% bow on a cotton twill might be fine for a pair of work pants, but that same 3% bow on a printed silk charmeuse is a disaster. We tailor our process to the fabric. We do not just sell you yardage. We sell you print-ready, cut-ready stability.
If you are tired of dealing with suppliers who ship fabric that looks like it was printed on a roller coaster, let’s talk. We can handle everything from greige weaving to digital printing to coating and finishing. And we do it with the QC rigor required for the world’s best brands. If you have a specific project in mind—especially one with stripes or checks that is giving you nightmares—reach out to our Business Director, Elaine. She can walk you through our process and make sure your next order arrives flat, straight, and ready to cut. Email her directly at elaine@fumaoclothing.com. Let’s make sure your next collection comes out of the box looking sharp, not crooked.