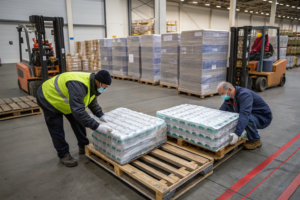
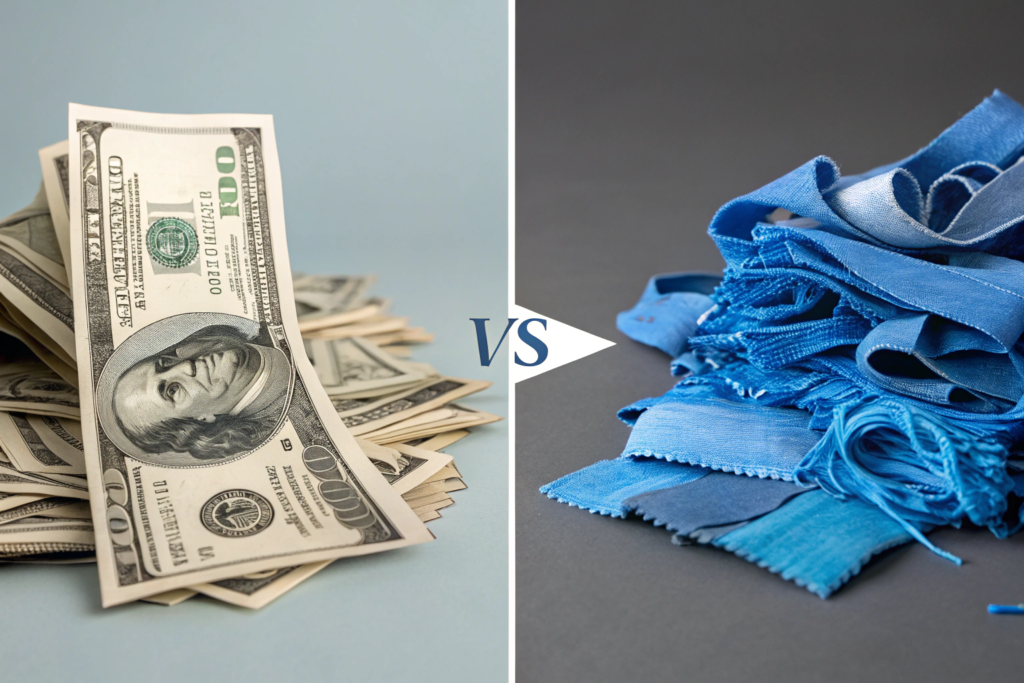
You’ve just received a container of beautiful 60-inch wide cotton twill. The quality is spot on. The color is perfect. You breathe a sigh of relief. Then your cutting room manager calls. His voice is tense. "Boss, this fabric is all over the place. Some rolls are 58 inches. Some are 62. I can’t fit the markers. We’re wasting 15% more fabric than we planned." Your heart sinks. You did the math on 60 inches. That extra 15% waste just ate your entire profit margin for this production run. You’re not making money. You’re breaking even, or worse, losing it.
Fabric width variation is a Hidden Cost Multiplier that silently destroys cutting room efficiency and blows up your Cost of Goods Sold (COGS). It forces your cutting team to either Shift Markers Manually (wasting labor time) or Accept Massive End Loss (wasting fabric). Every inch of width below spec means you get Fewer Pattern Pieces across the lay. Every inch above spec often means you’re Paying for Fabric You Can’t Use because your markers are optimized for the nominal width. At Shanghai Fumao, we treat width consistency as a Non-Negotiable Quality Metric, right up there with color fastness and shrinkage. We know that a beautiful fabric delivered at 58 inches wide instead of 60 inches wide is essentially a 2-3% Price Increase disguised as a tolerance issue.
I’m going to break down exactly how width variation impacts your bottom line in the cutting room. This isn’t vague theory. It’s hard math with real dollar figures. I’ll show you how we control width to a tolerance of +/- 1% (that’s less than 3/4 of an inch on a 60-inch roll) using advanced stenter frame technology. I’ll explain the difference between "Cuttable Width" and "Selvedge-to-Selvedge Width." And I’ll reveal why a fabric that is too wide can be just as costly as one that is too narrow. If you’re tired of seeing your fabric yield drop and your cutting tickets come back over budget, you need to understand this.
What Is the True Cost of Inconsistent Fabric Width?
Let’s put some hard numbers on this. The industry standard tolerance for fabric width is often quoted as +/- 1 inch. For a 60-inch fabric, that means anywhere from 59 to 61 inches is "acceptable" per many commercial contracts. Sounds harmless, right? Wrong.
Let’s do the math for a medium-sized production run. You order 5,000 yards of 60-inch wide fabric for a jacket program.
- Scenario A (Perfect Width): You achieve 85% Marker Efficiency. You get your planned number of jackets.
- Scenario B (Avg. 59.5 inches wide): You lose 0.5 inches of cuttable width. That’s a 0.83% loss of usable area. On a 5,000 yard order, that’s equivalent to throwing away 41.5 yards of fabric into the scrap bin. At \$6.00/yard landed cost, that’s \$249 down the drain.
- Scenario C (Varies 58 to 62 inches): This is the killer. Your marker is built for 59.5 inches (the minimum width you have to assume to avoid cutting air). Every roll that comes in at 60, 61, or 62 inches? You Cannot Use the Extra Width. Why? Because the pattern pieces are nested for a specific width. You can’t just "squeeze in" an extra sleeve. The extra fabric becomes Selvedge Waste. In fact, a roll that is 62 inches wide has 5% more area than a 58-inch roll, but you can only cut the same number of pieces. You paid for 5% more fabric that went straight into the landfill (or rag bin).
The worst part? Width variation destroys Marker Efficiency planning. If your cutting room manager can’t trust the width, they have to build "Safe Markers" —markers that assume the worst-case minimum width. This intentionally lowers your planned efficiency from, say, 85% to 82% just to be safe. That 3% efficiency loss is a Permanent Tax on every single garment you cut from that supplier’s fabric. At Shanghai Fumao, our strict width control allows our clients to run High-Efficiency Markers (84-87%) with confidence. They don’t have to leave a "buffer" for bad fabric.
How Do You Calculate Marker Efficiency Loss from Narrow Width?
Let’s get into the weeds. This is the formula every production manager should have tattooed on their brain.
Marker Efficiency = (Area of Pattern Pieces / Total Area of Marker) x 100
Now, the Total Area of Marker is determined by two things: Marker Length and Usable Fabric Width. If the Usable Fabric Width shrinks, the Marker Length Must Increase to fit the same pieces. And a longer marker means you are spreading more yards of fabric to cut the same number of garments.
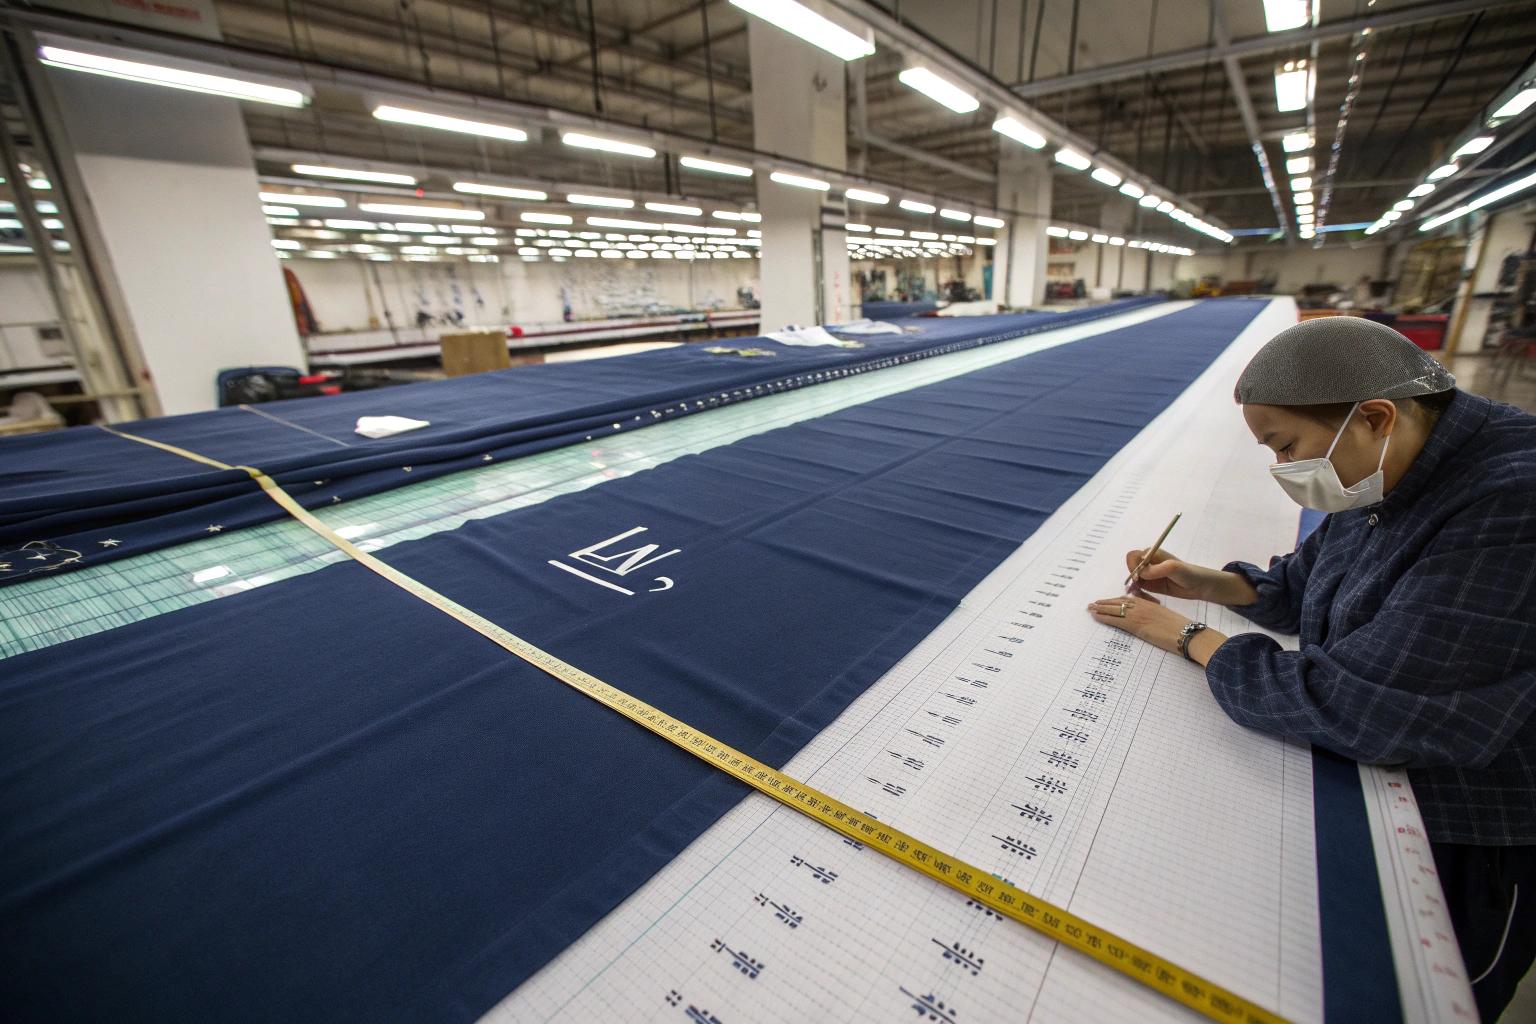
Let’s use a concrete example. You’re cutting a simple t-shirt front and back.
- Width: 60 inches (Usable: 58 inches after selvedge trim).
- Pieces: Fit nicely side-by-side. Marker Length: 10 yards.
Now the fabric comes in at 57 inches usable width (1 inch narrower). The pieces no longer fit side-by-side in the same orientation. The CAD software has to Shuffle the Pieces, rotating them or moving one up into the next "bite." The new Marker Length is 10.8 yards. You just increased fabric consumption by 8% for the exact same garment. On a 5,000 yard order, that’s an extra 400 yards of fabric you have to buy. If you didn’t budget for that, your margin is gone.
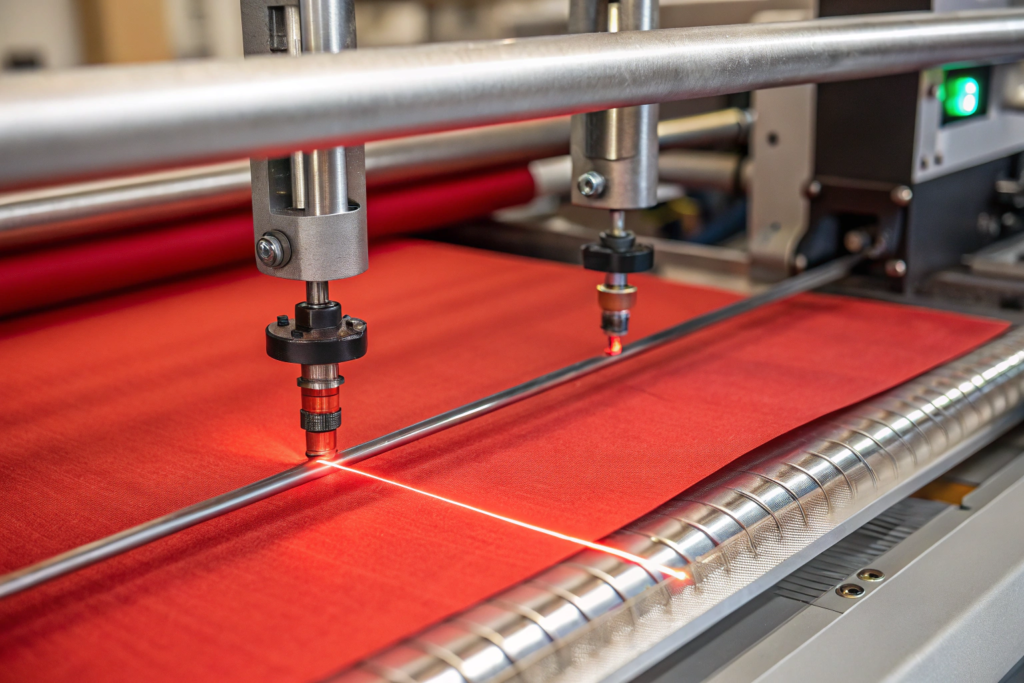
At Shanghai Fumao, we guarantee Cuttable Width within a 1.5% variance band. For a 60-inch roll, that’s 59 to 61 inches. We achieve this by controlling the Stenter Overfeed and Width Settings with laser precision. We don’t just eyeball it. The machine is connected to a Width Monitoring Camera that adjusts the stenter chains automatically 10 times per second. You can learn more about marker efficiency calculations from the technical resources on Gerber Technology’s blog.
Why Does Extra Wide Fabric Waste Money in Bulk Cutting?
This is the part that surprises new designers. "The fabric is 62 inches wide! That’s a bonus! I’m getting free fabric!" No. You’re getting Free Trash. In a modern cutting room with Automated Spreaders and Computerized Cutting, extra width is a Logistical Nightmare, not a gift.
Here’s why:
- Fixed Spreading Machines: Most spreading machines have a Fixed Width Setting. The operator sets the machine to spread exactly 60 inches. If the roll is 62 inches wide, the machine Folds or Crimps the extra 2 inches at the selvedge. This creates a Ridge or Crease in the lay. When the cutting knife hits that ridge, it Drags the Fabric. The cut pieces are distorted. They don’t sew together correctly. Or the operator has to manually trim that 2 inches off as waste before cutting (wasting labor).
- Marker Mismatch: As I said, the marker is a fixed rectangle. Extra width falls Outside the Marker Boundary. It is literally impossible to cut pattern pieces there. It gets chopped off by the End Cutter or left as selvedge waste.
- Spreading Tension: A wider fabric requires more tension to spread flat. This can Stretch the Fabric lengthwise during spreading. When the tension is released, the cut pieces Shrink and end up undersized.
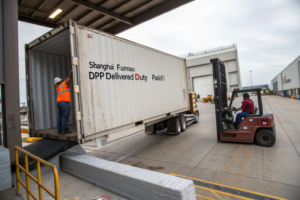
We had a client in March 2025 who received a shipment of "60-inch" canvas from another mill. It was consistently 63-64 inches wide. He thought he was getting a deal. In reality, his cutting room reported a 7% Increase in End-Bit Waste and a 4% Increase in Labor Hours due to manual trimming. He paid more in labor than he "saved" on the perceived extra fabric. At Shanghai Fumao, we aim for Width Consistency over Width Generosity. We’d rather give you 59.5 inches on every single roll than 58 inches on one and 63 on another. Consistency is the real value.
How Does Fumao Control Width During Finishing?
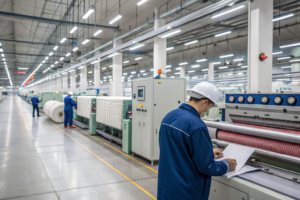
Width is not set in stone at the loom. It’s set at the Stenter Frame. The stenter is the giant oven with chains that grab the selvedges and stretch the fabric widthwise while drying it. This is where most mills screw up. They run the stenter too fast to save money, and the width bounces around like a yo-yo.
At Shanghai Fumao, our stenter protocol for width control is Obsessive. We use Mahlo RFMC-10 Pattern Straighteners and Width Monitors. These are German-engineered sensors that use Infrared Light to see the exact edge of the fabric. They feed data to the PLC (Programmable Logic Controller) . The PLC then adjusts the Chain Rail Width in real-time.
But the machine is only as good as the Operator. Our stenter operators don’t just stare at a screen. They walk the line. Every 15 minutes, they take a Hand-Held Width Gauge and physically measure the fabric as it exits the cooling drums. They log this on a Paper Chart (yes, paper—computers crash, paper doesn’t). They check the Left Selvedge, Center, and Right Selvedge tension. If the fabric is "smiling" (tight center, loose edges) or "frowning" (loose center, tight edges), they adjust the Overfeed and Chain Tension immediately. This is a craft. It takes years to learn how a specific cotton twill behaves differently from a polyester chiffon. Our head stenter operator, Mr. Chen, has been doing this for 22 years. He can tell if the width is off by 0.5% just by the sound of the chain pins engaging the fabric.
What Is the Difference Between Greige Width and Finished Width?
This is a critical concept that buyers often miss. Greige Width is the width of the fabric as it comes off the loom, before any wet processing. Finished Width is the width after dyeing, washing, and heat setting. They are Never the Same.
Fabric Shrinks in Width during wet processing. Cotton can shrink 10-15% in width when it hits that first hot water bath. Synthetics shrink less, but they still shrink. A good mill Plans for This. We weave the greige fabric Extra Wide so that after shrinking, it finishes at the target width. This is called "Picking Up the Pick." For example, if we want a 60-inch finished cotton twill, we might weave it at 68 inches greige. Then, in the stenter, we Stretch It Back Out to 60 inches while drying it. This stretching "sets" the width.
The problem with cheap mills is they Under-Weave the Greige Width. They weave at 63 inches to save yarn. Then they try to stretch it to 60 inches in the stenter. They can do it, but the fabric is Unstable. It’s under constant tension. The first time the customer washes the garment, that fabric will Relax and Shrink back toward 63 inches (in garment terms, it will shrink 5% in width). At Shanghai Fumao, we use a Minimum 1.5x Weave Allowance on greige width. We spend more on yarn to weave wider. This gives us the room to properly Relax and Set the fabric during finishing. The result? A fabric that stays 60 inches wide, even after you steam it in the cutting room or the customer washes it at home. You can find more technical details about this process in the textile finishing guides on Textile Learner.
How Often Do You Calibrate the Stenter Width Sensors?
Every Single Shift. And I mean it. We have a Standard Operating Procedure (SOP) that requires a Width Calibration Check at the start of every 8-hour shift, and after any change of fabric style.
The calibration is simple but critical. The operator places a Certified Metal Calibration Bar of a known width (e.g., exactly 1500mm) under the sensor array. The sensor reads the bar. If the reading on the screen is not 1500mm +/- 1mm, we call Maintenance. The sensor is either dirty (lint buildup) or the lens has drifted due to heat. We clean the lens with Isopropyl Alcohol and recalibrate the software.
If this doesn’t happen, the machine might think it’s producing 60-inch fabric, but it’s actually producing 59-inch fabric. The operator looks at the screen, sees "60.0," and smiles. Meanwhile, the fabric coming off the line is narrow. This is how a whole dye lot gets ruined. In April 2025, we caught a sensor drift of 3mm during a shift change check. It was a tiny error. But over 10,000 yards, that 3mm error would have meant a 0.5% loss of fabric width. We fixed it in 10 minutes. That’s the discipline.
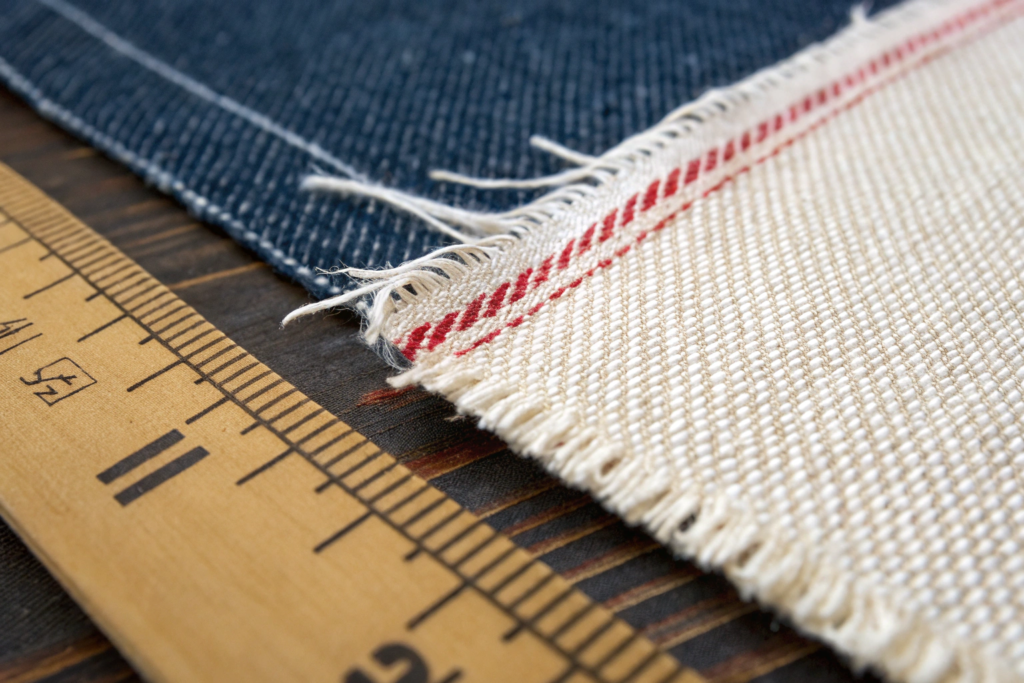
Why Does Selvedge Quality Impact Cuttable Width?
The selvedge is the factory edge of the fabric. It’s usually a tighter weave or has pin holes from the stenter. You Cannot Cut Pattern Pieces on the Selvedge. It shrinks differently. It’s often distorted. It can have needle marks or discoloration. Therefore, Cuttable Width = Total Width – Selvedge Waste.
If you have a beautiful, clean, tight selvedge that is 0.5 inches wide, you lose 1 inch of total width (0.5 on each side). You can plan for that. But if the selvedge is Frayed, Curled, or Wavy, you have a problem. A wavy selvedge "eats" into the good fabric. The cutting room has to trim 2 inches or more from each side just to get to a flat, stable edge. That just turned your 60-inch fabric into a 56-inch fabric. That’s a 6.7% loss in usable area.
At Shanghai Fumao, we use Lenzing Air-Jet Looms for many of our downproof and high-density fabrics. These looms create a Fringe Selvedge that is mechanically tucked in. It’s clean and narrow. We also use Thermal Knives on our slitting lines to seal the edge of synthetic fabrics to prevent fraying. A clean selvedge is a sign of a well-made fabric. A messy, frayed selvedge is a sign of a mill that doesn’t care about your cutting room costs.
Can You Cut Pattern Pieces on the Fabric Selvedge?
No. Never. Let me be absolutely clear on this. The selvedge is Not Garment Quality. It is the factory’s handle for moving the fabric through the machines. Here is what happens if you try to save a few inches and cut a collar or a waistband on the selvedge:
- Differential Shrinkage: The selvedge is denser than the body of the fabric. It will shrink less in the wash. Your collar will Pucker and Stand Up weirdly after laundering.
- Needle Holes (Pin Marks): If the fabric was finished on a pin stenter, the selvedge has a row of tiny holes where the pins gripped it. These holes weaken the fabric. A seam sewn on these holes will Blow Out under stress.
- Dye Bleeding: Dye tends to accumulate at the selvedge during padding. The selvedge is often Darker or Lighter than the body. If you cut a sleeve on the selvedge, you get a two-tone garment.
We train our inspection team to Cut Off and Discard the selvedge before final rolling for clients who request "Cuttable Width Only" rolls. This is a premium service. It costs us a bit in waste, but it saves the client the labor and hassle in their cutting room. They get a roll that is 100% Usable Fabric. You can read more about common fabric defects like this in the quality control discussions on the Apparel Search forums.
How Does Stenter Pin Marking Reduce Usable Fabric Area?
Pin marking is the Bane of Lightweight Fabrics. On a heavy 400GSM canvas, the pin holes are tiny and the fabric is stiff—you can trim right next to them. But on a delicate 20D Nylon Downproof or a Silk Charmeuse, the pin marks are Catastrophic. The pins stretch the yarn and create a permanent Ladder or Run that extends 1/4 inch or more into the body of the fabric.
To get a clean cuttable edge on a pin-marked lightweight fabric, the cutting room has to trim 0.5 to 0.75 inches from each edge. That’s 1.5 inches of lost width on a 60-inch roll (2.5% waste).
To combat this, Shanghai Fumao invested in Combined Pin/Clip Stenter Chains. For lightweight, high-value fabrics, we switch to Clips Only. Clips are like little clothespins that grip the selvedge without puncturing it. There are Zero Pin Holes. The usable width increases instantly. The trade-off? Clips can’t stretch the fabric as aggressively as pins. So we have to run the stenter Slower to achieve the same width set. It costs more in energy and time. But for a premium fabric where every inch of width counts, it’s worth it. We did this for a French luxury brand’s silk jacquard order in 2025. By using clip finishing, we saved them 1.2 inches of cuttable width, which on a \$22/yard fabric, saved them over \$4,000 on a single container.
What Are Acceptable Width Tolerances for Different Fabric Types?
One size does Not fit all. A tolerance that is fine for a stiff denim is a disaster for a stretch jersey. At Shanghai Fumao, we use a Tiered Tolerance System based on fabric behavior.
| Fabric Type | Example | Standard Industry Tolerance | Shanghai Fumao Internal Tolerance | Reason for Strictness |
|---|---|---|---|---|
| Stable Wovens | Cotton Twill, Denim, Canvas | +/- 1.5 inches | +/- 1.0 inch | These hold width well. Variance is usually due to stenter error. |
| Synthetics | Nylon Taffeta, Polyester Chiffon | +/- 1.0 inch | +/- 0.75 inch | Heat setting locks in width. High precision is achievable. |
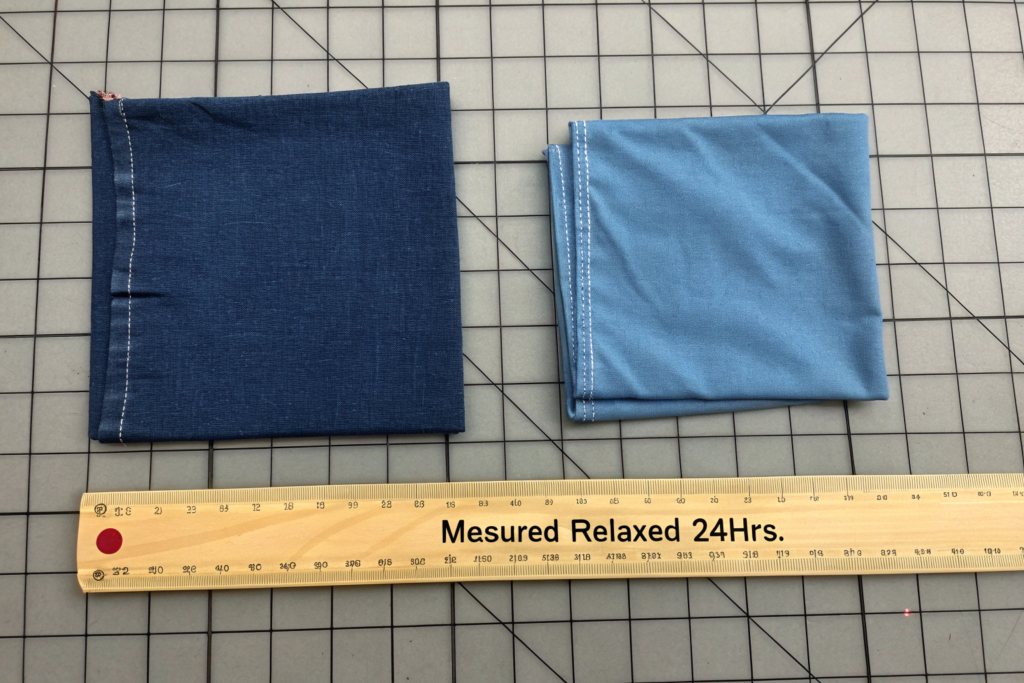
| Stretch Wovens | Cotton Spandex Poplin | +/- 2.0 inches | +/- 1.5 inches | Spandex relaxes. Width is measured Relaxed, not stretched. |
| Knits (Tubular) | Jersey, Rib | N/A (Open Width) | +/- 5% of Slit Width | Knits curl and relax. Tolerance is percentage-based, not fixed inches. |
| Mechanical Stretch | Textured Poly Woven | +/- 1.5 inches | +/- 1.0 inch | Crimp in yarn causes width instability if not heat-set properly. |
For Stretch Wovens, we have a special rule. We measure width Off-Loom, Relaxed, 24 Hours Later. You can stretch a cotton spandex to 62 inches on the stenter, but as it sits on the roll, the spandex will pull it back to 58 inches. If you measure it right off the machine, you get a false reading. We measure it After Relaxation. This is the width the cutting room will actually see. We don’t play games with "hot width" measurements. You can find industry standard tolerances documented in the ASTM D3774 Standard Test Method for Width of Textile Fabric.
Why Is Width Tolerance Tighter for Printed Fabrics?
This is a Registration Issue. When we print a pattern on fabric (especially a Placed Print or a Border Print), the design is engineered for a Specific Repeat Width. If the fabric width varies, the print pattern will not align with the cut pieces.
Imagine a floral border print running along the selvedge. You design a dress with the border at the hem. The pattern piece expects the border to be exactly 1 inch from the edge of the cut piece. But the fabric roll came in at 58 inches instead of 60 inches. The stenter operator at the printing factory Squeezed the Fabric to make it fit the printing blanket. The flowers are now Compressed. They are closer together. Or worse, the print is slightly Off-Grain. When the cutter lays the marker, the border weaves in and out of the cutting line. The dress hem looks like a drunken sailor sewed it.
For printed fabrics, especially Rotary Screen Prints where each color is a separate roller, width variation causes Mis-Register. The blue outline doesn’t line up with the red fill. The fabric is Second Quality instantly. At Shanghai Fumao, our printing factory partners require a Maximum Width Tolerance of +/- 1.5 cm (0.6 inches) for any patterned fabric. We achieve this by Pre-Shrinking and Heat Setting the greige fabric Twice before it ever touches a print blanket. We take the "stretch" out of the fabric so it’s dead stable during printing.
How Do You Measure Width on Stretch Knit Fabric Rolls?
This is where most disputes happen. A buyer orders "60 inch wide" cotton spandex jersey. It arrives. They cut the tape on the roll. The fabric is 52 inches wide. They panic and call me.
Stop. Do Not Measure Knit Fabric Under Tension on the Roll. Knit fabric is wound on the roll under tension. It’s stretched lengthwise and compressed widthwise. The measurement you take on the roll is a "Roll Width" —it is Meaningless. The true "Relaxed Width" or "Open Width" is what matters for cutting.
Here is the correct way to measure knit width:
- Unroll at least 2 full yards of fabric.
- Lay it flat on a cutting table. Do not pull it. Do not stretch it.
- Let it Relax for Minimum 4 Hours (preferably 24 Hours) .
- Gently smooth out the wrinkles. Do Not Stretch.
- Measure the width across the fabric in 3 places (Left, Center, Right).
At Shanghai Fumao, we Slit Tubular Knits to a specific Tube Width before rolling. We use a Spreader Bar on the rolling machine to ensure the fabric is presented flat. We then over-compensate. If a client wants a Relaxed Width of 60 inches, we might slit and roll it at 64 inches on the roll, knowing that when it sits in their warehouse for a week, it will relax back to 60 inches. We provide a "Relaxed Width Specification Sheet" with every knit shipment. It tells the cutting room: "This roll is labeled 64 inches. After 24 hours relaxation, it will be 60 inches. Cut your markers for 60 inches." This transparency prevents fights and chargebacks.
Conclusion
Fabric width is the silent partner in your cutting room. When it’s consistent, you don’t even think about it. The markers fit. The spreads are flat. The yield reports come back green. Profit happens. When it’s inconsistent, it’s a daily battle. It’s your cutting room manager on the phone, frustrated. It’s your accountant asking why material variance is through the roof. It’s you, the CEO, explaining to your investors why margins are shrinking even though sales are up.
We’ve walked through the math. A 2% width loss is a 2% margin hit. We’ve looked at the machinery—the Stenter Sensors, the Calender Rollers, the Slitting Lines—that make consistency possible. And we’ve talked about the discipline it takes to measure width the right way (relaxed, not rolled). At Shanghai Fumao, we don’t view width control as a secondary QC check. We view it as a Core Manufacturing Competency. It’s why we invest in German sensor technology. It’s why we pay our stenter operators a premium to stay for 20 years. It’s why we measure and log width every 15 minutes. We do this because we know that in your cutting room, every inch counts.
If you’re tired of playing the "width lottery" with your fabric suppliers, let’s change the game. We can provide you with a Width Consistency Guarantee and the lab data to back it up. We can even provide Cuttable Width Rolls where the selvedge waste is already trimmed away. You pay for what you cut. Nothing more.
Ready to get your cutting room costs under control? Reach out to our Business Director, Elaine. She can provide width data samples from recent production runs and discuss how we can tailor our finishing specs to your exact marker requirements. Her email is elaine@fumaoclothing.com. Let’s stop throwing money in the scrap bin.