Let me be honest with you—nothing makes a seasoned garment technician sigh like seeing a beautiful, expensive piece of fine lace ruined by a snag right before packaging. I’ve been there. In our factory, a single snag can turn a $50 yard of lace into scrap in seconds. Whether you’re a designer working on a sample in your studio or a production manager overseeing thousands of pieces, the fragility of fine lace is a universal headache. The good news? Snags and runs are almost always preventable. It’s not about luck; it’s about a systematic approach from the moment the fabric leaves the roll to when the finished garment is packed.
To avoid snags and runs when working with fine lace, you must control the entire environment and process. This means preparing the workspace (sanding tables, covering sharp edges), using the right tools (ballpoint or fine needles, sharp scissors), handling fabric minimally and correctly, and implementing strict quality control at every stage. The key is to treat fine lace not just as a fabric, but as a delicate component that requires a specific protocol. At Shanghai Fumao, we’ve developed a “Lace-Handling SOP” that has reduced snag-related defects in our clients' orders by over 70% in the past two years.
You might think your current methods are “careful enough.” But often, the culprit is something you’d never suspect—a slightly rough surface on a cutting table, a static charge from low humidity, or a technician wearing the wrong type of ring. Preventing damage is cheaper and faster than repairing it or, worse, replacing whole panels. In this guide, I’ll walk you through the actionable, on-the-ground steps we use in Keqiao’s top factories to keep lace flawless. These aren’t just theories; they are proven practices from the heart of the world’s textile hub.
How Should You Prepare Your Workspace for Delicate Lace?
Imagine this: A client from Italy sent us a stunning, custom-made Leavers lace in early 2023. Before it even reached the cutting table, it was snagged on a slightly protruding screw on a metal fabric roll holder. The lesson was expensive. Now, we start every lace project with a “workspace audit.” You must create a fortress against anything sharp or rough. This is your first and most critical line of defense.
Preparing your workspace is about creating a clean, soft, and controlled environment. Every surface the lace will touch—from the rolling machine to the sewing table—must be inspected and modified. The goal is to eliminate all potential points of friction and catching. This goes beyond just cleaning; it’s about proactive modification. Think of it as baby-proofing, but for fabric that can cost hundreds of dollars per meter. A properly prepared space doesn't just prevent snags; it instills a mindset of carefulness in everyone working on the project.
What Are the Essential Modifications to Cutting and Sewing Tables?
Your standard tables are lace killers. Here’s what you must do:
- Smooth All Edges: Use fine-grit sandpaper to smooth any wooden edges. For metal tables, apply a U-channel plastic edge protector or a thick, soft tape like velvet or foam.
- Create a Padded Surface: Never lay lace directly on a hard table. Use a self-healing cutting mat for cutting. For spreading and inspection, cover the table with a clean, high-thread-count cotton sheet or a special non-slip silicone fabric layer.
- Secure Loose Elements: Check for and tighten any loose screws, bolts, or brackets. Tape down electrical cords so they don’t brush against the fabric.
- Control the Air: Use an anti-static air ionizer if possible, especially in dry climates. Static electricity makes lace cling to surfaces and hands, increasing drag and snag risk.
I visited a cooperative embroidery factory last June that works with our finest laces. They’d wrapped every machine handle, scissor hook, and tool drawer pull with soft bandages. It looked unusual, but their rejection rate for snags was the lowest I’d seen. It’s that level of detail that makes the difference.
How Does Lighting and Humidity Affect Lace Handling?
This might surprise you: environmental control is a game-changer.
- Lighting: You need brilliant, shadowless light. Poor lighting forces workers to bring the fabric closer to their eyes, increasing handling and the chance of catching it on clothing or equipment. We use LED panel lights overhead and adjustable task lamps at each station.
- Humidity: Low humidity (below 40%) is a major cause of static. Aim for a relative humidity of 50-60%. A simple humidifier can work wonders. High humidity (above 70%), however, can make lace limp and harder to manage. A client in Arizona saw a 40% drop in static-related snags after we recommended a room humidifier for their sampling studio.
For more on creating an ideal textile workspace, forums like Garment Professionals on optimizing sewing room conditions often have practical, crowdsourced advice.
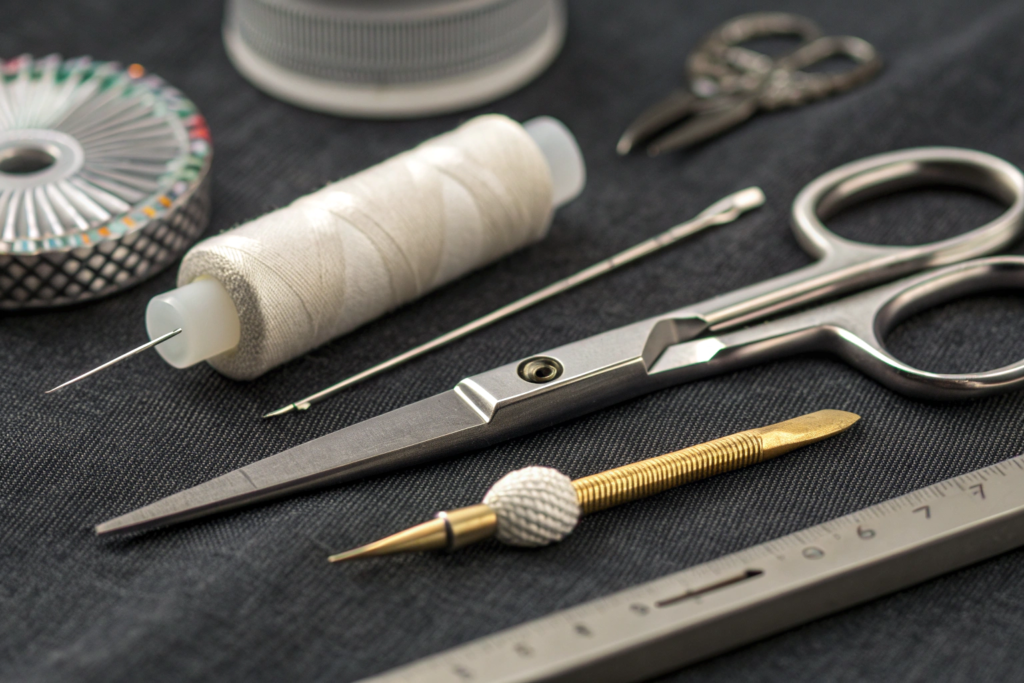
Which Tools Are Non-Negotiable for Handling Fine Lace?
Using the wrong tool is like trying to perform surgery with a butter knife. In 2022, a startup brand was frustrated because their lace kept running during sewing. They sent us a video. The problem was immediately clear: they were using a standard universal needle. We shipped them a pack of Schmetz Microtex 60/8 needles overnight. The problem vanished. The right tools don’t just help; they are mandatory.
The non-negotiable tools for fine lace are those designed to minimize penetration and friction. This includes specialized needles, cutting tools, pins, and markers. You cannot compromise or substitute with “whatever is on hand.” Investing in the correct tools is a trivial cost compared to the value of the fabric you’re protecting. At Shanghai Fumao, we often include a “Lace Starter Kit” of recommended tools with our first sample shipment to new clients, because we know it’s that important.
Why Do Needle Choice and Sharpness Matter So Much?
The needle is the point of greatest stress on the lace. Here’s the breakdown:
- Type: Use a sharp point needle (like Microtex or Sharp), not a ballpoint. Ballpoint needles are for knits; they push through woven lace by separating threads, which can cause runs. A sharp needle pierces cleanly.
- Size: The smaller, the better. Start with a 60/8 or 65/9. For ultra-fine laces, a 55/7 might be necessary.
- Change Frequency: Change needles every 4-8 hours of sewing, or at the start of every new major project. A dull needle has a burr that will catch and tear threads.
A quick test we teach: run the needle tip gently over your fingernail. If it glides, it's dull. If it catches slightly, it's sharp. Do this check often.
What Are the Best Alternatives to Traditional Pins and Scissors?
Forget standard dressmaker pins and heavy shears.
- Pins: Use extra-fine silk pins or glass-headed pins. They have a much thinner shaft. Pin only within the seam allowances. Better yet, use fabric weights (small, smooth metal or ceramic pieces) to hold the lace in place for cutting. For basting, use fine, rust-proof safety pins or a temporary fabric adhesive spray (test on a scrap first!).
- Cutting Tools: Use sharp embroidery scissors for small cuts and a rotary cutter with a fresh blade on a self-healing mat for long, straight cuts. Rotary cutters provide a clean, continuous cut without the lifting-and-closing action of scissors, which can shift the lace. Always place tissue paper or a lightweight stabilizer under the lace when cutting to prevent it from being dragged into the mat.
For sourcing these specialized items, checking supplier reviews on sites like comparison of professional embroidery scissors for delicate fabrics can save you time and money.
What Handling Techniques Minimize Contact and Risk?
The less you touch the lace, the better. Our most skilled workers handle lace like they’re moving a soap bubble. There’s an art to it. I recall watching a veteran seamstress in our inspection department handle a flawed section of Raschel lace. Instead of pulling it, she used a fine crochet hook to gently coax the misplaced thread back into place from the underside, almost invisibly. That level of skill comes from technique, not just caution.
Minimizing risk is about using gravity, support, and smooth motions instead of grip and force. It involves how you lift, move, feed, and store the fabric. Proper technique reduces tension on the threads and prevents the stretching or hooking that leads to snags and runs. This is where training is critical—every person who touches the fabric must be trained in these methods.
How Should You Move and Lay Out Lace Fabric?
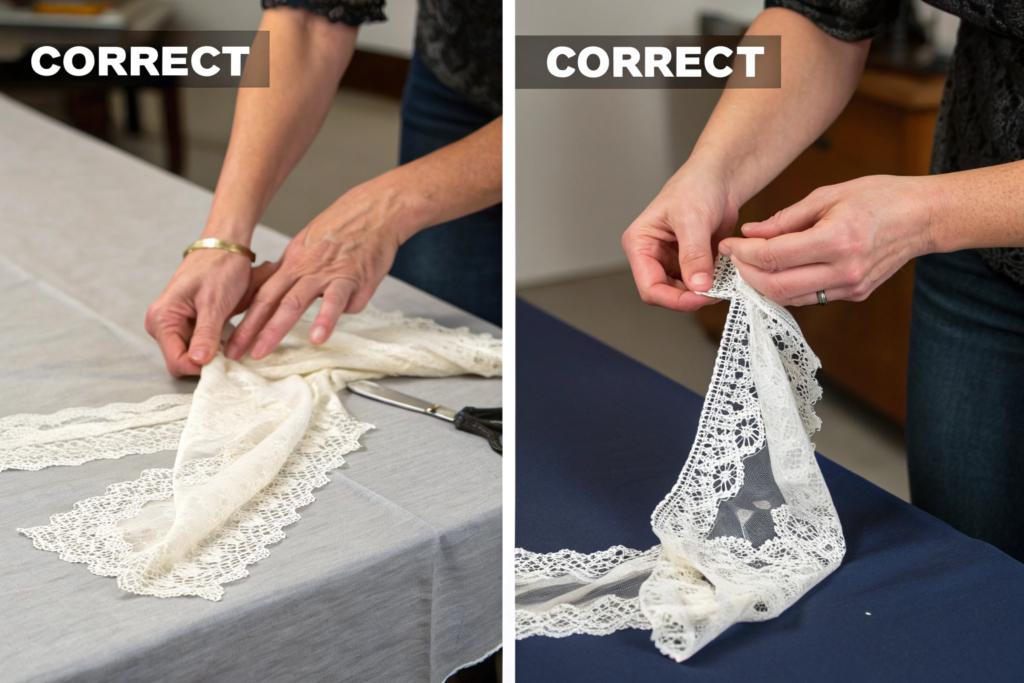
Never drag or pull lace.
- Unrolling: Unroll the lace slowly onto a clean, flat surface. Don’t let it tumble off the roll.
- Carrying: To move a cut piece, slide a large, smooth cardboard piece or a Pellon underlay beneath it, and carry the rigid support. For longer pieces, have two people support it at full width.
- Laying Out for Cutting: If you must smooth it, use a wide, soft-bristled brush (like a photography lens brush) in one direction, not your hands. Your hands have oils and microscopic rough skin that can catch.
We implemented a “two-person carry” rule for any lace piece over 2 meters in our facility, and immediately saw a drop in mid-panel damages.
What Are the Best Practices for Sewing and Seam Finishing?
The machine is where many runs start.
- Stabilize: Always use a stabilizer. A lightweight, water-soluble or tear-away stabilizer behind the lace while sewing provides crucial support, preventing the feed dogs from stretching and distorting the fabric. (This is our number one tip for home sewists, too!)
- Reduce Handling: Use a walking foot if possible. It feeds the top and bottom layers evenly, preventing shifting and tugging.
- Seam Finishing: French seams or flat-felled seams are ideal as they encase raw edges. For sheer laces, a tiny, narrow rolled hem is best. Finish seams with a fine, sharp overlook/serger only if you are experienced; otherwise, it’s a high-risk operation. Consider using self-fabric binding for a clean, integrated look.
A German athleisure brand we work with had issues with lace trim running after washing. We solved it by recommending they secure the very end of each trim run with a tiny drop of Fray Check liquid before cutting, a simple step that prevented millions of tiny runs.
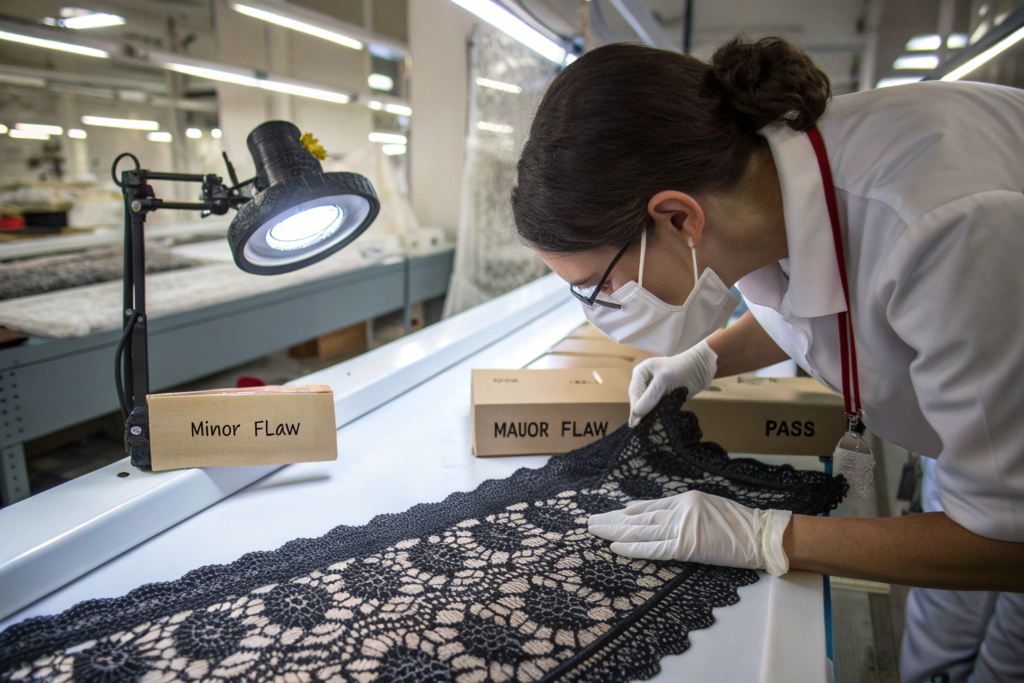
How Can Quality Control Catch Problems Early?
Inspection isn’t just about finding final defects; it’s about catching process failures before they multiply. We have a dedicated “Lace QC” station with a backlit table. Under bright, diffused light from below, every snag, pulled thread, or tension irregularity becomes glaringly obvious. Catching a snag here, before the fabric is cut, saves the entire panel.
Effective QC for lace is multi-stage and relies on both technology and human skill. It must happen at fabric intake (rolling inspection), after cutting (piece inspection), and during/after sewing (garment inspection). The earlier you catch a problem, the less value has been added to the defective piece, and the cheaper it is to fix or discard. Our pass rate for lace shipments is 98%, and that 2% is mostly caught in-house, not by the client.
What is the Step-by-Step Fabric Inspection Protocol?
Don’t just look at the lace; interrogate it.
- Backlighting: Pass the lace slowly over a backlight source. This reveals holes, slubs, and inconsistent density you can’t see with reflected light.
- Gloved Hands: Inspectors must wear tight-fitting, non-snag cotton gloves. Run your gloved hands gently over both sides of the fabric to feel for pulls or rough spots.
- The “Snag Test”: On a small sample piece, perform a standardized test using a mace snag tester (like the ICI Snag Tester) if available. It simulates wear and tear objectively.
- Mark and Record: Use soft, colored thread or removable stickers to mark any flaw immediately. Log the type and frequency of flaws. If more than a certain percentage (e.g., 3%) of the roll is flawed, reject the entire roll with your supplier. We once rejected a 500-meter shipment of Guipure from a new mill in November 2022 based on our snag test data, saving a major client from a production disaster.
How Do You Train Staff to Identify Potential Weak Points?
Training is specific. We don’t just say “look for snags.”
- Use Swatch Kits: Create a sample board with actual examples of common lace defects: a pulled thread, a run starting, a mis-stitch in embroidered lace, oil stains.
- Teach the “Why”: Explain how a run propagates along a warp or weft thread. When people understand the structure, they better predict where problems might occur.
- Empower to Stop: Every worker must feel empowered to stop the line if they see a recurring issue, like a machine starting to chew the lace.
Regular workshops and sharing photos of defects caught and missed keep everyone sharp. For a broader perspective on textile QC, resources like the American Association of Textile Chemists and Colorists (AATCC) test methods provide the scientific backbone for many inspection standards.
Conclusion
Avoiding snags and runs in fine lace is a proactive, disciplined process, not a reactive fix. It begins with engineering your environment to be lace-safe, arming yourself with the correct specialized tools, adopting minimal-contact handling techniques, and enforcing rigorous, multi-stage quality control. Each step builds a defensive wall around your valuable material. When done correctly, this system transforms a frustrating, fragile process into a smooth and predictable one, safeguarding your margins and your reputation.
Remember, the goal is perfection in the hands of the end consumer. Achieving that starts with perfection on your worktable. If you’re sourcing fine lace and want the assurance that it arrives flawless and is handled with expert care from the very first step, partner with a supplier who lives by these protocols. At Shanghai Fumao, our integrated control—from our own weaving and cooperative dyeing to final inspection—means we manage these risks for you. We provide not just the fabric, but the peace of mind that comes with decades of specialized experience. Let’s discuss how we can make your next lace project flawless. For a consultation on sourcing and handling delicate fabrics, contact our Business Director, Elaine, at strong>elaine@fumaoclothing.com.