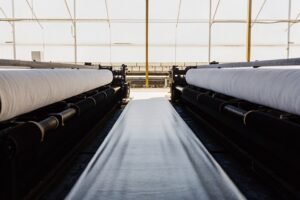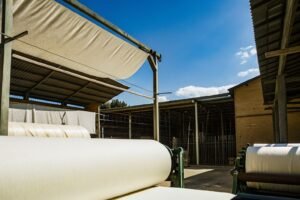
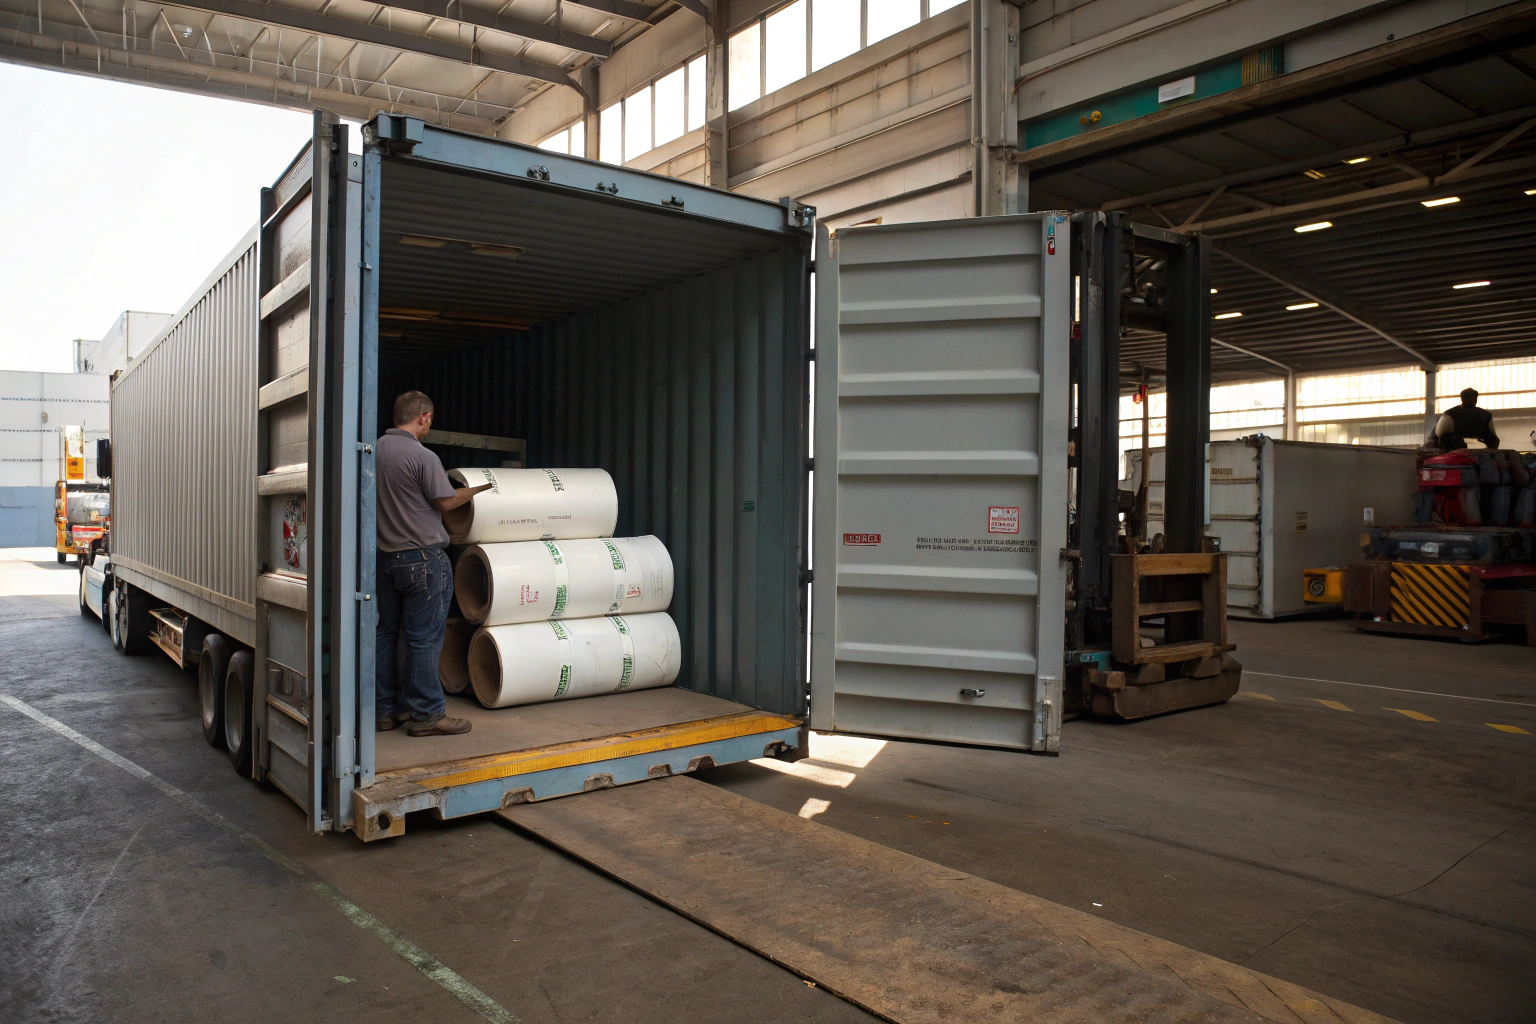
Let me tell you about a container that almost shipped. Last March, a 40-foot container sat in our loading bay, doors open, 85% loaded with 8,500 yards of printed rayon challis destined for a dress brand in Los Angeles. Our shipping coordinator was 20 minutes from calling the trucker to haul it to Ningbo port. Then our final audit inspector, a woman named Mrs. Wang who has been inspecting fabric since before most of our clients started their brands, pulled a random roll from the bottom tier. She unrolled two meters on the backlit inspection table. There it was—a faint dye streak, maybe 15 centimeters long, repeating every 1.8 meters down the entire roll length. It was a printing screen defect that our inline inspection camera had missed because the streak was almost the same color as the background. Mrs. Wang locked the container. We unloaded every carton. We found the defect in 12 out of 380 rolls. We re-printed those 12 rolls over the next 48 hours and re-packed the container. The shipment was three days late, but it was 100% first quality.
That’s not a story of a near-miss. That’s a story of our system working exactly as designed. The container-loading inspection is the last line of defense between our mill and your cutting room. It’s the final chance to catch a defect that slipped through the inline QC, the lab tests, and the rolling inspection. If it passes this gate, it’s on your dock, and it’s too late to fix. So we take this gate extremely seriously.
I’m going to walk you through exactly what happens in the 48 hours before your fabric is sealed in that container—the standards we use, the tools we deploy, and the decision-making authority that our inspectors hold to stop a shipment cold if it doesn’t meet spec.
What Are the 4-Point Fabric Inspection Standards We Follow?
The 4-Point System is the universal language of fabric quality. It was developed by the American Apparel and Footwear Association and is recognized globally as the standard method for grading fabric defects. If you’ve ever received a fabric shipment with a "B-grade" or "second quality" designation, that classification was almost certainly based on the 4-Point System.
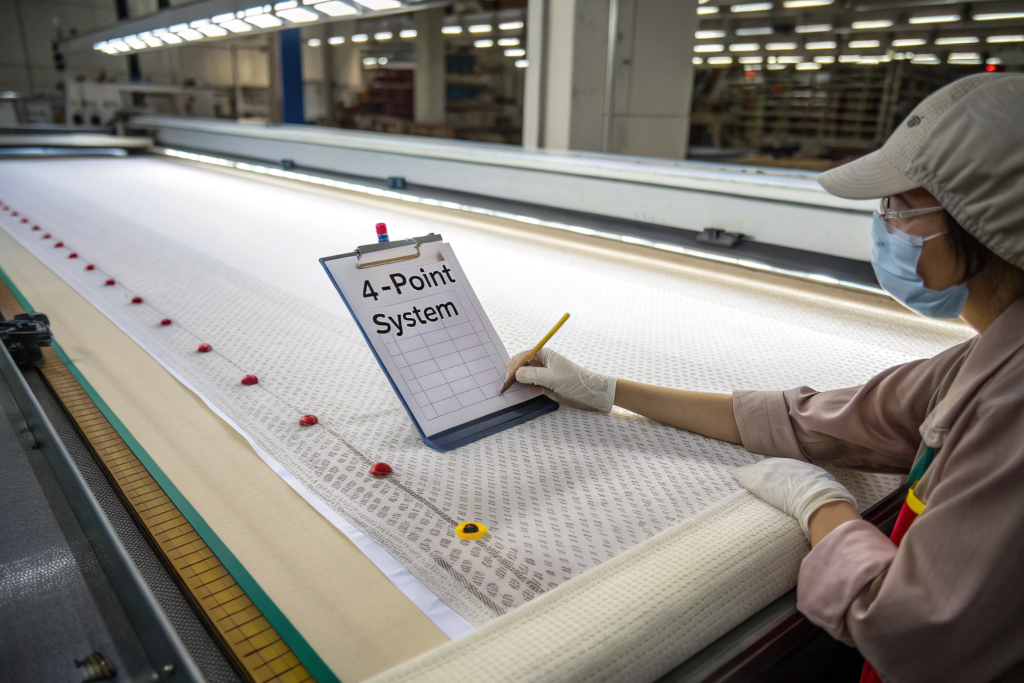
Here’s the core principle: every defect found in a fabric roll is assigned a point value based on its length. Defects under 3 inches get 1 point. Defects between 3 and 6 inches get 2 points. Defects between 6 and 9 inches get 3 points. Defects over 9 inches get 4 points. No single defect can score more than 4 points, even if it runs the full length of the roll—a running defect is just 4 points, but a running defect almost always triggers a separate rejection rule regardless of point totals.
After inspecting the roll, the total defect points are calculated per 100 square yards of fabric. A roll scoring more than 40 points per 100 square yards is considered a "second quality" or B-grade. Our internal standard is tighter: we reject at 28 points per 100 square yards because our clients sell to mid-tier and premium retail channels where a defect rate visible to the consumer triggers chargebacks.
How Do We Score Weaving Defects Like Missing Ends and Broken Picks?
Weaving defects are the most common category of fabric flaws, and they originate on the loom itself. A missing end is a warp yarn that broke during weaving and wasn’t immediately repaired, leaving a gap—a thin, weak line running the length of the fabric. A broken pick is a weft yarn that snapped during insertion, leaving a horizontal weak spot. Both are structural defects that compromise the fabric’s tensile strength and appearance.
Our inspectors catch these by running the fabric over a backlit inspection table at a controlled speed of 15 to 20 meters per minute. The backlighting is critical because missing ends and broken picks often don’t show on the fabric face under reflected light; the surrounding yarns close up around the gap. The light shining through the fabric reveals the gap as a bright line against the darker, denser surrounding weave.
Under the 4-Point System, a missing end or broken pick is scored based on its length. A single broken end running 12 inches gets 4 points. If multiple adjacent ends are missing—creating what we call a "reed mark" or a "warp streak"—we score it as a single defect based on the total width of the affected area. We also apply a "major defect multiplier" for structural flaws: any hole, tear, or missing yarn cluster wider than 2mm is automatically a rejectable defect regardless of the total point score, because it can’t be cut around and will create a weak point in any garment piece.
Our inspectors use a small transparent ruler printed on the inspection table surface to measure defect length instantly, without slowing the fabric. They stick a small colored arrow sticker on the selvedge at each defect location. After the roll passes through the table, the inspector tallies the stickers by color (red for 4-point, orange for 3-point, etc.) and calculates the total points per 100 square yards. A 50-yard roll of 60-inch-wide fabric with three 4-point weaving defects scores 12 points total, which is 8 points per 100 square yards—well within our 28-point reject threshold.
- Learn the complete 4-Point System inspection methodology and defect classification from the standards documentation on the American Apparel and Footwear Association quality resources page.
- Understand common weaving defects and their root causes on modern looms from the troubleshooting guides on the Textile School fabric defect identification resource.
What Shade Variation Tolerance Do We Apply to Selvedge-to-Center Consistency?
Shade variation is the defect that consumers notice most. A garment with a visibly lighter left sleeve and darker right sleeve looks like a factory second, even if the structural quality is perfect. Shade variation can occur roll-to-roll—one roll is slightly darker than another—but the more insidious form is within-roll variation, particularly selvedge-to-center shading on a single roll.
This happens most commonly in dyed knits and wovens where the fabric edges dry faster than the center during the stenter finishing process. The selvedge is exposed to more airflow, the dye migrates slightly, and the edge ends up a subtly different shade than the center. The difference might be invisible under warehouse lighting but glaringly obvious when the fabric is cut and two adjacent pattern pieces—one from near the selvedge, one from the center—are sewn together into a garment.
Our inspection protocol for shade variation uses a three-point measurement system. The inspector cuts three small swatches from each roll during inspection: one from the left selvedge, one from the exact center, and one from the right selvedge. These three swatches are conditioned for 15 minutes, then measured on our spectrophotometer. The Delta E between the left selvedge and the center must be below 0.8, and the Delta E between the center and the right selvedge must also be below 0.8. If either measurement exceeds 1.0, the roll is rejected for shade variation.
We also perform a visual shade check under D65 lighting by placing the selvedge and center swatches adjacent to each other on a gray evaluation board. The inspector views them at a 45-degree angle from a distance of 60 centimeters. If the shade break is visible to the naked eye—even if the spectrophotometer Delta E is technically within tolerance—the roll is flagged and set aside for a second evaluation by the QC manager. We’ve learned over years of client feedback that the human eye sometimes catches shade variations that a spectrophotometer misses, particularly in dark colors like navy and black where the reflectance curve differences are subtle.
- Learn about the causes and prevention of selvedge-to-center shade variation from the technical articles on the Mahlo textile straightening and control systems blog.
- Understand spectrophotometer-based shade evaluation and Delta E tolerances from the color measurement resources on the Datacolor textile color consistency guide.
How Do We Test Fabric Weight, Width, and Hand Feel Per Roll?
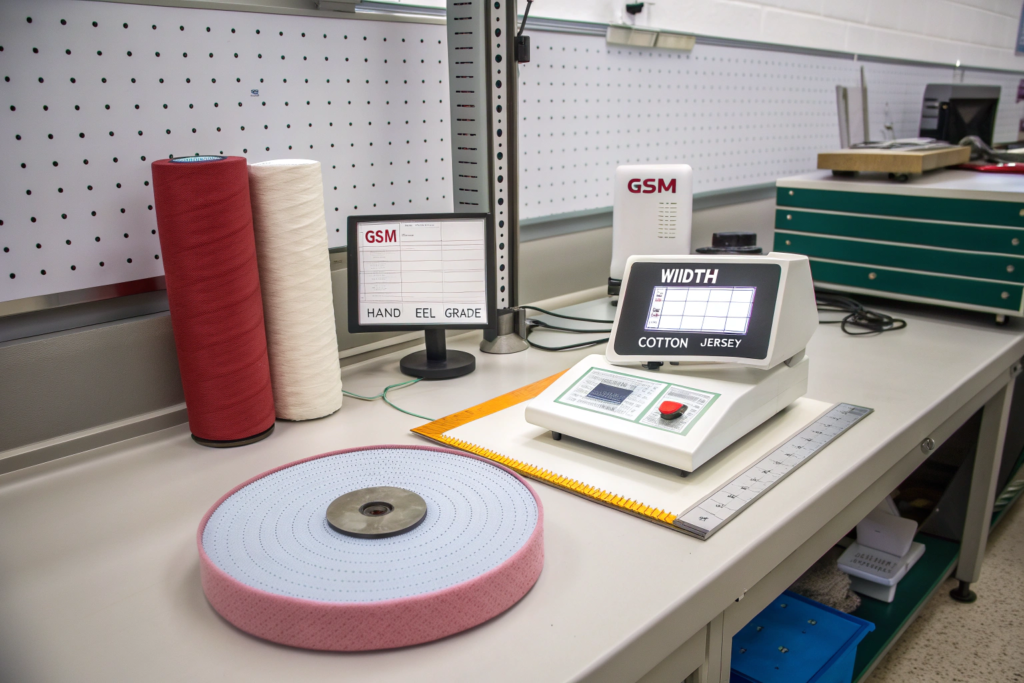
If the 4-Point System is about finding defects, physical property testing is about verifying that the fabric you ordered is the fabric you’re getting. GSM weight, cuttable width, and hand feel are not aesthetic preferences; they’re contractual specifications that affect your pattern making, your cutting efficiency, your shipping weight, and your consumer’s perception of quality. A fabric that’s 10 GSM lighter than spec won’t have the drape your designer intended. A fabric that’s 2 inches narrower than spec will destroy your marker efficiency and increase your fabric cost per garment by 8%.
We test these three properties on every single roll that goes into a container, not just on a random sample. That’s an important distinction. Many mills test physical properties on a 10% sample. We test 100% because physical property variation often follows a pattern related to the production sequence—the first rolls off the stenter might be slightly different from the middle rolls as the machine reaches thermal equilibrium—and sampling can miss these systematic shifts.
Why Do We Measure GSM on a "Conditioned" Fabric Sample?
GSM—grams per square meter—is the standard unit of fabric weight. A 180 GSM cotton jersey and a 220 GSM cotton jersey are fundamentally different fabrics. The 220 GSM version is heavier, drapes differently, absorbs more dye, costs more to ship, and feels more substantial in the consumer’s hand. If you order a 220 GSM fabric and receive a 200 GSM fabric, you’ve been shorted about 10% of the fiber mass you paid for.
But raw GSM measurement is meaningless without conditioning. Textile fibers are hygroscopic—they absorb moisture from the air. A cotton fabric measured on a humid July afternoon in Keqiao will weigh 5-8% more than the same fabric measured in a dry, air-conditioned laboratory. If we measure GSM without controlling for moisture, we might pass a fabric that’s actually underweight, or reject a fabric that’s perfectly on spec but just happened to be measured on a dry day.
Our GSM testing protocol conditions every sample before measurement. We cut a precise 100-square-centimeter circle from the fabric using a calibrated sample cutter. The sample goes into a conditioning chamber set at 65% relative humidity and 20 degrees Celsius—the standard textile testing atmosphere defined by ASTM D1776—for a minimum of 4 hours. After conditioning, the sample is weighed on a digital balance with 0.001-gram precision. The weight in grams is multiplied by 100 to give the GSM.
Our tolerance for GSM is plus or minus 5% from the specification. For a 220 GSM fabric, the acceptable range is 209 to 231 GSM. If a roll measures 205 GSM, it’s underweight and is rejected or downgraded to a lighter-weight stock program. We’ve had clients who cut and sew performance leggings with very tight stretch-and-recovery specifications; for them, we tighten the GSM tolerance to plus or minus 3% because the fabric weight directly impacts compression performance.
- Learn about the ASTM D1776 standard for textile conditioning and moisture equilibrium from the official standard documentation on the ASTM International textile testing standards portal.
- Understand the relationship between fabric GSM, drape, and end-use performance from the educational resources on the Textile School fabric weight measurement guide.
How Do We Ensure "Cuttable Width" Matches the Commercial Invoice?
Fabric width is a money issue disguised as a technical specification. If you buy 1,000 yards of fabric specified as 58 inches wide, and the actual usable width is 56 inches, you’ve lost about 3.5% of your fabric area. Your marker that was designed for 58-inch fabric no longer fits, or fits with waste at the edges. You’re paying for fabric you can’t cut.
The width problem usually hides in the selvedge and the edge finishing. The total width from selvedge to selvedge might be 60 inches, but the selvedges themselves might be tightly woven, distorted, or full of pinholes from the stenter frame pins. The actual flat, usable fabric between the selvedges might be only 57 inches. We quote and invoice based on "cuttable width"—the width of usable fabric excluding selvedges, pinholes, and any edge distortion.
Our inspection protocol for width is simple but rigorous. The inspector unrolls a minimum of 3 meters of fabric from every roll—not just from the roll end, because the end can be distorted from the winding tension. The fabric is laid flat on a calibrated measuring table with no tension. A metal ruler or a digital width measuring device is placed at three points along the 3-meter length: at the 0.5-meter mark, the 1.5-meter mark, and the 2.5-meter mark. The narrowest of the three measurements is the recorded cuttable width for that roll.
If any roll measures more than 1 inch below the specified cuttable width, it’s rejected from the order and replaced with a conforming roll. For our premium clients who run automated spreading and cutting lines with fixed-width clamps, we tighten the tolerance to 0.5 inches because their spreading machines will flag any width deviation as a fault.
A home textiles client who makes fitted sheets experienced exactly this issue with a previous supplier. The fabric was specified at 90 inches wide for queen-size sheets, but the actual cuttable width varied from 88 to 91 inches across rolls. Rolls under 89 inches couldn’t produce a full queen-size flat sheet and had to be sold as twin-size, destroying the fabric yield. Since switching to our 100% width inspection protocol, their cutting yield has improved from 82% to 93%.
- Understand the difference between total fabric width and cuttable width from the specification guides on the Cotton Incorporated textile specification resources page.
- Learn about automated fabric spreading machines and how width variation affects cutting efficiency from the equipment documentation on the Gerber spreading and cutting technology portal.
What Is the "Roll-to-Roll Matching" Audit for Multi-Roll Orders?
Here’s a scenario that plays out in cutting rooms every single day. The fabric arrives. The cutter spreads layer one from roll A. Layer two goes down from roll B. Layer three from roll C. The cutting operator steps back and sees a stripe—a visible shade band running through the spread where the rolls change. The fabric is cut, sewn, and suddenly you have garments where the left sleeve is subtly darker than the right sleeve. These garments can’t be packed together in the same carton, or worse, they’re shipped to stores where consumers notice the mismatch on the rack.
Roll-to-roll matching is the process of ensuring that every roll in your multi-roll order is visually and instrumentally compatible with every other roll. It’s not enough for each roll to match the lab dip standard individually; the rolls must match each other. A roll at the dark edge of your shade tolerance can’t be packed next to a roll at the light edge of your shade tolerance because the transition between them will be visible.
How Do We "Shade Band" a 5,000-Yard Order Into Consistent Groups?
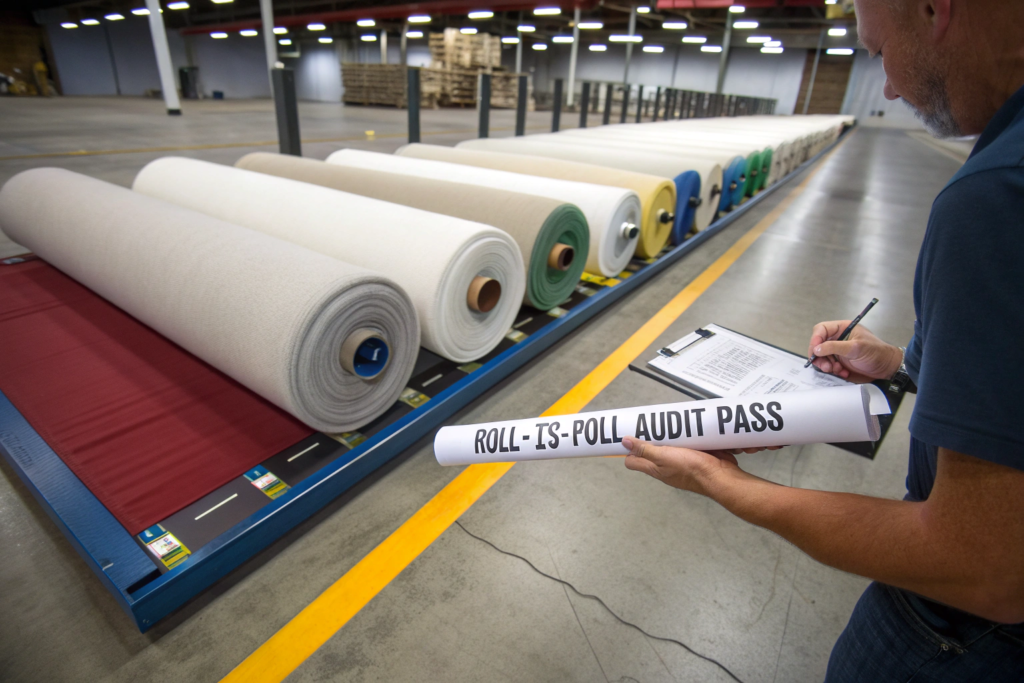
Shade banding is a sorting process. After every roll in an order has been individually inspected and measured for color, we don’t just stack them on a pallet in whatever order they came off the finishing line. We sort them into color families based on their spectrophotometer readings.
Here’s the specific process. Each roll’s LAB* values are measured at three points along its length and averaged. The rolls are then plotted on a 3D color space chart. Our QC software automatically clusters the rolls into shade groups—typically "lighter than target," "on target," and "darker than target," but still within the agreed shade tolerance. Each group is assigned a shade code (A, B, C, or a numerical suffix).
The critical rule is that rolls within the same shade group must have a maximum Delta E between them of 0.5. This is tighter than the Delta E tolerance between a single roll and the lab dip standard, because the human eye is far more sensitive to color differences at a seam between two adjacent pieces than it is to the difference between a single piece and a memory of the standard.
For a 5,000-yard order, we might end up with 90% of rolls in the "A" shade group, 7% in a slightly darker "B" group, and 3% in a slightly lighter "C" group. We ship each shade group as a contiguous block, with clear labeling on the cartons and the packing list. You know that cartons labeled "Shade A" can be spread and cut together without visible shade breaks. Cartons labeled "Shade B" should be kept together in a separate cutting lay. This prevents the nightmare scenario of garment lots with mixed shades.
- Learn about the 555 shade sorting system and its application in textile color management from the technical guides on the Datacolor shade sorting methodology page.
- Understand the visual perception of color differences at seam boundaries from the color science research on the Munsell Color color perception educational blog.
Why Do We Label Each Roll With a QR Code Containing QC Data?
Fabric rolls have traditionally been identified by a handwritten sticker with a style number and a yardage. That sticker fades, falls off, or gets misread, and suddenly you have an unidentifiable roll of fabric sitting in your warehouse. Is it from this season’s order or last season’s? Is it shade A or shade B? Was it approved or flagged for review?
We put a QR code on every single roll that leaves our factory. The QR code is printed on a durable, tear-resistant sticker and applied to the outside of the roll packaging and to the cardboard tube inside the roll core. If the outer sticker is damaged in transit, the inner sticker survives.
Scanning the QR code with any smartphone pulls up a web page for that specific roll. The page displays the style number, color name, lot number, roll number, total yardage, cuttable width, GSM measurement, shade group code, and the full QC inspection report including the 4-Point System score, the spectrophotometer LAB* values, and the Delta E against the approved standard. It also shows the date of inspection and the name of the inspector who approved the roll.
This QR code system has eliminated the "mystery roll" problem for our clients. A cutting room manager can scan a roll that’s been sitting in inventory for six months, instantly confirm it’s the correct fabric for the current production order, verify the shade group matches the other rolls in the cutting lay, and proceed with confidence. It’s a small technology investment with an oversized impact on supply chain transparency.
- Explore QR code tracking systems for textile and apparel supply chains from the technology resources on the Avery Dennison digital product identification platform.
- Learn about batch traceability and lot control in textile manufacturing from the quality management resources on the ISO 9001 textile quality management system guidelines.
How Do We Prepare the Container Loading Inspection Report?
The moment before a container door closes and the seal is applied is the moment of maximum risk in the entire fabric supply chain. Once that bolt seal clicks into place, the contents of the container are fixed. If the wrong cartons are inside, or if a carton is missing, or if the container itself has a roof leak that will ruin the fabric during an ocean storm, the problem won’t be discovered until the container is opened at your receiving dock weeks later.
The container loading inspection is the final, irreversible quality gate. It’s the last human decision point where an error can be caught and corrected without the cost and delay of international returns. Our protocol for this gate is methodical, documented, and never rushed—even if the truck driver is idling outside and the port cutoff is approaching.
What Is the "Last Roll" Audit We Perform Before Sealing the Container?
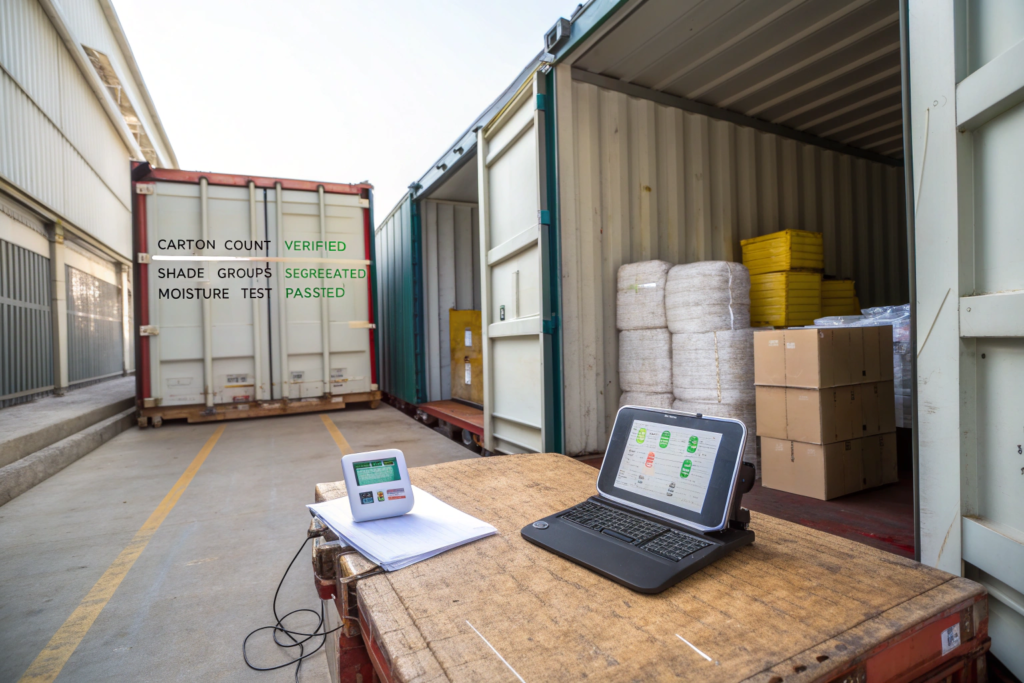
The last roll audit is a final random check performed after the container is fully loaded but before the doors are closed. The principle is simple: the rolls at the bottom and back of the container are the hardest to access once the container is sealed. If a defect exists in those rolls, it’s the most expensive to fix—requiring the container to be unloaded, the defective roll replaced, and the container re-packed.
Our inspector selects three cartons from the loaded container: one from the bottom tier near the container doors, one from the middle tier in the center of the container, and one from the top tier near the nose. These cartons are opened on the loading dock. One roll from each carton is pulled and partially unrolled—about 3 meters—on the inspection table. The inspector checks for any transit damage that may have occurred during loading, verifies the roll label matches the packing list, and confirms the shade group code is consistent with the rest of the container’s contents.
The inspector also checks the container’s interior condition. They look for any signs of moisture on the container walls or floor, any holes in the roof where light penetrates, and any foreign odors that could transfer to the fabric. If the container has a wooden floor, they verify that it’s been treated and is dry. A damp container floor can introduce moisture into the bottom cartons during the 14-day ocean voyage, causing mildew that ruins the fabric.
If the last roll audit passes, the inspector signs a digital "Container Loading Approval" form on their tablet. The form is automatically timestamped and uploaded to your client portal. The container doors are closed, and the bolt seal number is recorded on the form and photographed. You receive an email notification with the seal number, the final carton count, and a copy of the loading approval.
- Learn about container inspection best practices for moisture and damage prevention from the logistics guides on the TT Club container condition inspection resource page.
- Understand the container sealing and security protocols for international shipping from the supply chain security resources on the C-TPAT (Customs Trade Partnership Against Terrorism) compliance portal.
How Do We Share the Digital QC Dossier With You Before the Vessel Departs?
The inspection data we generate during the container loading process is valuable only if it reaches you before the vessel departs. Once the ship leaves Ningbo or Shanghai, you have 14 to 18 days of transit time to review the documentation, prepare your receiving team, and flag any concerns while there’s still time to adjust your production schedule.
Our digital QC dossier is compiled automatically as each inspection step is completed and signed off in our production tracking system. The dossier includes the 4-Point System defect report for every roll in the shipment, the shade band summary with LAB* data and shade group assignments, the GSM and width measurement log, the roll-to-roll matching audit results, the container loading approval form, and a set of photos showing the loaded container interior, the closed doors, and the bolt seal in place.
This dossier is uploaded to your secure client portal within 2 hours of the container doors closing. You receive an email notification with a direct link. You can browse the dossier on your phone, your tablet, or your desktop. Every data point is searchable; if you want to check the GSM of roll number 247 in carton 18, you type "247" into the search bar and the roll’s entire QC history appears.
A European denim brand we work with uses our digital QC dossiers to prepare their incoming quality assurance paperwork before the container even arrives. Their receiving team reviews the dossier during the ocean transit, pre-fills their internal inspection forms with our data, and is ready to cut and sew within 24 hours of container arrival. They’ve eliminated a 3-day receiving inspection hold entirely, because they trust that our data accurately represents the container’s contents.
- Read about digital quality management systems for textile supply chains from the technology case studies on the Datatex textile quality management software page.
- Understand how to integrate supplier QC data into your own receiving inspection workflow from the supply chain integration resources on the GS1 global traceability standards portal.
Conclusion
The container loading inspection is not a rubber stamp. It’s a structured, multi-gate quality defense system that catches the defects our inline inspections might miss, verifies that every physical property matches your specification, and ensures that the rolls inside the container will work together on your cutting table without shade breaks, width mismatches, or weight inconsistencies.
We’ve invested in the 4-Point System training, the spectrophotometers, the conditioning chambers, the backlit inspection tables, the QR code tracking infrastructure, and the digital dossier platform. But the real asset isn’t the equipment. It’s the inspection team, led by people who have been looking at fabric defects for longer than most of our competitors have been in business. They have the authority to stop a shipment cold if it doesn’t meet the standard you signed off on.
When you open a container of Shanghai Fumao fabric at your receiving dock, you should feel the same confidence you’d have if you had personally inspected every roll in our warehouse. The QR code on the roll, the shade group label on the carton, and the QC dossier in your inbox are the proof that the inspection wasn’t just performed—it was performed to a standard that we’re willing to document, timestamp, and put our name on.
If you want to see a sample QC dossier for a recent shipment, or if you have specific inspection requirements that go beyond our standard protocol, email Elaine at elaine@fumaoclothing.com. We’ll walk you through exactly how your order would be inspected, tested, and documented, and we’ll customize the inspection criteria to match your brand’s quality manual. The container doors don’t close until you’re satisfied. That’s the promise.