Last September, a streetwear startup from Los Angeles walked into our Keqiao showroom holding a hoodie from a competitor. The chest logo—a three-color geometric wolf head—was peeling off like a bad sunburn after maybe five washes. The brand founder, a sharp guy who’d built his entire identity around durability, looked defeated. He’d paid a premium for "custom printed fabric" from another supplier, and the print couldn’t survive a consumer’s laundry cycle. His Instagram comments were filling up with angry customers posting photos of cracked logos. He needed 2,000 yards of custom-printed heavy French terry, and he needed the print to outlast the fabric itself.
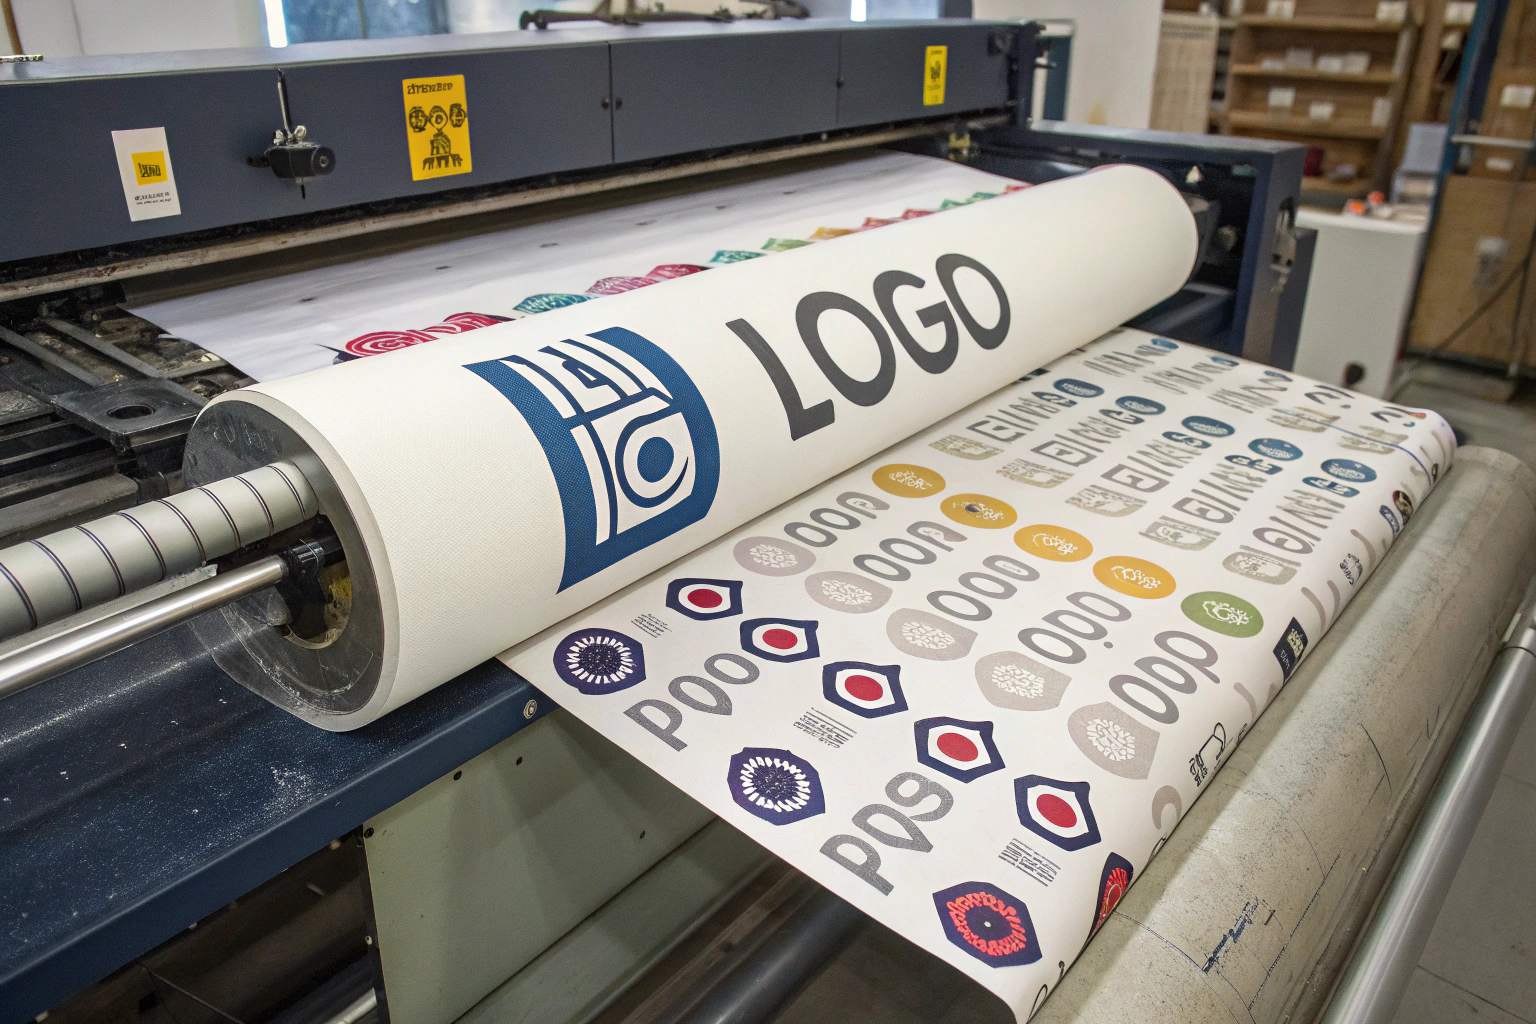
I see this problem constantly. Brands treat custom logo printing like a commodity—just pick the cheapest printing method, email a PNG file, and hope for the best. But printing a logo on 5,000 yards of bulk fabric is fundamentally different from printing a one-off sample on a manual carousel press. The ink chemistry, the curing temperature, the fabric preparation, the color separation—every variable multiplies in complexity when you scale from a swatch to a container load.
At Shanghai Fumao, we don’t just "print logos." We engineer the bond between the ink and the fiber so your branding survives whatever your customer throws at it—washing machines, gym bags, direct sunlight, and that one friend who always uses the hottest dryer setting. Let me walk you through exactly how we do it, from artwork prep to the final wash test on the bulk production roll.
What Custom Logo Printing Methods Do We Offer for Bulk Orders?
You can’t choose the right printing method until you understand what each one actually does to the fabric at the molecular level. I’m not being dramatic—the difference between a logo that feels like a cheap plastic sticker and one that feels like it grew out of the yarn itself comes down to whether the ink sits on top of the fabric or penetrates into the fiber structure.
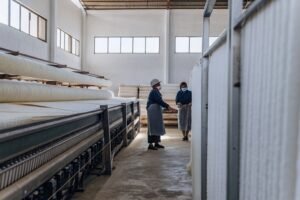
We operate three distinct bulk printing lines in our facility, and I’ve seen clients pick the wrong one simply because they Googled "cheapest custom fabric printing" and went with the first option. Let me break down each method honestly—the good, the ugly, and the "why would anyone choose this" trade-offs—so you can make a technical decision, not a guess.
Why Does Rotary Screen Printing Offer the Lowest Cost for 5,000+ Yards?
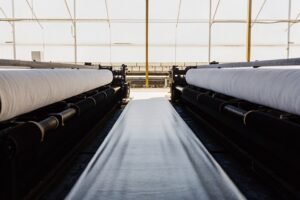
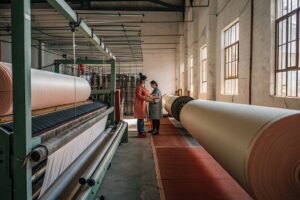
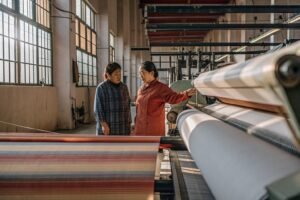
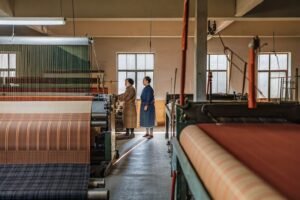
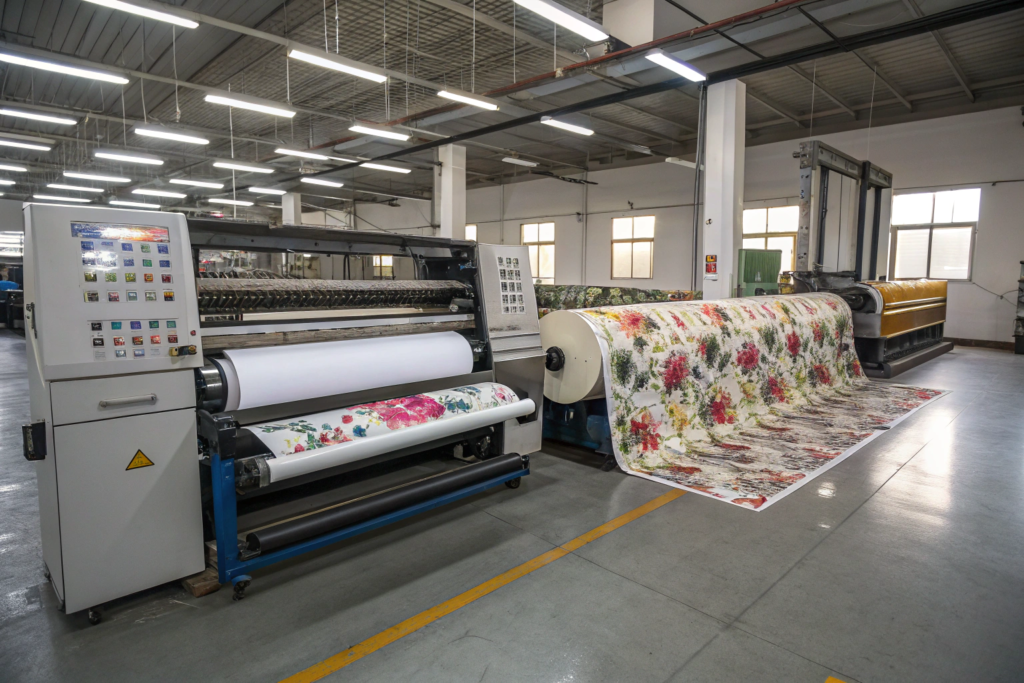
Rotary screen printing is the workhorse of bulk textile printing. If you need 10,000 yards of cotton poplin printed with your brand’s repeating logo pattern, and the design uses fewer than eight colors, rotary screen is almost certainly your most economical choice. The physics is simple: a cylindrical nickel screen with laser-engraved holes rotates against the fabric, and a pump forces thick, pigmented ink through the holes onto the fabric surface. Each screen prints one color. The fabric moves continuously at 30 to 50 meters per minute, and the ink is cured through a gas-fired drying oven that reaches 160 degrees Celsius in a matter of seconds.
The cost advantage comes from speed and ink efficiency. Once the screens are engraved, the per-yard printing cost drops dramatically as the yardage increases. The screens themselves cost about $150 to $300 each to engrave, depending on the circumference and mesh count, but they can print up to 100,000 yards before the mesh wears out. So at 5,000 yards, the screen cost amortized over the yardage is about $0.03 to $0.06 per yard per color. The bulk ink cost for pigment printing is also low—around $0.15 to $0.40 per yard depending on ink coverage and color depth.
But here’s the trade-off I always explain to clients: rotary screen ink sits on the fabric surface. It doesn’t penetrate deeply. The hand feel is stiffer, especially on designs with heavy ink coverage. For a chest logo on a t-shirt, this might feel plasticky. For a home textile like a curtain or a duvet cover, it’s perfectly acceptable because hand feel isn’t the primary performance requirement. I’ll also tell you that rotary screen struggles with fine detail below 0.5mm line width and with smooth photographic gradients. If your logo has a tiny registered trademark symbol or a subtle drop shadow gradient, rotary screen will either lose the detail or force you to simplify the artwork.
- For a technical overview of rotary screen engraving and mesh specifications, explore the machinery guides on the Stork printing technology resource hub.
- Understand the cost per yard calculation for rotary screen vs digital printing from the cost comparison charts on the Fibre2Fashion textile printing economics page.
How Does Digital Direct-to-Fabric Printing Handle Photorealistic Logos?
Digital printing is a completely different animal. Instead of screens and paste inks, we use piezoelectric print heads—similar to a high-end photo printer but scaled up to 72 inches wide—that jet microscopic droplets of low-viscosity reactive or disperse ink directly into the fabric. The ink penetrates into the yarn structure, bonds chemically with the fiber, and leaves essentially no surface texture. If you run your hand over a digitally printed logo on a modal jersey, you feel fabric, not plastic.
This is the method I recommend when your logo contains photorealistic elements, complex gradients, or more than eight colors. A rotary screen needs a separate screen for every color in your design. A six-color logo costs six screens. A digital printer doesn’t care if your logo has six colors or six hundred—it prints the entire design in a single pass with variable droplet sizes as small as 1.5 picoliters. The color gamut, especially on polyester with disperse inks, can hit over 90% of the Pantone TCX spectrum. Rotaries typically top out at around 60 to 70% gamut coverage.
The trade-off is cost and speed. Digital printing is slower—about 10 to 30 linear meters per minute depending on the resolution and the number of print head passes. The ink is more expensive per liter because it requires a much finer filtration and tighter viscosity control than screen printing paste. At low volumes—say, under 500 yards—digital is often cheaper than rotary because there’s no screen engraving cost. At high volumes, rotary pulls ahead on pure per-yard cost. I had a swimwear brand client last year who was dead set on rotary printing for a 3,000-yard run of tropical floral boardshort fabric. Their artwork had 12 distinct colors with watercolor-style bleeds. I ran the numbers: 12 screens would have cost $2,400 just to engrave, and the print quality would have been mediocre. Digital printing cost them an extra $0.80 per yard but produced a sellable fabric they were proud to put their name on.
- Learn how piezoelectric print head technology achieves high-resolution textile printing from the technical documentation on the Epson textile printing solutions portal.
- Explore the color gamut capabilities of digital textile inks via the color science articles on the X-Rite digital textile printing blog.
How Do We Prepare Your Artwork File for Bulk Fabric Printing?
The single biggest source of printing delays isn’t the machinery breaking down. It’s the artwork file arriving in an unusable format. I can’t tell you how many times I’ve received a logo as a 72 DPI JPEG pulled from a website, embedded in a Word document, with the client asking for a "crisp, high-end print" on 5,000 yards of cotton. That’s like asking a chef to cook a Michelin-star meal with a microwave dinner as the starting ingredient.
Our prepress department is the unsung hero of our custom printing operation. We spend an average of 2 to 3 hours preparing and optimizing a client’s artwork file before a single drop of ink touches the fabric. This step costs you nothing extra, but skipping it can cost you the entire production run in wasted fabric and missed deadlines. Here’s what actually happens to your file.
Why Must Logos Be Submitted in Vector Format for Screen Engraving?
Vector graphics are mathematically defined lines and curves, not a grid of pixels. A vector logo can be scaled from a business card to a billboard without losing a molecule of edge sharpness. Screen engraving demands this level of precision because the laser that burns the holes into the nickel screen needs a crisp, binary signal—"ink here, no ink here." A pixelated JPEG introduces "stair-stepping" artifacts along curved edges. When the laser engraves those jagged edges into the screen, the jaggedness gets printed onto your fabric, magnified by the ink bleed into the fibers.
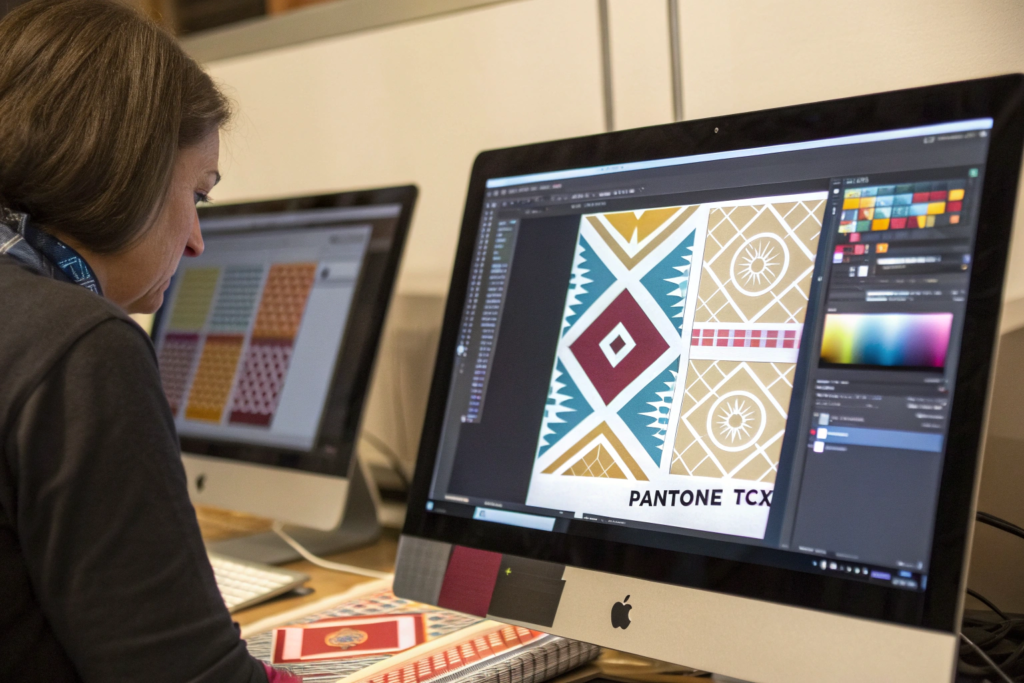
We require all logo artwork files in Adobe Illustrator .AI or CorelDRAW .CDR format, with all text converted to outlines and all colors specified as named Pantone TCX spot colors. If a client only has a raster file, our prepress team manually vectorizes it using a combination of auto-trace software and hand-drawn Bézier curve correction. This takes time, and I’m honest with clients: an auto-traced logo without manual clean-up will look like a drunken tracing exercise. We charge a modest artwork conversion fee for complex vectorization—usually $30 to $60—and it’s the best money you’ll spend on your production because the screen engraving quality is entirely dependent on the vector file quality.
I worked with a corporate uniform client whose logo contained a small, intricate eagle emblem with fine feather details. Their vector file had broken paths and overlapping nodes that the laser engraver interpreted as solid black blobs. Our prepress artist spent four hours manually rebuilding the eagle’s feathers with clean, closed paths. The engraved screen printed perfectly on a 40,000-yard run of navy twill. The client never saw the four hours of work; they just saw a crisp eagle on their uniform shirts.
- Learn the fundamentals of vector vs raster graphics for textile printing from the design resources on the Adobe Illustrator textile design tutorial hub.
- For a guide on Pantone TCX color specification for textile printing, explore the Pantone Fashion Home + Interiors color system education page.
How Do We Create a "Strike-Off" Sample for Your Approval Before Bulk?
The strike-off is the most critical approval checkpoint in the entire custom printing process. A strike-off is a physical print sample, produced on the actual bulk fabric you specified, using the actual ink system and the actual screen mesh or digital print profile that will be used for full production. It’s not a paper printout. It’s not a digital simulation. It’s a yard of your fabric, printed with your logo, cut from the same machine that will print your 10,000-yard order.
We produce strike-offs for every single custom print order, no exceptions. For rotary screen orders, we engrave a single sample screen—usually a small-diameter screen just for the strike-off—and run a few meters of fabric through a lab-scale printing machine that simulates the pressure, speed, and drying conditions of the bulk line. For digital orders, we print the strike-off on the exact same printer model that runs the bulk production, using the same color profile and the same batch of ink.
The strike-off is shipped to you via express courier with a Pantone color evaluation sheet. You inspect it under your own lighting—hopefully a D65 lightbox, but realistically whatever light your design team uses—and you either approve it, or you mark it up with corrections. Common corrections include "make the blue 10% darker," "increase the ink penetration on this red area," or "shift the logo registration 2mm to the left." We execute those corrections on a second strike-off, and we don’t load the bulk fabric onto the printing line until you’ve signed off on a physical sample in your hand. This protocol prevented a catastrophic misprint last year when a client’s digital file showed a navy blue that printed significantly purpler on the actual polyester satin substrate. They caught it on the strike-off, not on the 8,000-yard bulk run.
- Understand the textile strike-off approval process and quality criteria from the industry guides on the Printsource textile design resource platform.
- Learn about D65 standard lighting for color evaluation from the technical standards on the VeriVide color assessment lighting blog.
What Are the Wash Fastness Standards for Our Printed Fabrics?
The logo that looks perfect on day one and the logo that survives 50 home laundry cycles are two completely different engineering challenges. A printed logo fails in the wash because the ink binder—the chemical glue that sticks the pigment particles to the fabric surface—hydrolyzes in hot water and detergent. The binder swells, weakens, and releases its grip on the fibers. The ink particles float away, and your logo fades, cracks, or washes out entirely.
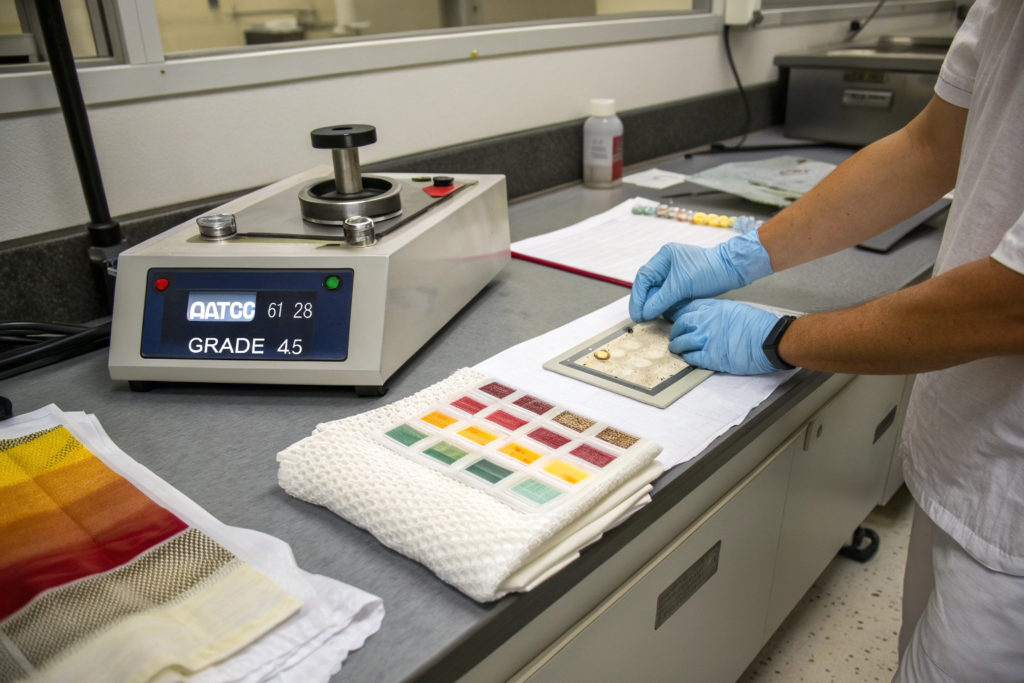
At Shanghai Fumao, we don’t guess at wash fastness. We test every printed fabric batch against the AATCC 61 2A accelerated laundering standard, which simulates five home wash cycles in a 45-minute laboratory test using a standardized detergent at 49 degrees Celsius. Here’s what the test actually measures and why it matters for your brand’s return rate.
How Does the AATCC 61 2A Test Simulate 5 Home Wash Cycles?
The AATCC 61 2A test is brutal by design. A fabric sample is placed in a stainless steel canister with a specified volume of standardized detergent solution, along with 50 steel balls that pound the fabric mechanically, simulating the physical agitation of a home washing machine. The canister is sealed and rotated in a thermostatically controlled water bath at 49 degrees Celsius for 45 minutes. This accelerated torture test compresses five typical home laundry cycles into a single lab cycle.
After the test cycle, the printed fabric sample is removed, rinsed, dried, and evaluated for three failure modes. First, color change—has the logo itself faded or shifted in hue? We measure this with a spectrophotometer against an unwashed reference sample, and we require a grade of 4 on the AATCC gray scale for color change (Grade 5 is no change, Grade 1 is severe change). Second, staining—did the logo bleed color onto the unprinted areas of the fabric or onto the multi-fiber witness strip that’s included in the test canister? We require a staining grade of 3-4 or higher. Third, physical integrity—is the logo cracking, flaking, or delaminating from the fabric surface? We inspect under a 10x magnifying lens for micro-cracks that aren’t visible to the naked eye but will propagate over subsequent washes.
A sportswear brand we supply mandates a minimum Grade 4 on all three criteria for their custom-printed performance jerseys. We’ve had to reformulate the ink binder chemistry three times over two years to maintain that grade as their fabric base shifted from a standard polyester to a recycled polyester with a slightly rougher surface profile that initially caused micro-adhesion failures.
- Download the full AATCC 61 test method standard for colorfastness to laundering from the AATCC testing methods online store.
- Learn how the gray scale for color change is calibrated and used via the SDC (Society of Dyers and Colourists) color assessment training portal.
Why Does Our Pigment Ink Include a High-Performance Binder System?
Pigment printing is fundamentally different from dye printing. A reactive dye chemically bonds with the cellulose molecule in cotton—it becomes part of the fiber. A pigment is an inert, colored particle that has zero chemical affinity for the fiber. It just sits there. The binder is the sole mechanism holding the pigment onto your fabric, and the quality of the binder is 90% of the difference between a logo that outlasts the garment and a logo that disintegrates in the first wash.
Our pigment printing line uses a self-crosslinking acrylic copolymer binder system. During the curing process—185 degrees Celsius for 3 minutes in our gas-fired curing oven—the binder molecules form a three-dimensional, crosslinked polymer network that physically encapsulates the pigment particles and anchors them to the fiber surface. The crosslinking is critical. An un-crosslinked binder is a linear chain of polymers that hot water and detergent can easily break apart. A crosslinked binder is a mesh that water molecules can’t penetrate.
We also formulate the binder-to-pigment ratio specifically for the fabric substrate. A heavy, absorbent cotton fleece needs a different binder loading than a tight, smooth polyester satin. The fleece’s surface texture creates mechanical locking points for the binder, so we can use a slightly lower binder ratio and maintain a softer hand feel. The polyester satin has a smoother surface with fewer anchor points, so we increase the binder percentage to compensate. Our ink supplier, a Japanese specialty chemical company, works with our lab to adjust the binder formulation based on our quarterly performance data. This ongoing optimization is expensive—about a 15% premium over standard commodity pigment inks—but it’s why our printed logos pass 50-wash AATCC tests consistently.
- Read about crosslinking polymer chemistry in textile pigment printing from the technical resources on the Rudolf Group textile finishing chemistry blog.
- Explore the factors affecting pigment ink adhesion on different fiber types via the textile chemistry articles on the Fibre2Fashion printing knowledge base.
How Do We Ensure Logo Alignment on Stretch Fabrics?
Printing a logo on a rigid woven cotton canvas is straightforward. The fabric doesn’t move, shift, or distort as it passes under the print heads. Printing a logo on a 4-way stretch spandex jersey is a completely different engineering problem. Stretch fabric is a living, breathing material. It contracts when the tension is released. It expands when it’s pulled through the printing machine. A logo that’s printed as a perfect circle on the stretched fabric becomes a distorted oval the moment the fabric relaxes.
We learned this the hard way in our early years, scrapping several thousand yards of printed lycra that looked fine on the inspection table but distorted into unrecognizable shapes when the fabric was laid flat and relaxed. Now we have a systematic tension management protocol for stretch-sensitive prints.
What Is "Pre-Feeding" and How Does It Stabilize Spandex Jersey?
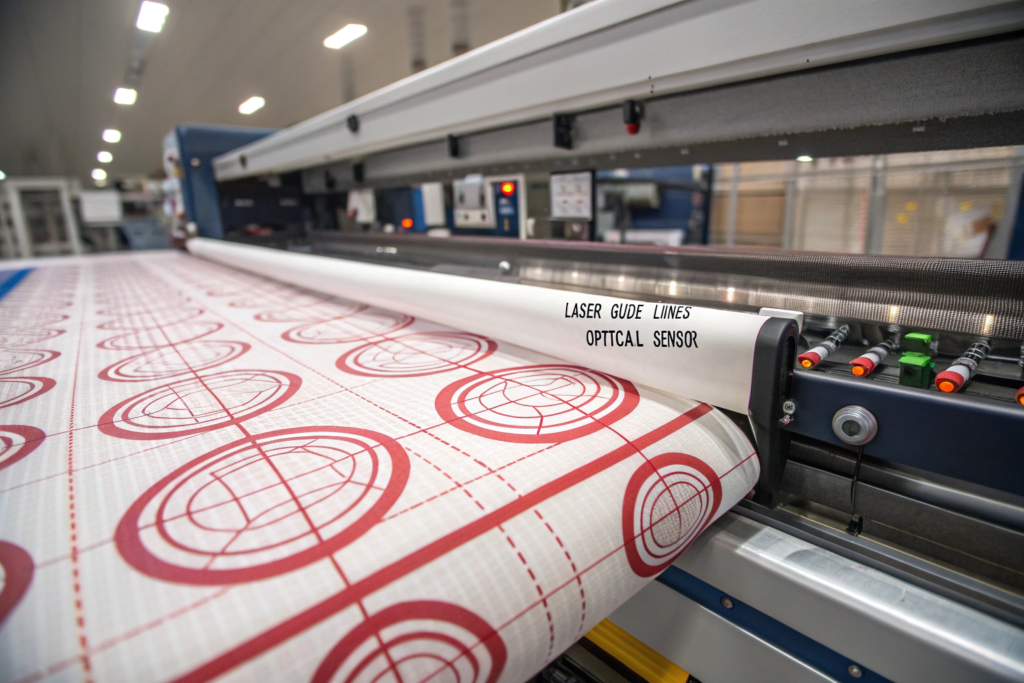
Pre-feeding is the process of mechanically relaxing stretch fabric before it enters the printing zone. The fabric, straight off the roll, has "memory" of the winding tension from the knitting machine and the dyeing process. If you feed that tense, coiled fabric directly into a printing machine, it will relax and contract at some unpredictable point later—maybe during curing, maybe during final inspection, maybe on your cutting table—and the printed logo will distort along with it.
Our pre-feeding protocol for spandex jersey involves an overfeed entry system on our stenter frame. The fabric is fed into the machine at a rate 10 to 15% faster than the take-up speed, so it forms a controlled, relaxed loop before entering the heating zone. This overfeed action physically allows the fabric to contract to its natural, relaxed dimensions. Simultaneously, we apply a low-tension steam treatment that accelerates the relaxation of the elastane fibers. The steam "erases" the stretch memory by allowing the polyurethane segments in the spandex to reconfigure to their lowest-energy, relaxed state.
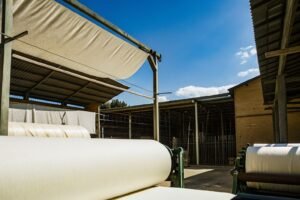
Once the fabric is relaxed and heat-set at its natural width, we feed it into the printing machine under minimal, precisely controlled tension. Our digital printer has a belt-feed system with a tacky adhesive blanket that holds the fabric flat without stretching it. The fabric enters the print zone in its relaxed state, receives the ink, and is immediately dried on a relaxed conveyor dryer. The logo is printed on fabric that is already dimensionally stable, so it doesn’t distort after printing. We measure the dimensional stability before and after printing using a marked grid system. Any batch showing more than 2% distortion in either warp or weft direction is re-processed before leaving our facility.
- Learn about fabric relaxation and heat-setting techniques for elastane blends from the technical guides on the Mahlo textile automation knowledge base.
- Understand the overfeed principle in textile finishing via the machinery documentation on the Brückner stenter technology resource page.
How Does Our Inspection Table Catch a Skewed Logo on a Knit?
Even with perfect pre-feeding, a knitted fabric can skew during the printing process. Skew is a diagonal distortion where the weft yarns are no longer perpendicular to the warp yarns. On a printed logo, skew manifests as a design that looks tilted or twisted, even though the print head itself was perfectly aligned.
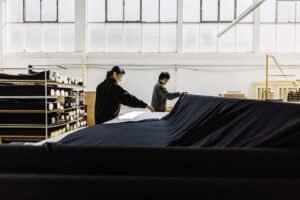
Our final inspection table for printed stretch fabrics is equipped with a backlit panel and an overlay grid system. The operator spreads the printed fabric flat on the illuminated table. The grid lines are aligned with the fabric selvedge. The operator then visually compares the printed logo’s geometric elements—edges of text, borders, registration marks—against the grid lines. A digital protractor app on the inspection station tablet measures any angular deviation. Our tolerance is 1.5 degrees of skew across the full fabric width. Anything over that is flagged as a B-grade.
We also check for "repeat distortion"—a gradual shift in the logo’s position from one repeat to the next. On a rotary screen, this indicates a screen synchronization issue. On a digital printer, it indicates a fabric feed encoder calibration problem. The inspection operator measures the distance between identical points on three consecutive logo repeats using a digital caliper. If the distance varies by more than 1mm between any two repeats, the printing machine is stopped and recalibrated.
A California-based yoga wear brand we supply has a zero-tolerance policy for skewed logos on their printed leggings because a tilted logo at the hip is immediately obvious to the consumer. Our inspection protocol has maintained a 99.7% first-pass approval rate on their orders over the past three years. The 0.3% that fails is caught before the fabric leaves our dock, not after it’s been cut and sewn into a $98 pair of leggings.
- Read about common fabric distortion defects in knitted textile printing from the quality control guides on the AsiaInspection textile defect encyclopedia page.
- Learn how digital protractors and measurement tools are used in textile QC from the equipment resources on the Mitutoyo precision measurement educational portal.
Conclusion
Custom logo printing on bulk fabric is a marriage of art and engineering. The art is your brand’s visual identity—the colors, the shapes, the story your logo tells. The engineering is everything that happens between your artwork file and the finished roll of printed fabric: the vectorization of your design, the selection of the printing method that matches your volume and quality requirements, the chemical formulation of the ink binder that survives 50 wash cycles, and the tension management protocols that keep your logo perfectly aligned on the stretchiest spandex jersey.
I’ve seen too many brands treat printing as an afterthought—something they slap onto a fabric order at the last minute with a low-resolution file and a hopeful email. The result is a logo that cracks, peels, or distorts, and a brand reputation that suffers quietly with every customer who tosses a faded, cracked hoodie into the donation bin. The brands that win are the ones who treat printing as a core production engineering process, with strike-off approvals, wash fastness testing, and dimensional stability checks built into the timeline.
At Shanghai Fumao, we’ve built our printing operation to handle the engineering so you can focus on the art. If you have a logo that needs to perform as hard as your fabric does—across thousands of yards and thousands of consumer laundry cycles—send your artwork and your fabric specification to our Business Director Elaine at elaine@fumaoclothing.com. She’ll coordinate a strike-off sample on your actual bulk fabric, with a full wash test report, so you can see and feel the print quality before you commit to production.