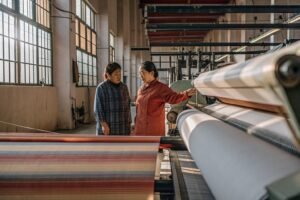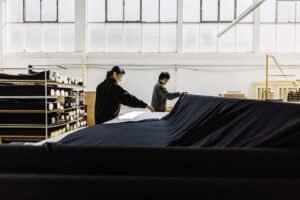

Let me tell you about the phone call that still makes my stomach tighten. November 2023, 10 PM. A panicked brand manager from an Amsterdam-based sustainable fashion label is on the line. Their 8,000-unit order of organic cotton canvas jackets is falling apart at the seams—literally. The body fabric came from our weaving line, the lining from a cooperative mill, the embroidery was done at a third facility. Everything looked fine as individual components. But when they assembled the jacket in Portugal, the body shrank 3% while the lining shrank zero. Sleeves twisted. Pockets puckered. They faced a six-figure loss and a missed holiday season launch. The problem wasn’t one bad factory. The problem was five good factories that weren’t speaking the same quality language.
That night crystallized something I’d been wrestling with for years. Most fabric suppliers in Keqiao are specialists—great at one thing, clueless about the next step in the chain. You buy woven greige from one vendor, send it to a separate dyehouse, ship it to a third-party printer, and cross your fingers. Every handoff is a chance for a quality grenade to roll into your production line. Our clients—the Rons of the world, the sharp importers who’ve been burned before—don’t have time for finger-pointing between subcontractors.
So we built something different at Shanghai Fumao. We didn’t just add a QC inspector at the end of the line. We engineered a system where five distinct production lines—weaving, dyeing, printing, embroidery, and coating—operate under one unified quality architecture. Here’s how we do it, line by line, so you can understand exactly what happens to your fabric before it lands in your cutting room.
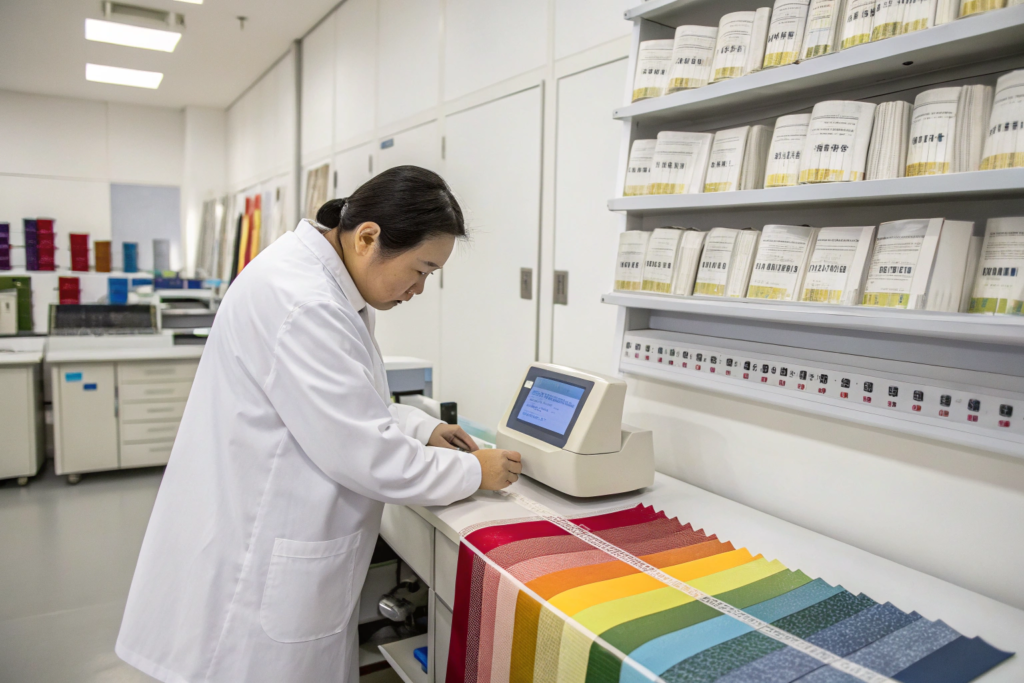
How Does Our CNAS-Certified Lab Set the Quality Baseline?
Every meter of fabric we ship inherits its quality DNA from our in-house laboratory. This isn’t a dusty corner with a lightbox and a spray bottle. This is a CNAS-accredited facility—that’s the China National Accreditation Service for Conformity Assessment, and it’s mutual recognition with ILAC, meaning the test report we issue is legally recognized in 70+ countries, including the U.S. under the APLAC mutual recognition arrangement.
What does that mean for you? It means when our lab certifies that your flannel shirting fabric has a tear strength of 1,200 grams and a colorfastness grade of 4, you can take that report to your bank, to your insurance adjuster, or to a litigious retailer and it stands as a defensible document. We don’t outsource testing to a third-party lab in Shanghai and wait three weeks for results. We run the tests internally, often while the fabric is still on the finishing line, so we catch deviations in real time.
What Specific Tests Does Our Lab Run Before Fabric Enters the Weaving Shed?
Quality control doesn’t start at the finished roll. It starts with the yarn. Before a single cone of cotton yarn hits our rapier looms, it’s been through our raw material quarantine zone. We pull a sample from every incoming yarn lot and run it through our Uster Tester 5. This machine measures yarn evenness, hairiness, and imperfection count at 400 meters per minute. If the yarn has too many thin places or thick places, it will create weak spots in the woven fabric that will tear under stress.
We also test the yarn’s strength on a single-end tensile tester. For a standard 40S cotton warp yarn, we require a minimum breaking force of 280 centinewtons. Anything below that and the yarn will snap repeatedly on the high-speed loom, creating warp breaks and those little "fluff balls" of repair you sometimes see on cheap shirting. I’ll be honest—this step costs us about $12 per incoming yarn batch, and most mills skip it entirely. They just trust the yarn supplier’s COA. We’ve caught batches where the yarn supplier’s COA claimed 290 cN breaking force, and our Uster measured 230 cN. That yarn gets rejected and returned. It never touches our looms.
We also condition the yarn for 24 hours in a controlled humidity chamber before testing. Cotton yarn gains strength when it absorbs moisture. If you test it bone-dry in a cold warehouse, you get artificially low numbers. We test at 65% relative humidity and 20 degrees Celsius, exactly per ASTM D1776 conditioning standards. It’s boring stuff, I know, but it’s why our warp break rate is 0.3 breaks per hour per loom while the industry average hovers around 1.5. Fewer breaks means a more consistent fabric surface for your garment.
- For detailed specifications on yarn evenness testing, explore the Uster Tester 5 technology page on the official Uster Technologies quality control platform.
- Understand the ASTM D1776 standard for textile conditioning from the educational resources on the ASTM International textile standards portal.
How Does the Lab Validate Bulk Production Against the Approved Lab Dip?
The lab dip approval is a sacred contract between us and your design team. You signed off on that tiny 4-inch swatch, and now we owe you 10,000 yards that look exactly like it. But bulk dyeing is not a photocopier. The dye bath is 800 kilograms, not 20 grams. The pressure, the flow rate, the cooling gradient—all of these variables shift the final shade.
Our lab acts as the bridge. We create what we call a "production standard"—a lab dip made not in a glass beaker on the countertop, but in our pilot-scale sample dyeing machine that uses the exact same liquor ratio and pressure curve as the big production jets. This production standard accounts for the thermal history that the fabric will experience in bulk, which a hand-dipped lab sample completely misses.
Then, during bulk dyeing, our lab technician pulls a "shot sample" every 30 minutes from the sampling port of the jet dyeing machine. The shot sample is dried quickly, conditioned, and measured on the spectrophotometer against the production standard’s stored reflectance curve. The Delta E must stay below 0.8 on the CMC 2:1 scale. If it drifts to 1.2, the head dyer gets an alert to adjust the bath—maybe add a touch more yellow, maybe extend the hold time by 5 minutes. This is real-time color management, not end-of-batch guesswork. One of our denim clients from Texas told me last year that our shot-sample protocol cut their bulk shade rejection rate from 7% to under 1%. That’s real money staying in their pocket.
- Learn about the principles of real-time dye bath monitoring from the technical literature on the Datacolor color management solutions for industrial dyeing.
- Explore the CMC 2:1 color tolerance formula and its textile industry applications via the X-Rite color difference education hub.
Why Does Weaving Density Impact Your Final Garment Quality?
Weaving is geometry. It’s not art; it’s math. The number of warp ends and weft picks per inch determines everything about your fabric: its strength, its drape, its ability to hold a printed line, and its shrinkage behavior after washing. Get the density wrong, and you can dye it perfectly, print it beautifully, and still ship a garment that bags out at the elbows after three wears.
I’ve seen fast-fashion importers push for a looser construction to shave $0.15 per yard off the raw material cost. They get a fabric that feels soft and heavy in the hand—because air is free, and loose fabric traps air. But the first time the consumer sits down in those pants, the yarns shift, the interstices open up, and the garment looks ten years old by lunchtime. We refuse to compromise on density specifications, even when clients ask us to "value engineer" the cost down. Here’s how we control it.
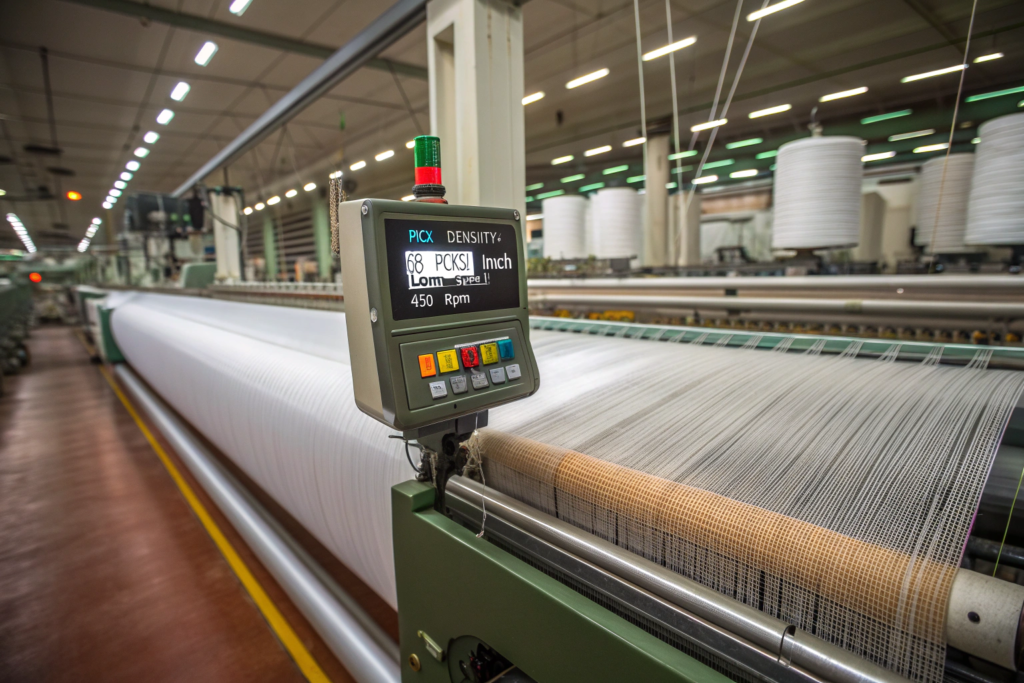
How Do We Ensure Consistent Pick Count Across 40 Running Looms?
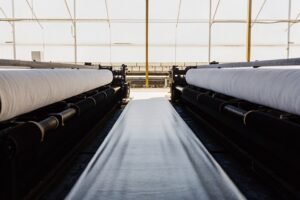
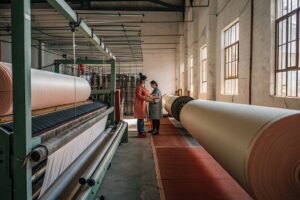
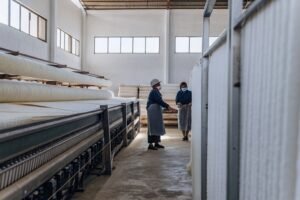
Our weaving shed has 40 rapier looms running simultaneously, often on different orders for different clients. A loom is a mechanical beast. It vibrates, it heats up, the gears wear, the reed dents accumulate micro-damage. Over a 12-hour shift, a loom’s pick count can drift by 1 or 2 picks per inch if the take-up mechanism isn’t perfectly calibrated.
We prevent this drift with a simple but relentless protocol. Every single loom has an electronic pick counter with a digital readout. Every 2 hours, the shift supervisor walks the line with a handheld pick glass—a small magnifying lens with a calibrated scale—and counts the picks per inch on the fabric currently being woven, right there on the loom, before the take-up roll. He compares the visual count to the electronic counter and the job card specification. If the visual count shows 66 picks and the job card says 68, he stops the loom immediately and adjusts the take-up gearing. The fabric already woven at the wrong density is flagged, cut out at the inspection table, and sold as a B-grade remnant. It never enters your order.
This also matters for your cutting room efficiency. A fabric that varies in density by even 2% across its width will spread differently on the cutting table. The marker that fit perfectly on 58-inch wide fabric with 68 picks suddenly doesn’t align when the fabric is 57.5 inches wide with 67 picks. We’ve had clients report a 3% improvement in their cutting yield after switching to us from suppliers with looser density tolerances.
- Understand the function of electronic take-up systems on modern rapier looms from the technical documentation on the Picanol weaving machine technology portal.
- For a practical guide on using a pick glass for fabric density inspection, read the resources on the Textile School fabric analysis methods page.
What Shrinkage Tests Do We Perform on the Loomstate Greige?
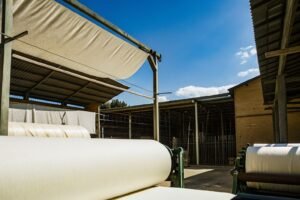
You can’t control shrinkage on finished fabric if you don’t know the shrinkage potential of the greige fabric fresh off the loom. Woven cotton fabric is under enormous tension during weaving. The warp yarns are stretched like guitar strings to maintain a clean shed for the weft insertion. When that tension is released, the fabric relaxes and shrinks, especially in the warp direction.
We run a "boil-off shrinkage test" on a sample from every single greige roll. We cut a 50cm x 50cm square from the end of the roll, mark it with a permanent grid, and submerge it in a boiling water bath for 30 minutes with a mild wetting agent. No mechanical agitation—just hot water relaxation. We then dry it flat and measure the grid. The percentage dimensional change is recorded on the roll ticket.
This number is the critical handoff parameter to our dyeing and finishing department. If the greige shows 8% warp shrinkage, our finishing team knows they need to mechanically overfeed the fabric into the stenter frame by at least 8% to compensate. If we skip this test and just guess, we either under-compensate—and your garment shrinks in the first home wash—or over-compensate—and the fabric is overstretched, causing low tear strength. Last winter, a heavy brushed cotton twill for a workwear brand showed 11% greige shrinkage. Our finishing team adjusted the stenter overfeed to 12%, and the final finished fabric had a residual shrinkage of only 1.5%, well within the ASTM D4154 maximum of 3%. The brand’s production manager emailed us to say it was the most dimensionally stable flannel he’d ever cut.
- Learn about the ASTM D4154 standard for woven fabric shrinkage from the textile testing methodology resources on the ASTM International standards database.
- Explore the science of fabric relaxation and dimensional stability via the technical articles on the Fibre2Fashion textile finishing knowledge hub.
How Does Our Dyeing Partnership Maintain Batch-to-Batch Shade Control?
Our dyeing partnership is the most carefully managed relationship in our entire supply chain. We don’t own the dyehouse, but we may as well—our QC team is embedded there full-time, not just visiting for final inspections. This cooperative dyeing facility processes over 15 tons of fabric daily for Shanghai Fumao alone, and they’ve calibrated their entire operation around our quality protocols.
The core challenge in bulk dyeing is batch-to-batch consistency. You order 5,000 yards of olive green twill in March. In July, you re-order the exact same fabric for a replenishment run. If the July batch doesn’t match the March batch, you can’t mix them on the cutting table, and you end up with garment lots that can’t be packed together in the same carton for retail distribution. Here’s how we solve this.
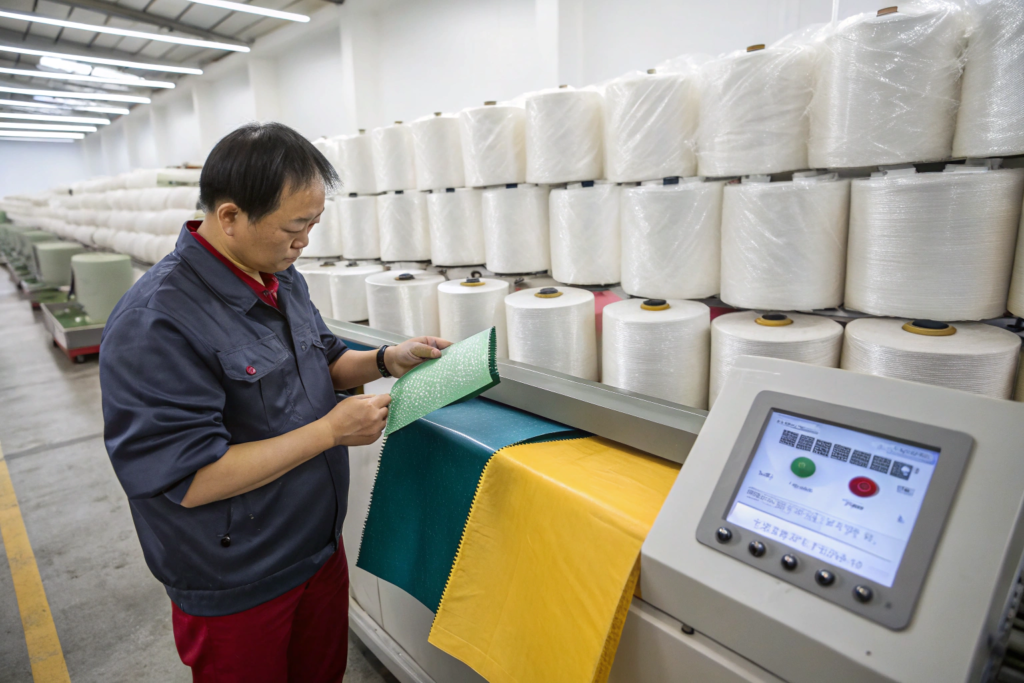
What Is a "First-Batch Retention" and How Does It Guarantee Reorder Matches?
When we complete your first bulk production order, we don’t just ship everything and archive the paperwork. We physically cut a 2-yard retention sample from the middle of the production run. This sample is sealed in a black polyethylene bag to protect it from light and dust, labeled with your client code, PO number, color name, and the exact dye recipe used—including the specific dye manufacturer lot numbers for each colorant. This bag goes into our climate-controlled retention library, which now holds over 6,000 samples dating back to 2018.
When your reorder comes in six months later, we pull this retention sample. It becomes the master standard for the new production, overriding the original lab dip and even the Pantone chip. Our dye lab matches the new batch to the old retention sample, not to the abstract color standard. This accounts for any subtle shade evolution that may have occurred in the original production that you already approved and sold to your customers.
We also scan the retention sample on the spectrophotometer and store its reflectance curve data digitally. When the new batch is in process, the shot samples are compared against this stored digital fingerprint. The Delta E target for a reorder match is even tighter than for a new development—we aim for below 0.6 CMC 2:1. This is how a workwear brand client of ours has been ordering the same navy blue poly-cotton twill for their security guard uniform program for five consecutive years, and the pants made in 2020 are indistinguishable from the pants made in 2025 on the same retail rack. That’s the power of a disciplined retention system.
- Understand the principles of textile color archiving and reorder matching from the color communication standards on the Pantone digital color management platform.
- Learn about spectrophotometer-based shade sorting for bulk textile production via the technical resources on the Datacolor industrial color software blog.
Why Is PH and Temperature Monitoring Critical for Reactive Dyeing?
Reactive dyes bond chemically with cotton cellulose fibers. That chemical reaction is exquisitely sensitive to pH and temperature. Get the pH wrong by half a point, and the dye doesn’t fix properly—it washes out in the soaping step, leaving you with pale, dull fabric that bleeds color onto your customer’s white t-shirt. Get the temperature wrong by 5 degrees Celsius, and the dye hydrolyzes—it reacts with the water instead of the fiber, and you’ve just created expensive colored wastewater with nothing to show for it on the fabric.
Our embedded QC team monitors the dyehouse’s pH and temperature logs in real time. Every jet dyeing machine is equipped with inline pH probes and temperature sensors that feed data to a central SCADA (Supervisory Control and Data Acquisition) system. The ideal pH window for most reactive dyeing is 10.8 to 11.2, maintained by a precise dosing pump that adds soda ash solution at a controlled rate. If the pH drifts outside this window, an alarm sounds, and the dyeing cycle is paused until the bath is corrected.
Temperature is equally critical, especially during the "migration phase" when the dye is moving from the water onto the fiber surface. We ramp the temperature at 1.5 degrees Celsius per minute to 60 degrees for warm-reactive dyes, or 80 degrees for hot-reactive dyes, and hold it there for exactly 45 minutes. Not 42 minutes because the shift is ending. Not 50 minutes "just to be safe." Exactly 45. This thermal discipline ensures that the dye fixation percentage is consistent batch to batch. A batch fixed at 60 degrees for 42 minutes will have a 3-5% lower fixation rate than one fixed for 45 minutes, and that difference shows up as a visible shade variation and a lower wet colorfastness rating.
- For a comprehensive guide to reactive dyeing chemistry and pH control, read the technical resources on the Textile School reactive dyeing process page.
- Explore the industrial SCADA systems used for real-time textile process monitoring via the technology case studies on the Siemens textile automation blog.
What Defect Checks Does Our Embroidery and Coating Line Follow?
Embroidery and coating are the finishing touches that elevate a basic fabric into a premium product. They’re also the processes most vulnerable to hidden defects that don’t show up on a standard 4-point fabric inspection. A skipped stitch in an embroidered logo that frays after three washes. A microscopic pinhole in a waterproof PU coating that leaks on the first rainy commute. These defects are catastrophic at the retail level because they destroy the end-user’s trust in your brand.
We treat our embroidery and coating QC not as a final checkpoint, but as a parallel production line with its own inspection protocols, its own defect library, and its own stop-and-fix authority. The operators on these lines know they can—and must—halt production if they see a pattern of defects emerging.
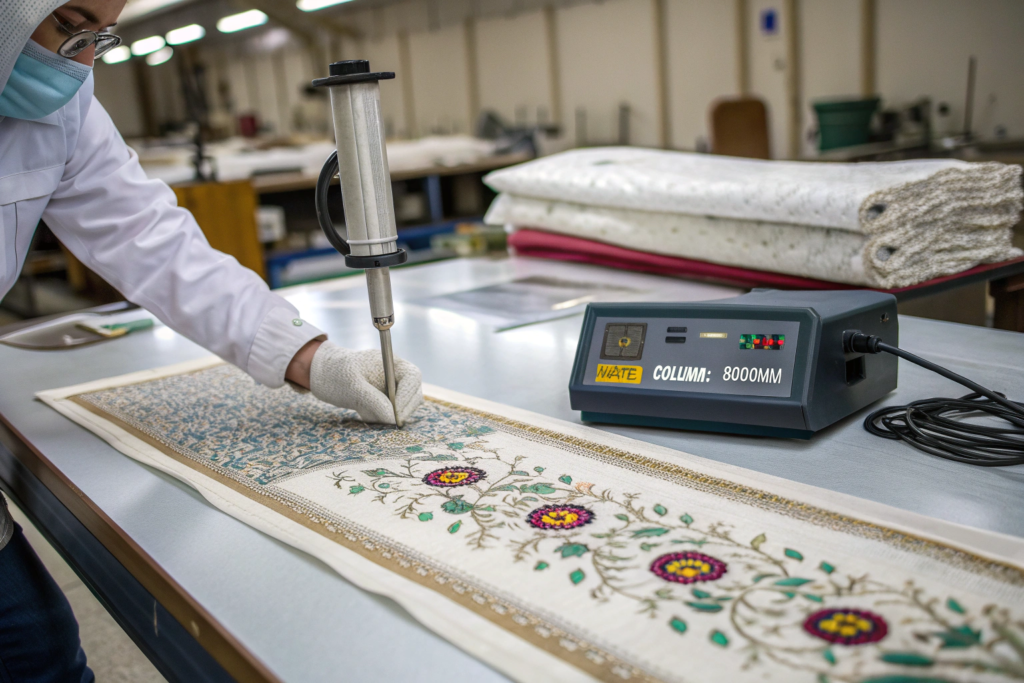
How Do We Inspect Embroidery Tension and Backside Thread Management?
Embroidery is a high-speed, multi-needle process. A typical 12-head Tajima embroidery machine is punching 850 stitches per minute through your fabric. Every needle penetration is a potential weak point. If the top thread tension is too high, the fabric puckers around the logo, creating a wrinkled halo that screams "cheap." If the bobbin tension is too low, the backside of the embroidery shows loose loops and bird’s nests that will snag and unravel.
Our embroidery QC protocol inspects both sides of the fabric. The front is checked for design integrity, stitch density, and puckering under a magnifying ring light. The backside is inspected on a light table, where loose threads, skipped stitches, and tension imbalances are immediately visible as dark shadows. We use a tension gauge to measure the top thread tension in grams on every head of every machine at the start of each shift. The tolerance is narrow—between 100 and 120 grams for a standard 120D polyester embroidery thread on a medium-weight cotton base.
(Here I need to mention something important: embroidery backside management is where most mills cut corners. They use cheap, weak bobbin thread that reduces thread breaks during embroidery but disintegrates in the first home wash. We use a high-tenacity polyester bobbin thread that costs $2 more per cone. It’s invisible to your customer, but it means the embroidery stays locked and flat through 50 wash cycles, not 10.)
We also run a "stretch-and-recover" test on embroidered fabric. We pull a sample 10% in both directions by hand, simulating the stress of wearing and washing. If the embroidery threads snap or the fabric distorts around the design, the batch is failed. This caught a problem last spring with a metallic embroidery thread that was too brittle. We switched to a different brand and retested before shipping.
- For technical specifications on embroidery thread tension and machine settings, consult the educational resources on the Madeira embroidery thread technical support portal.
- Learn about common embroidery defects and their root causes from the troubleshooting guides on the Tajima embroidery machine knowledge base.
How Do We Test Coating Adhesion and Waterproof Integrity?
Coating—whether it’s a clear PU waterproof backing, a silver UV-reflective layer, or a colored acrylic pigment coat—is a chemical film applied to the fabric surface. If that film doesn’t bond properly to the fibers, it will delaminate, crack, and peel off like sunburned skin. The failure is ugly and irreversible.
Our coating QC starts with a simple but brutal adhesion test. We take a sample from the beginning, middle, and end of every coated roll. We apply a strip of high-tack 3M 898 filament tape to the coated surface, burnish it down with a roller, and then rip it off at a 90-degree angle with one swift motion. The tape is inspected for any coating residue. If the coating lifts off the fabric onto the tape, the adhesion has failed. The entire roll is rejected. This test follows a modified ASTM D3359 cross-hatch adhesion method, adapted for flexible textile substrates.
For waterproof coatings, we run a hydrostatic head test on a samples from each roll. The fabric is clamped into a machine that applies increasing water pressure to one side. A digital sensor detects the moment the first drop of water penetrates through to the other side. For a standard rain jacket fabric, we require a minimum of 5,000mm water column. For heavy-duty outdoor gear, 10,000mm or higher. We test three points across the fabric width—left, center, and right—because coating thickness can vary across the width of the coating knife. If any point falls below spec, the roll is segregated for a lower-grade application or re-coated.
A European outdoor equipment brand we supply ran their own independent audit on our coated ripstop nylon last year. They sent random samples to an SGS lab in Switzerland for hydrostatic head verification. Our measurements matched SGS measurements within a 3% margin of error across all 20 tested samples. The brand’s technical director told us it was the most consistent coating quality he’d seen from an Asian supplier in his 15-year career.
- Understand the ASTM D3359 standard for coating adhesion testing from the official test method descriptions on the ASTM International coatings standards portal.
- Learn about hydrostatic head testing for waterproof textiles from the technical guides on the James Heal textile testing equipment blog.
Conclusion
Quality across five production lines isn’t a single inspection at the shipping dock. It’s a chain of interconnected checks, each one feeding data into the next, from the yarn strength test before weaving, to the boil-off shrinkage measurement on greige fabric, to the real-time pH monitoring in the dye bath, to the hydrostatic head test on the coated final product. Break one link, and the garment that reaches your customer’s closet is a ticking time bomb of returns and bad reviews.
Our CNAS lab sets the baseline that every other line measures against. Our weaving shed treats pick count as a mathematical constant, not a suggestion. Our dyeing partnership archives your first batch so your reorder matches like a twin. And our embroidery and coating lines inspect both sides of the fabric because your customer sees the inside of a hoodie every time they pull it over their head.
You don’t need to audit five separate factories in China to get this level of integration. That’s the entire point of what we’ve built at Shanghai Fumao—a single quality architecture spanning weaving, dyeing, embroidery, coating, and printing, all speaking the same language of spectrophotometers, Delta E tolerances, and ASTM standards. If you’re tired of managing a chaotic web of subcontractors and want one quality report that covers your entire fabric from yarn to finished roll, reach out to our Business Director Elaine at elaine@fumaoclothing.com. She’ll set up a video walkthrough of our lab and inspection stations so you can see this system in action, live from Keqiao.