You are a small brand. You do not have a textile lab. You do not have a $50,000 spectrophotometer or a climate-controlled conditioning room. But you have a prototype hoodie in your hands, and you need to know if it will shrink, pill, or bleed before you order 500 meters of fabric and cut 300 units. Your supplier sent a mill test report, but it is six months old and you are not entirely sure it applies to your actual production lot. You can either trust the paper and pray, or you can wash the prototype yourself and find out what your customer will actually experience. The second option is free, takes a weekend, and has saved more small brands from catastrophic returns than any third-party inspection.
Home wash testing is not a replacement for accredited lab testing. A home test will not give you a legally defensible AATCC 135 report. But a well-executed home test will catch catastrophic failures—fabric that shrinks 8%, seams that pucker permanently, dye that bleeds onto everything in the load—before they reach your customer. At Shanghai Fumao, I encourage every new brand client to wash test their prototypes at home, and I provide the simple protocols that mimic what a lab would do. I am going to show you how to set up a shrinkage test, a color bleed test, and a durability observation protocol using nothing more than your home washing machine, a ruler, a permanent marker, and your smartphone camera.
How to Set Up a Reliable Shrinkage Test at Home?
Shrinkage is the number one quality complaint in online apparel reviews. It is also the easiest fabric failure to catch at home, provided you measure precisely, mark permanently, and wash consistently. A home shrinkage test will not give you a percentage accurate to one decimal place. It will tell you whether your prototype fabric shrinks 2% (manageable), 5% (requires pattern adjustment), or 10% (reject the fabric and find a new supplier). That information is worth the hour it takes to run the test.

What Household Items Replace a Fabric Shrinkage Template?
You need a flat surface, a ruler, and a permanent fabric marker. A clear acrylic quilting ruler is ideal because it has a grid printed on it and you can see the fabric through the ruler. A metal carpenter’s square also works. Do not use a flexible tailor’s tape measure for the marking—it stretches and introduces measurement error.
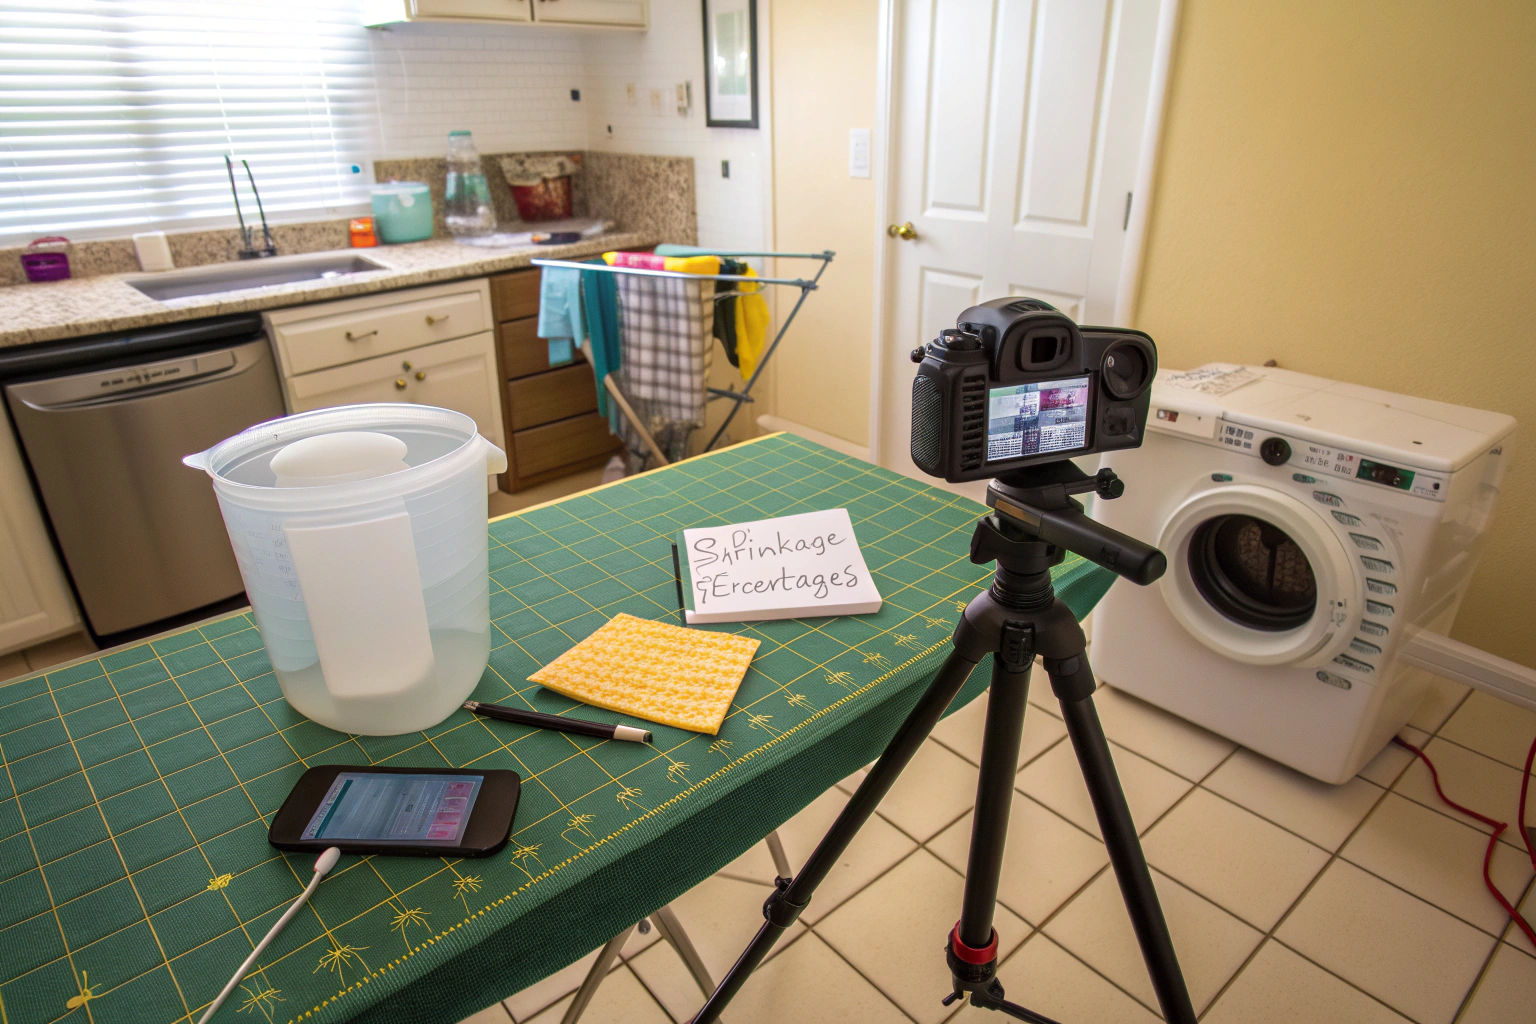
Lay the fabric flat on a hard surface. Smooth it gently. Do not stretch it. Draw a precise 50cm by 50cm square with the permanent marker. Mark the warp direction (along the length of the fabric) and the weft direction (across the width) with arrows and labels. Take a clear, well-lit photo of the marked square with the ruler still in the frame. This photo is your "before" reference. If the fabric is a knit, the edges may curl. Pin the corners down to a piece of cardboard, mark the square, then remove the pins before washing. The mark must survive the wash. A laundry marker or a Sharpie works on most fabrics. Test the marker on a hidden seam allowance first to confirm it does not wash out.
How Many Wash-Dry Cycles Simulate a Month of Customer Use?
One wash cycle tells you the relaxation shrinkage—what happens the first time the fabric gets wet. It does not tell you the progressive shrinkage—what happens over repeated laundering. A customer washes their hoodie or tee shirt every week or two. Over a month, that is two to four cycles. Over a season, that is ten to fifteen cycles.
For a home test, three complete wash-dry cycles is the minimum that produces useful data. Three cycles reveal whether the fabric stabilizes after the first wash (good) or continues shrinking with each cycle (bad). After each cycle, re-measure the marked square and record the length and width to the nearest millimeter. Plot the three data points. A fabric that shrinks 2% in the first wash, 1% in the second, and 0.5% in the third is stabilizing. A fabric that shrinks 3% in the first wash, 3% in the second, and 3% in the third has a progressive shrinkage problem and will be unwearable after a month of use. This fabric should be rejected, regardless of what the supplier’s lab report says.
How to Test for Color Bleed with Kitchen Supplies?
Color bleed is the second most common quality complaint, and it is devastating because the damage extends beyond the garment. A red hoodie that bleeds in the wash stains an entire load of laundry. A navy blazer that crocks onto a white leather handbag ruins two products at once. You can catch both types of color transfer at home with supplies already in your kitchen.

What Is the "White Towel Rub Test" for Dry and Wet Crocking?
The white towel rub test is a simplified, qualitative version of the AATCC crocking test. You need a clean white cotton cloth—a dish towel, a handkerchief, or a piece of plain cotton fabric. Do not use a microfiber cloth; it grabs differently than cotton and will give misleading results. Do not use a printed or dyed cloth; you need pure white to see the color transfer.
For the dry rub, hold the white cloth firmly against the fabric and rub back and forth ten times across a small area. Apply moderate pressure—roughly what the fabric would experience when a wearer sits on a fabric-covered chair. Look at the white cloth. A faint trace of color is acceptable for dark shades. A visible, distinct stain is a problem. For the wet rub, dampen the white cloth with room-temperature water, wring it out until it is not dripping, and repeat the ten rubs. The wet rub is always worse, but a good fabric should still only transfer a faint trace. If the wet cloth comes away deeply stained, the fabric will bleed in the wash and crock onto other garments and surfaces.
How to Use a Glass of Warm Water to Test "Bleeding" Before a Full Wash?
Fill a clear drinking glass with warm water—about 40°C or 105°F, roughly body temperature. Cut a small swatch of the fabric, about 5cm by 5cm. Submerge it completely in the water. Stir gently with a spoon for 30 seconds. Let it sit for 30 minutes. Observe the water.
If the water remains clear, the dye is well-fixed. If the water takes on a faint tint, the fabric has some loose surface dye, and a wash with like colors is recommended. If the water turns distinctly colored—dark blue, deep red, strong yellow—the fabric has a catastrophic fixation failure and will bleed heavily in the first wash. This glass-of-water test is a rapid screening tool. It takes 30 minutes and reveals exactly what will happen in your customer’s washing machine. I run this test on every new dark-colored fabric sample that enters the Shanghai Fumao development room.
How to Observe Seam Puckering, Pilling, and Hand Feel Changes?
Wash testing is not just about numbers. It is about the visual and tactile changes that turn a beautiful prototype into a customer return. Seam puckering, surface pilling, and hand feel degradation happen gradually over multiple washes, and they are easy to miss if you only look at the garment fresh out of the box. You need to observe the prototype after each wash cycle, document what you see, and compare it against the unwashed control sample.

What Are the Early Signs of Seam Failure to Watch For?
Seam puckering is the first visible sign of a fabric and sewing thread mismatch. After the first wash, lay the garment flat and look at every seam under good light. Run your finger along the seam. A flat, smooth seam is fine. A seam that has developed small gathers, waves, or ripples is puckering. Puckering occurs when the sewing thread shrinks at a different rate than the fabric, pulling the fabric into tiny folds.
Mark any puckered seams with a pinned note and photograph them. After the second wash, check the same seams. If the puckering is unchanged, the seam stabilized after the first wash and the garment is acceptable. If the puckering is worsening, the thread and fabric are incompatible, and the seams will look progressively worse with each wash. This is a construction defect that requires a different sewing thread or a different stitch density.
How to Use a Smartphone Camera to Document Pilling Over Multiple Washes?
A smartphone camera with a macro lens or a clip-on macro attachment is a powerful pilling documentation tool. Pilling—the formation of small, fuzzy balls on the fabric surface—develops gradually and is easy to miss if you rely on memory. Photographs taken under the same lighting, at the same angle, at the same magnification, reveal the progression objectively.
Place the garment on a flat surface under a desk lamp. Position the lamp at a low angle to the fabric surface so the light rakes across the texture. Set the smartphone on a tripod or prop it against a stack of books. Focus on a high-abrasion area: the underarm, the side seam, the elbow. Take a photo before the first wash. Take another photo after the third wash. Take a final photo after the fifth wash. Zoom in and compare the three images side by side. Pills that were absent in the first photo and numerous in the third are evidence that the fabric has a pilling problem. This photographic evidence is far more convincing to a supplier than an email saying "the fabric is pilling."
How to Interpret Your DIY Results and Decide on Bulk Approval?
You have run the shrinkage test, the crocking test, and the visual inspection. You have three measurements of the marked square, a stained or clean white cloth, and a series of photos. Now you need to turn those observations into a decision: approve the bulk, approve with conditions, or reject and re-source. The thresholds are not as precise as a lab report, but they are clear enough to prevent a disaster.

What Shrinkage Percentage Is a "Red Flag" vs. "Acceptable"?
For knit fabrics, total shrinkage after three wash-dry cycles of less than 3% in length and width is acceptable for most apparel. The pattern maker can adjust the marker to compensate. Shrinkage between 3% and 5% is a caution zone. The garment will fit tighter than designed, and some customers will notice. If the garment is oversized or relaxed-fit, this may be acceptable. If the garment is fitted, it is a risk. Shrinkage above 5% is a red flag. The garment will be visibly smaller, the customer will return it, and the reviews will hurt your brand.
For woven fabrics, the acceptable threshold is lower because wovens do not stretch to accommodate size changes. Shrinkage above 2% in length or width for a woven shirt or blazer is a concern. Shrinkage above 3% is a reject. The differential shrinkage—the difference between length and width shrinkage—matters as much as the absolute numbers. A fabric that shrinks 4% in length and 1% in width will distort the garment shape even if the area change is modest.
When Should You Trust Your Home Test Over the Supplier’s Lab Report?
Trust your home test over the supplier’s lab report when the two disagree significantly. A supplier’s lab report might have been generated from a different dye lot, a different production batch, or a sample that was specially prepared for testing. Your home test was performed on the actual prototype you will sell. If your home test shows 5% shrinkage and the supplier’s lab report shows 1.5% shrinkage, do not dismiss your results as amateur error. Send your marked, washed swatch back to the supplier with a photo of your measurements and ask them to explain the discrepancy.
At Shanghai Fumao, I take home test results from my clients seriously. If a client sends me a photo of a 50cm square that shrank to 47cm, I do not argue with their ruler. I pull the retained sample from the same bulk lot, run a new AATCC 135 test in our lab, and compare the results. Often, the home test catches a real variation that the original lab sample missed. A supplier who dismisses your home test without investigation is a supplier who does not stand behind their quality.
Conclusion
You do not need a laboratory to catch the fabric failures that destroy a brand’s reputation. A permanent marker, a ruler, a washing machine, a white cotton cloth, and a glass of warm water are enough to detect catastrophic shrinkage, color bleed, and surface degradation before you commit to bulk production. A three-cycle shrinkage test reveals whether the fabric stabilizes or continues shrinking. A wet and dry rub test reveals whether the color transfers onto other surfaces. A series of smartphone photographs documents pilling progression objectively. The results are not a substitute for an accredited lab report, but they are an early warning system that costs nothing and takes a weekend. If your home test and the supplier’s lab report disagree, investigate before you cut. The cost of a delayed order is measured in days. The cost of a customer return disaster is measured in brand years.
At Shanghai Fumao, I support my clients’ home testing efforts by providing pre-marked shrinkage swatches, detailed wash test protocols, and retained bulk lot samples for comparison when home results and lab results diverge. If you are developing a new product and want a fabric supplier who takes your quality verification seriously, please contact our Business Director, Elaine. She can send you a home wash test kit with marked fabric swatches, a protocol card, and a results interpretation guide. Email her at elaine@fumaoclothing.com. Let us catch the problems before your customer does.