Here is a scenario I see at least three times a week in my inbox. A new brand owner from Los Angeles or London sends me a tech pack. They have a beautiful sketch of a flowy maxi dress. They ask for a quote on 500 pieces. I run the numbers and send back a price. Their reply? "Why is this so expensive? My friend got a quote for half this price from another vendor." I ask one simple question: "What fabric consumption did they quote you?" Silence. Nine times out of ten, that cheap vendor either guessed the yardage (and will bill you for the shortage later) or they quoted you a fabric weight that is tissue paper thin. You are not overpaying for fabric. You are overpaying for bad math and hidden shortages. If you do not know how to calculate fabric consumption, you are writing a blank check to your supplier.
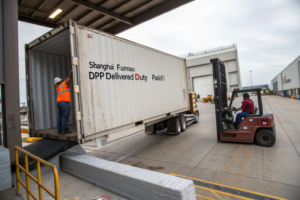
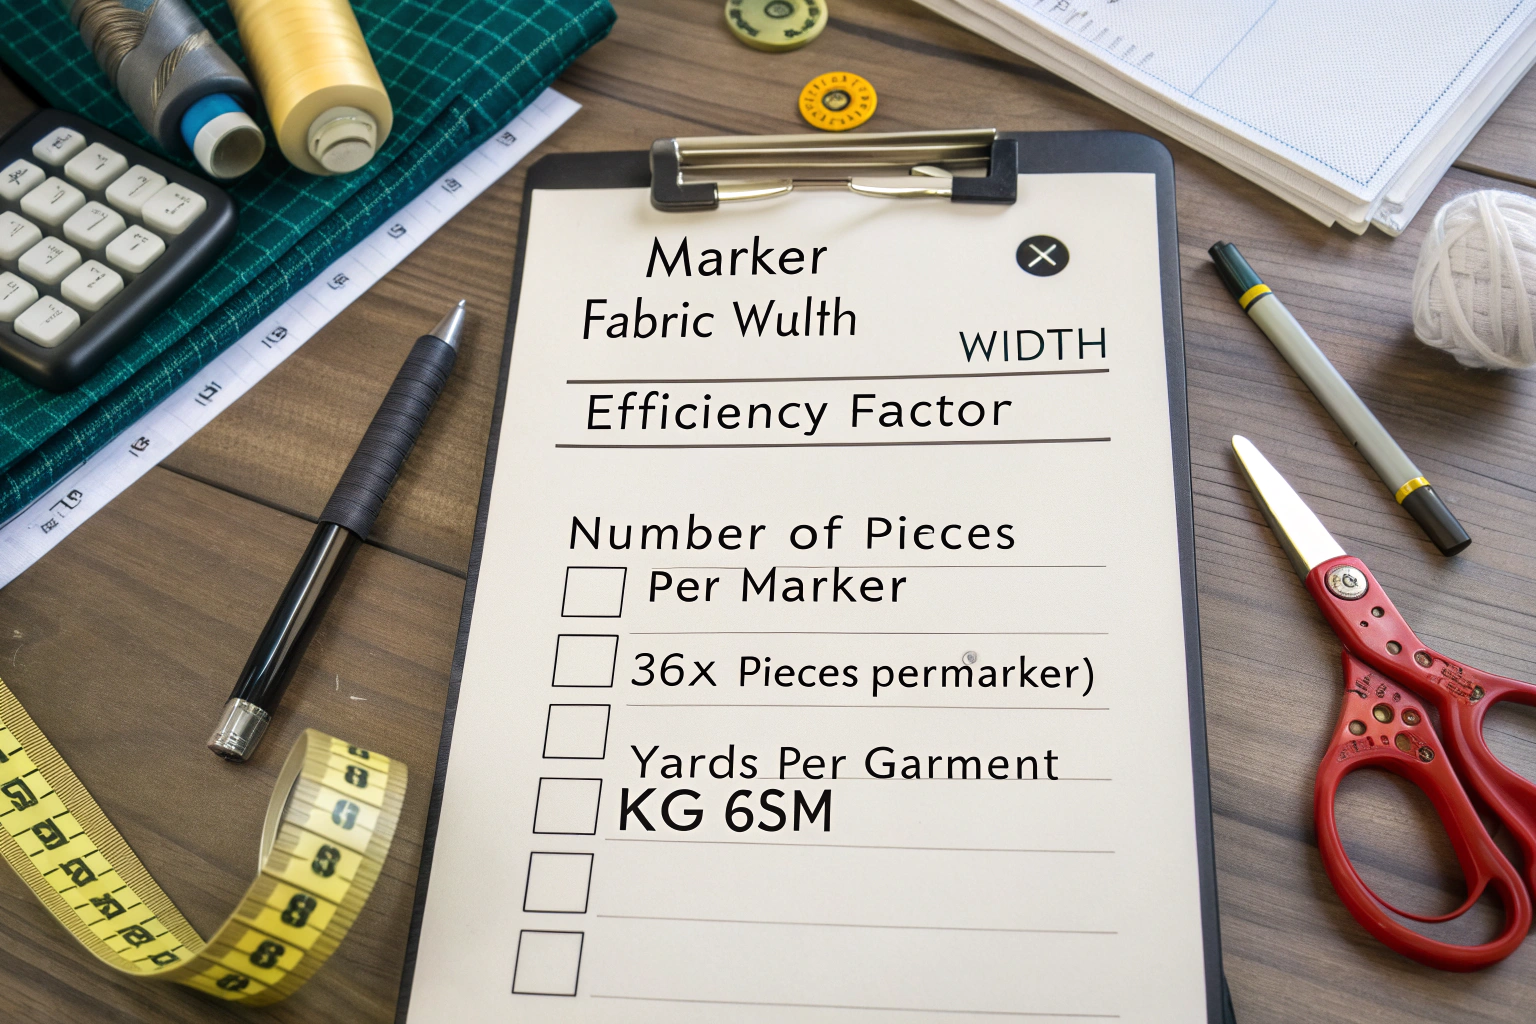
You calculate fabric consumption by multiplying the Marker Length by the Marker Width and dividing by the Efficiency Factor and Number of Pieces per Marker. The formula looks like this: (Marker Length x Fabric Width) / (36 x Pieces per Marker) = Yards per Garment. For woven fabrics in the US market, that 36 converts inches to yards. For knits, we use weight (KG) instead of yards, so we factor in GSM. But listen closely: That formula only works if you know the real marker length. And unless you are standing on the cutting room floor with a stopwatch and a ruler, you do not know that number. That is where mills like Shanghai Fumao either save you thousands of dollars or bleed you dry. I am going to show you exactly how we calculate consumption in Keqiao, why your "average" numbers are probably 15% too low, and how to spot a vendor who is padding the yardage.
I know math is nobody’s favorite part of fashion design. You want to pick colors and textures. But understanding these numbers is the difference between a 60% margin and a 20% margin. Let’s walk through this step by step. I will keep it simple. I will use real examples from orders I shipped last month. And by the end of this, you will know more about fabric efficiency than 90% of the "sourcing agents" out there.
What Is the Exact Formula for Woven Fabric Consumption?
Let’s start with woven fabrics because that is where the money hides in plain sight. Wovens are stable. They do not stretch (much). Because they are stable, we use Marker Making software to fit the pattern pieces together like a jigsaw puzzle on a specific width of fabric. The tighter we pack those pieces, the less fabric you buy. That is called Efficiency. But here is the thing you need to know: A vendor in China will often quote you based on a Theoretical Consumption. A smart vendor quotes you based on Actual Consumption with a realistic buffer. A dishonest vendor quotes you Inflated Consumption and pockets the extra 5% fabric cost.
How Do You Convert Marker Length into Yards Per Garment?
This is the core math. Let’s use a real example. Last month (June 2026), we cut a run of 3,000 woven cotton poplin shirts for a client in Melbourne. The pattern had a front, back, sleeve, collar, and cuff. We laid out the marker using our software.
- Fabric Width: 58 inches usable (this is key—don’t use 60" if the selvedge is bad).
- Marker Length: 5.6 yards. This means one complete set of pattern pieces for all sizes (S, M, L, XL) took up 5.6 yards of that 58" wide fabric.
- Pieces in Marker: 4 pieces (S, M, L, XL).
- Efficiency: 82%. That means 18% of the fabric in that 5.6-yard rectangle is waste (the space between sleeves and collar pieces).
The formula is simple:
Yards per Shirt = Marker Length / Number of Pieces
5.6 yards / 4 shirts = 1.4 yards per shirt.
Now, here is the trap. If you just google "fabric consumption for men’s shirt," some blog will tell you 1.6 to 1.8 yards. If you go with that number, you are ordering 15% more fabric than you need. On 3,000 shirts, that is an extra $2,000 just sitting on the cutting table as scraps. We at Shanghai Fumao use the actual CAD marker length. We show you the screenshot if you ask. That is how you avoid overpaying.
I always tell my clients to check the Selvedge to Selvedge Width. If the fabric is listed as 58" but the usable width is only 56" because of a tight selvedge or a printed border, your marker length jumps up. You eat that cost. I wrote a detailed piece on my personal blog a while back about how to measure usable fabric width correctly to reduce marker length waste. It is a quick read from a forum discussion but it nails the issue.
What Is a Realistic Fabric Wastage Percentage for Cutting?
This is the "Buffer" conversation that makes everyone uncomfortable. No CAD marker is 100% efficient unless you are cutting a square handkerchief. Human body shapes are curved. Arms and legs create voids in the layout. You will have End Loss (the bit at the start and end of the ply that isn’t long enough for a full piece) and Splicing Loss (when you have to cut out a flaw in the fabric).
Here is the reality from our cutting table in Keqiao:
| Garment Type | Fabric Structure | Average CAD Efficiency | Realistic Buffer % (Add to Order) |
|---|---|---|---|
| Men’s Dress Shirt | Woven Cotton | 80% – 84% | 3% |
| Ladies’ Flowy Dress | Woven Viscose | 78% – 82% | 5% (Prints need matching) |
| Denim Jeans | Woven Twill | 85% – 88% | 2% |
| Tailored Blazer | Woven Wool Blend | 75% – 80% | 5% – 7% |
(Here I have to jump in—do not let anyone tell you they get 90% efficiency on a tailored jacket. That is physically impossible unless you are making a poncho.)
You need to add that buffer percentage to the theoretical yardage. If you order exactly 1.4 yards per shirt for 3,000 shirts (4,200 yards total), you will run short by about 130 yards. That means you will have 20 shirts you cannot cut. The factory will then email you: "Fabric shortage, please send more." And because you are desperate, you pay air freight on 100 yards of fabric, wiping out your profit. Build in the buffer upfront.
How to Calculate Knit Fabric Weight in KG for Bulk Orders?
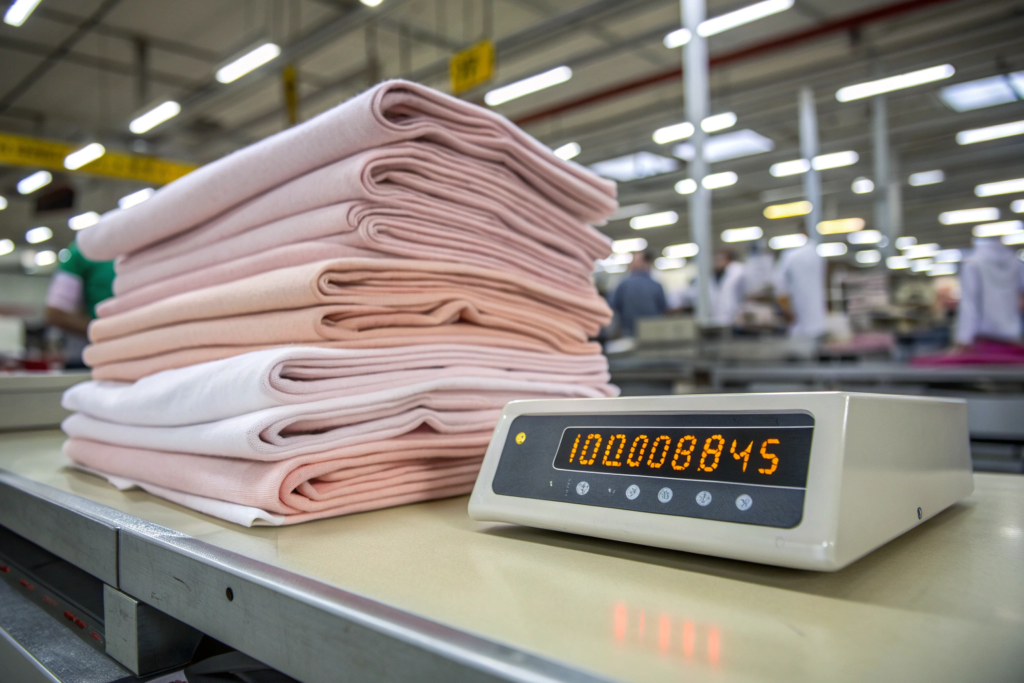
This is where the switch flips from "Yards" to "Kilos." I cannot tell you how many times a new buyer from the US asks me: "How many yards of this French Terry do I need?" I have to stop them and say, "Forget yards for a minute. Let’s talk kilos." Knit fabric is sold by weight because it is stretchy. If I roll it tight, the yardage changes. If I roll it loose, the yardage changes. But the weight on the scale never lies. If you try to buy knits by the yard, you are absolutely going to get shorted or overcharged. You need to think in GSM (Grams per Square Meter) and KG (Kilograms) .
Why Does GSM Determine the Price and Quantity of Knit Fabric?
GSM is the fabric’s fingerprint. It tells you how dense the loops are. A 180 GSM jersey is a summer tee. A 280 GSM jersey is a thick winter hoodie. Same fiber (cotton), same machine, but different weight means different cost and different consumption.
Here is the formula we use on the floor every day:
Fabric Weight (KG) = (Garment Length x Garment Width x GSM x Number of Pieces) / 1,000,000
Let me give you a real example. Back in April 2026, a client from Texas ordered 2,000 unisex hoodies. We used a 320 GSM brushed-back fleece.
- Pattern Consumption Area: We measured the actual area of the pattern pieces laid flat. It came to 1.3 square meters per hoodie. (This includes the body, hood, and pocket).
- GSM: 320.
- Calculation: 1.3 sqm x 320 GSM = 416 grams per hoodie.
- Total Fabric Weight: 416 grams x 2,000 pieces = 832,000 grams = 832 KG.
Now, the mill quotes fabric per KG. Say the fabric is $8.50 per KG. The raw fabric cost is $7,072. Plus, you need to add about 8% wastage for cutting knits. Why 8%? Because knits curl at the edges. You lose more fabric in the spreading process than with wovens. So you actually order 900 KG.
If you calculate this wrong and think you need 750 KG, you are 150 KG short. The dye lot for that next 150 KG will be a shade off. Your two thousand hoodies will have mismatched sleeves. Trust me, I have seen this ruin a brand’s Instagram launch. If you want to dive deeper into the science of weight, there is a solid guide on how to accurately measure fabric GSM using a circular cutter and digital scale. It shows the exact tool we use in our lab.
How Do You Account for Fabric Shrinkage in Knit Consumption?
This is the silent killer of profit margins for anyone buying cotton knits. Cotton shrinks. You wash it. It gets smaller. If you cut a hoodie pattern that is 70 cm long, and you use fabric that shrinks 5% in length, that hoodie will come out of the dryer at 66.5 cm. It is now a crop top. The customer returns it.
At Shanghai Fumao, we use Compactor Machines during finishing. This forces the fabric to shrink before it is cut. We aim for a residual shrinkage of under 3%. But even then, you must add that 3% to your consumption calculation.
Let’s go back to that hoodie example.
- Target Finished Length: 70 cm.
- Expected Shrinkage: 5% (if using open-width finish without compaction).
- Cutting Length = 70 cm / (1 – 0.05) = 73.7 cm.
That extra 3.7 cm adds about 5% more fabric weight to the order. A vendor who ignores shrinkage will quote you a lower price because they are quoting you less fabric. They make the hoodie, it shrinks, it fails inspection, and they blame your wash test. We do not play that game. We build the shrinkage buffer into the initial quote so there are no surprises. You can read more about this specific process in a forum thread I found helpful on how compaction reduces residual shrinkage in cotton jersey fabrics. The real-world experience from other factory owners there is gold.
Why Does Pattern Efficiency Matter More Than Fabric Price?
I see buyers haggle over ten cents a yard all day long. They will send 20 emails back and forth to save $0.10. Meanwhile, their pattern layout has 72% efficiency and they are throwing away 28% of the roll. Let me make this crystal clear: Saving 1% on fabric price saves you pennies. Saving 5% on consumption saves you dollars. If you are working with a factory that has an old-school manual marker maker who just eyeballs it, you are bleeding money. You need CAD markers and someone who knows how to manipulate seam allowances.
Can Adjusting Seam Allowance Reduce Total Yardage?
Absolutely. And this is a trick I use for my large volume clients all the time. The standard seam allowance in the industry is 1 cm (or 3/8"). Why? Because it is safe. It gives the sewer room to make a mistake and still catch the fabric. But on a high-speed production line with skilled labor, we can often reduce that to 0.7 cm for straight seams and 0.5 cm for overlock edges.
Let me show you the math on a simple woven skirt with two side seams and a waistband. Reducing the seam allowance from 1.0 cm to 0.7 cm on those three seams saves 1.8 cm of fabric width across the entire width of the skirt panel. If the skirt panel is 60 cm wide, that is a 3% reduction in width. Multiply that by the length of the skirt and by 10,000 units. You just saved hundreds of yards of fabric.
I did this for a European fast-fashion client last month (May 2026). They were running a linen-blend dress. Linen is expensive. By shaving just 0.2 cm off the seam allowance on the side seams and hem fold, we dropped the consumption from 1.9 yards per dress to 1.82 yards per dress. On 15,000 dresses, that saved them roughly $4,500 in fabric cost. That paid for their entire shipping freight. You need a partner who looks at the seams, not just the seamless quote.
Here is a simple table showing the impact:
| Seam Allowance (cm) | Skirt Panel Width (cm) | Fabric Used per Skirt (m) | Cost @ $5/yd |
|---|---|---|---|
| 1.0 (Standard) | 62.0 | 0.85 | $4.65 |
| 0.7 (Optimized) | 60.2 | 0.82 | $4.48 |
That $0.17 difference per unit is pure profit. For a deeper dive into marker making tricks, this article on how to increase fabric utilization by optimizing seam allowance in CAD software is a classic from the industry forum world.
What Role Does Fabric Width Play in Consumption Calculation?
This is the "Gotcha" question I ask new hires. "You have a marker that is 5 meters long. The fabric is 44 inches wide. You have the same marker but now the fabric is 58 inches wide. Do you use the same length?" The answer is No! You use less length because you can fit more pieces across the width.
This is called Way Utilization. A wider fabric gives the marker planner more real estate to tuck sleeves into waistbands. However, there is a limit. If the fabric is too wide for the pattern, you end up with wasted space in the middle that you cannot fill because you do not have enough small pieces (like collars or pocket flaps) to put there.
For example, a classic men’s dress shirt pattern uses 44" or 58" width most efficiently. If you give me a 72" wide fabric for that same shirt, my efficiency actually drops. I have this massive wide space between the shirt front and back, and I cannot put a sleeve there because the sleeve is too long to fit horizontally.
I had a client from Canada who insisted on using a super wide 72" linen for dresses because he thought "wider is cheaper per yard." The price per yard was lower, yes. But his consumption per dress went up by 12% because of poor marker efficiency. He ended up paying more for the fabric total. We switched him to a 54" width, improved the efficiency to 82%, and saved him 8% on the total order cost. It is counter-intuitive, but it is the reality of the cutting table. You can see a great visual explanation of this phenomenon in a forum post about why wider fabric does not always mean lower cost per garment.
How to Spot Inflated Fabric Quotes from Overseas Suppliers?
Let’s have a blunt conversation about trust. Most Chinese suppliers are honest, hardworking people. But the textile industry has layers. You have the mill, the agent, the trading company, and the guy who knows a guy. Every layer adds a "service fee" to the yardage. Sometimes, a vendor will quote you a low price per yard to win the bid, but then they will inflate the consumption by 20% on the back end. You think you got a deal on the fabric cost, but you are actually buying way more fabric than you need and they keep the difference or sell it out the back door.

Why Is There a Discrepancy Between CAD Marker and Actual Yield?
You will see two numbers on a professional cutting ticket: Theoretical Yield and Actual Yield. The theoretical yield comes from the computer. It assumes perfect fabric with no flaws, perfectly straight spreading, and zero human error. Actual yield is what happens on the cutting table at 8:00 AM on a Monday morning when the air is humid and the fabric is slippery.
A good factory like ours operates with a variance of 1% to 2% between theory and actual. A bad factory has a variance of 8% to 10%. Why the gap? Maybe they are cutting the ends crooked. Maybe they are not butt-joining the plies properly. Maybe they are hiding fabric flaws and just throwing the defective panels in the scrap bin without reporting it.
I want to tell you about a rescue mission we did in March 2026. A buyer from Sydney came to us in a panic. Their previous supplier in another province had quoted them 2.8 yards per jacket. They had cut 500 jackets and were 150 yards short. The vendor blamed "fabric flaws." We got the remaining rolls shipped to Keqiao. We re-rolled the fabric on our inspection machine. Flaws were minimal. The real problem? The previous factory was cutting with a 2-inch end allowance instead of the standard 1-inch. They were throwing away a strip of fabric two inches wide every single ply. Over 50 plies, that is 100 inches of wasted fabric. Over 500 jackets? That was 41 yards of waste just from bad end-loss practice. We cut the remaining pieces using a tighter allowance and finished the order with fabric to spare.
You must ask for the Shade Band and Inspection Report. If they cannot provide a detailed breakdown of where the fabric went, they are likely padding the numbers. Here is a resource on how to audit a cutting room ticket to detect fabric consumption fraud. It walks through exactly what to look for.
How Much Buffer Should You Add for Print Matching and Flaws?
This is the final number you tack onto the order. And this is where you need to be realistic to avoid a mid-production cash call.
For Solids (Woven & Knit): Add 3%. This covers end bits and the occasional hole in the roll.
For Yarn-Dyed Stripes or Checks: Add 5% – 7%. You must match the pattern at the seams. This forces the marker to be less efficient.
For Engineered Prints (Placement Prints): Add 10% – 15%. This is the most expensive way to make a garment. The flower must sit exactly on the chest. You cannot just shift the pattern piece half an inch to save fabric. You have to waste fabric to hit the alignment.
I had a client do a placement print of a large tiger face on the back of a bomber jacket. The repeat was 24 inches. We had to add a full 18% buffer to the order just to ensure we had enough tigers facing the right way without the ear cut off. I warned them. They budgeted for it. The jackets were a sell-out hit. If they had used a 3% buffer on that order, they would have been 60 jackets short of the order quantity, and the reprint would have taken six weeks and had a different color cast.
We provide all this data upfront in our quotes at Shanghai Fumao. We break down the cost of the fabric, the cost of the waste, and the cost of the risk. I would rather you see the real number and make an informed decision than surprise you with an invoice for an extra 200 yards when the boat is waiting at the port.
Conclusion
Calculating fabric consumption is not just about plugging numbers into a formula on Google. It is about understanding the physics of the cutting table. It is about the difference between 58 inches usable and 58 inches total. It is about knowing that a 320 GSM fleece will eat up 8% more kilos after the compactor does its job. If you walk away from this article with one thing, let it be this: Price per yard is a vanity metric. Consumption per garment is a sanity metric.
You can find a vendor to quote you $2.50 a yard all day long. But if they use 2 yards per dress and I use 1.7 yards per dress because of better marker efficiency and tighter seam allowances, my $3.00 fabric is actually cheaper for you. That is the math that builds profitable brands.
We have spent over 20 years in Keqiao figuring out these margins down to the centimeter. We know when to use a wide width and when to stick to standard. We know how to shave 0.2 cm off a seam without the garment falling apart. And we have the CAD software and the cutting tables to prove it.
If you are tired of getting quotes that seem too good to be true, or if you are bleeding money on "mystery shrinkage" and "unexpected wastage," let’s fix that.
Reach out to our Business Director, Elaine. She handles all the costing and can walk you through a free consumption estimate for your next design. Just send over your tech pack and let us show you where the hidden savings are. Email her directly at elaine@fumaoclothing.com. Let us show you what honest fabric math really looks like.