You’ve done everything right. You sourced a beautiful Tencel twill. You nailed the pattern grading. You spent a small fortune on digital printing. You cut 500 units and sew them meticulously. They look like a million bucks hanging on the rack. Then your first customer washes the garment in cold water, hangs it to dry, and tries it on. The sleeves are now two inches too short. The body is pulling across the chest. The hem is uneven. You just turned a premium $120 dress into a $20 clearance rack disaster because of one invisible variable: Residual Shrinkage.
Shrinkage is the silent assassin of apparel margins. It doesn’t show up in the lab dip. It doesn’t show up on the spec sheet the factory sent. It only shows up after the customer takes it home. And by then, it’s too late. The cost isn’t just the fabric. It’s the labor, the trims, the shipping, and the irreversible damage to your brand’s reputation. You can’t fix a garment that has already shrunk. You can only prevent it.
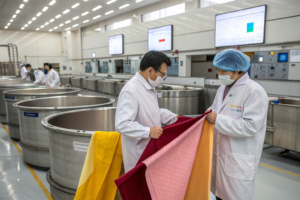
My name is Jack, and I run Shanghai Fumao. In my twenty years in this industry, I’ve seen shrinkage claims destroy more small brands than any other single quality issue. The irony is that shrinkage is entirely predictable and manageable if you test for it correctly before the blade touches the fabric. But most designers rely on the mill’s word or a vague "+/- 3%" note on a tech pack. That’s gambling. I’m going to show you exactly how we test for shrinkage in our CNAS-certified lab, and more importantly, how you can do a reliable test in your own studio before you commit thousands of yards to the cutting table.
What Is the Industry Standard Method for Fabric Shrinkage Testing?
There is a right way and a wrong way to test shrinkage. The wrong way is to take a scrap of fabric, wet it in the sink, wring it out, and hold it up next to a ruler. That tells you nothing useful. The right way follows a strict, repeatable protocol that simulates what actually happens inside a customer’s washing machine and dryer. This protocol is defined by international standards like AATCC 135 (for woven fabrics) and AATCC 150 (for knits). These standards exist so that a test done in a lab in Keqiao matches the result you’d get from a lab in North Carolina.
At Shanghai Fumao, our CNAS-accredited lab performs hundreds of these tests every month. The process is methodical. We don’t just look at a number. We look at the Dimensional Change in both the Warp (Length) and Weft (Width) directions. A fabric might shrink 2% in width (acceptable) and 8% in length (catastrophic). If you only checked one direction, you’re in trouble.
The core of the AATCC 135 method involves marking a specific distance on the fabric (usually 10 inches or 25 cm), washing it under controlled conditions (water temperature, detergent type, agitation speed), drying it under controlled conditions (tumble dry temperature or line dry), and then re-measuring the distance between the marks. The difference is your shrinkage percentage. It sounds simple, but the details of the "controlled conditions" are everything.
Why Does Wash Temperature and Dry Method Matter So Much?
You might think, "My customer washes in cold water." But do they? Do they always? What happens if they are traveling and use a hot wash? Or what if they throw it in the dryer on "Normal" instead of "Delicate"? You can’t control your customer’s laundry habits, but you can design for the Worst-Case Reasonable Scenario.
AATCC 135 defines different test options. For a garment labeled "Machine Wash Cold, Tumble Dry Low," the standard test is Test Method (1) II (A) iii. This specifies a 27°C (80°F) wash and a Tumble Dry at 60°C (140°F) . Notice the dryer temperature is hotter than the wash water. This is intentional. It simulates the aggressive heat of a home dryer.
Here is a real example from our lab at Shanghai Fumao. We tested a Modal jersey fabric.
- Cold Wash / Line Dry: Shrinkage was only 1.5%. Perfect.
- Warm Wash / Medium Tumble Dry: Shrinkage jumped to 6.5%. Disaster.
If we only tested the cold/line dry method, the client would have approved the fabric. Three months later, they would have a 10% return rate from customers who didn’t read the care label. We always recommend testing with the Tumble Dry method unless the garment is strictly "Dry Clean Only." Why? Because people are busy. They use the dryer. You need to know what the fabric will do when they inevitably do. You can find the official procedure in the AATCC Test Method 135 for dimensional change of woven and knit fabrics.
How Do You Read a Shrinkage Template Correctly?
In the lab, we don’t just use a ruler and a sharpie. We use a Shrinkage Template and Indelible Ink stamps. The template has precise 10-inch (254mm) benchmarks. We stamp the fabric with three pairs of marks in the length direction and three pairs in the width direction. Why three? Because fabric is not perfectly uniform. You need to average the results to get a true reading.
After washing and drying, we lay the fabric flat on a conditioned table (standard atmosphere of 21°C and 65% humidity for at least 4 hours). We do not stretch it. We do not iron it flat unless the care label specifically says "Iron." We let it relax naturally.
Then we measure the distance between the marks using a Calibrated Metal Ruler with 0.5mm gradations. The formula is:
Shrinkage % = ((Original Distance - Final Distance) / Original Distance) x 100
If the mark was 254mm and now measures 241mm:
((254 - 241) / 254) x 100 = (13 / 254) x 100 = 5.1% Shrinkage
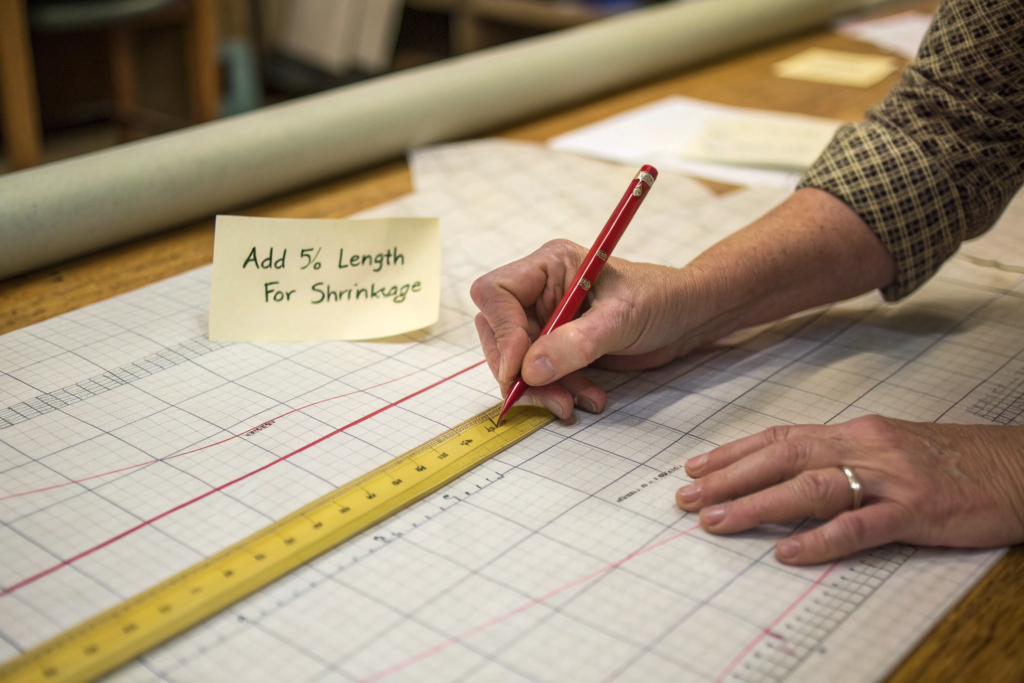
That 5.1% means that a 40-inch long dress pattern will become 38 inches long after washing. You must add that 5.1% back into your pattern grading before you cut. This is called Shrinkage Allowance.
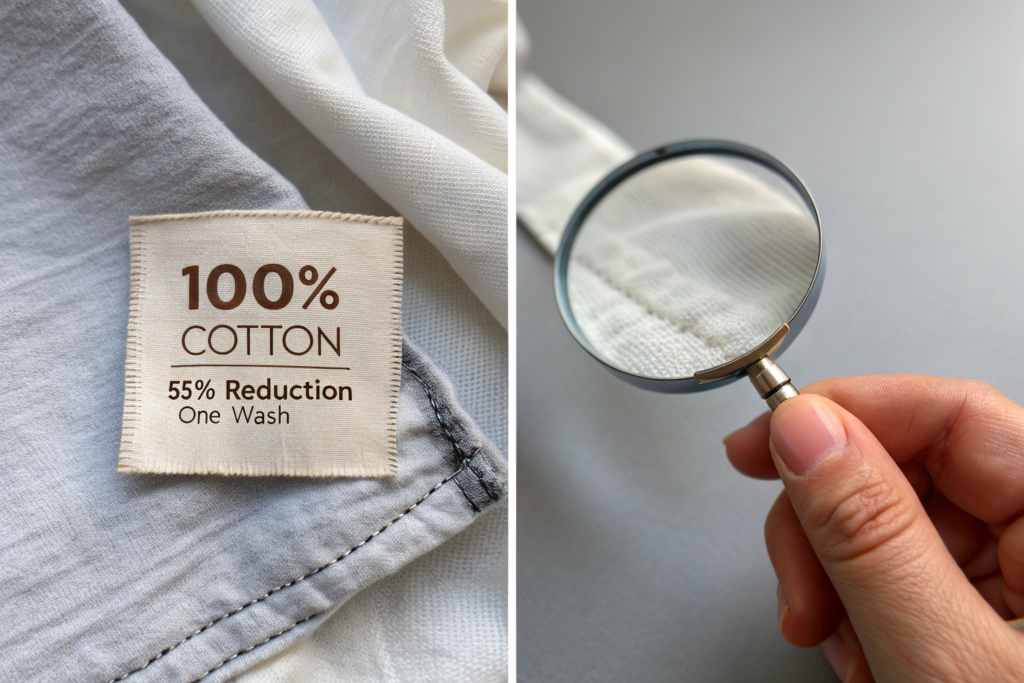
At Shanghai Fumao, we provide clients with a Shrinkage Test Report that includes a photo of the post-wash fabric with the ruler clearly visible. This isn’t just a number in an email. It’s verifiable proof of what the fabric did in our lab. (Here’s a pro tip: If a mill sends you a shrinkage report that just says "Pass – 3%," ask for the actual measurements. They might be rounding 4.9% down to 3%.)
How to Perform a Reliable Shrinkage Test in Your Own Studio?
You don’t need a $50,000 lab to get reliable shrinkage data. You need Discipline and Repetition. A well-executed home test is infinitely better than a sloppy lab test or, worse, no test at all. You can do this in your studio with a ruler, a washing machine, and a dryer.
The key is to Mimic the Customer Journey. You want to subject the fabric to the exact same mechanical and thermal stress it will face in the real world. This means you cannot baby the fabric. You must use detergent. You must use a normal cycle. You must let the dryer run its full course.
At Shanghai Fumao, we actually encourage our smaller clients to do this "Garment Wash Test" with their first sample yardage. It creates a shared understanding of the fabric’s behavior. If your test shows 7% shrinkage and our lab test showed 3%, we need to have a conversation about why before we cut bulk. Maybe the bulk fabric is different from the sample. Maybe your dryer runs hotter than our standard. Either way, we catch the discrepancy before it becomes a financial disaster.

What Is the "Cut and Wash" Method for Small Samples?
This is the most practical test for a designer working with a few yards of sample fabric. You don’t need a full template. You just need a precise square.
Step-by-Step Protocol (The Fumao Studio Method):
- Cut a Precise Square: Cut a sample exactly 50cm x 50cm (or 20 inches x 20 inches). Use a rotary cutter and a rigid ruler. Accuracy here is everything. Mark the Length (Warp) and Width (Weft) direction with a small arrow drawn in thread-safe marker on the back of the fabric. Never skip this step. You will forget which way is which after it comes out of the wash.
- Serge or Zigzag the Edges: If you just throw a raw-cut square in the wash, it will fray into a tangled ball of threads. You’ll lose your reference points. Serge all four edges or use a tight zigzag stitch on your home machine.
- Add "Makeweight": A washing machine needs a full load to agitate properly. If you just wash one small square, it floats gently in the water and doesn’t get the mechanical action of a real garment. Add Old Towels or Sheets to make up a 3-4 kg load. This is critical for accuracy.
- Use Standard Detergent: Don’t use Woolite or fancy eco-soap. Use a standard AATCC Approved Detergent (like Tide Free & Gentle) without fabric softener. Softener coats the fibers and can skew the shrinkage result.
- Wash and Dry: Run the exact cycle you intend to recommend on the care label.
- Measure: Remove from dryer immediately. Let it rest flat on a table for 30 minutes to cool down and re-absorb ambient moisture. Then, using your rigid ruler, measure the distance between your cut edges in the center of the square (edges may be distorted by the serging).
This method gives you a Real-World Shrinkage Percentage. Do it three times with three separate squares from different parts of the roll to check for consistency. You can read more about DIY testing best practices in this helpful guide on how to pre-wash and test fabric for shrinkage at home before sewing.
Should You Steam or Press the Fabric Before Measuring?
This is a huge point of confusion. If the care label says "Tumble Dry," Do Not Iron the fabric before measuring. The wrinkles and creases are part of the "relaxed" state of the fabric after drying. If you iron it flat, you are artificially stretching it back to its original dimensions. You will get a false, overly optimistic shrinkage number.
The only exception is if the garment is "Line Dry" or "Dry Flat." In that case, you should smooth the fabric gently by hand to remove major creases, but do not stretch it. You are trying to simulate how a customer would lay a sweater flat on a drying rack.
However, there is one scenario where pressing is useful: Relaxation Shrinkage Testing. Some fabrics (especially knits and spandex blends) have "Torque" or "Spirality." They don’t just shrink; they twist. A quick steam press without stretching can help you see if the fabric is skewing. If the 50cm square is now a 48cm parallelogram, you have a spirality problem that will cause side seams to twist around the body. That’s a different defect, but equally deadly. At Shanghai Fumao, we test for Spirality using AATCC 179. It’s a separate measurement from linear shrinkage but just as important for garment fit. You can learn more about this specific defect by reading about understanding and measuring fabric spirality or torque in knitted fabrics.
What Is the Difference Between Relaxation Shrinkage and Progressive Shrinkage?
This is the advanced class in shrinkage. Most designers stop at "How much did it shrink the first time?" But the real question is: "Will it keep shrinking every time I wash it?" This is the difference between Relaxation Shrinkage and Progressive Shrinkage.
- Relaxation Shrinkage: This happens the first time the fabric gets wet and heated. It’s the fibers and yarns relaxing from the tension they were under during weaving, dyeing, and finishing. The stenter frame stretches the fabric to hit a certain width target. The wash water releases that tension. This is normal and expected. You plan for it in your pattern.
- Progressive Shrinkage: This happens on the second, third, and tenth wash. It means the fiber itself is changing. Wool felts (the scales lock together). Viscose loses strength and compacts. Poor-quality cotton continues to compress because the yarn structure is weak.
Progressive shrinkage is a sign of a Cheap Fabric or a Bad Finish. A well-made, properly heat-set fabric should reach its "dimensional stability" after 1 to 3 wash cycles. After that, it should not change significantly.
At Shanghai Fumao, for high-risk fabrics like Viscose Challis or Linen Blends, we don’t just do one wash test. We do a 3-Cycle Wash Test. We measure after the 1st wash (relaxation) and again after the 3rd wash (progressive). If the fabric shrinks another 2% between wash 1 and wash 3, we flag it. That fabric is a ticking time bomb for a brand. A customer might wash it five times in the first month. That 2% progressive shrinkage on a maxi dress means the hem is dragging on the ground by the end of the season.
How Many Wash Cycles Should You Really Test?
For standard cotton/poly blends: 1 Cycle is usually enough to capture 90% of the total shrinkage.
For Viscose, Rayon, Tencel, Linen: 3 Cycles minimum.
For Wool and Cashmere (if washable): 5 Cycles to check for felting.
I had a client from Canada in October 2024 who was launching a line of "Washable Wool" blazers. She tested the wool fabric once. It shrank 2%. She approved it. Three months later, the returns started. The blazers were shrinking in the sleeves with every wash. The fabric was progressively felting. We pulled the batch and ran a 5-cycle test. The total shrinkage after 5 washes was 11%. The mill had used a cheap anti-felting treatment that washed out after the second cycle.
This is why we invest in Accelerated Aging Tests. We want to know what the garment looks like at the end of its life, not just at the beginning. This is the level of care that protects a brand’s reputation. You can dive deeper into this by reading a study on the progressive shrinkage of viscose fabrics during repeated laundering and how to test for felting shrinkage in washable wool textiles.
Does Fabric "Growth" Matter as Much as Shrinkage?
Yes. "Growth" is the opposite of shrinkage. It’s when a fabric gets bigger and baggier after washing or wearing. This is the curse of Spandex Fatigue. You put on a pair of skinny jeans. They fit like a glove. By 3:00 PM, the knees are baggy and the waistband is loose. You haven’t lost weight. The spandex yarn has "grown" and lost its recovery power.
This happens because the spandex was Over-Stretched during finishing or because the spandex content is too low for the fabric weight. We test for this in the lab using a Cyclic Stretch Test. We stretch the fabric to a specific percentage (say, 30%) and release it 1,000 times. We measure how much longer it is after the test.
For activewear and denim clients at Shanghai Fumao, this Fabric Growth Test is non-negotiable. A fabric that grows 8% after a few hours of wear is unsellable. It looks cheap. We spec fabrics with a maximum 3-4% growth after cyclic loading. This requires high-quality, core-spun spandex and proper heat-setting. It’s another reason our price per yard might be higher, but our client’s return rate is lower. You can find technical specifications for this by looking at ASTM D2594 standard test method for stretch properties of knitted fabrics having low power.
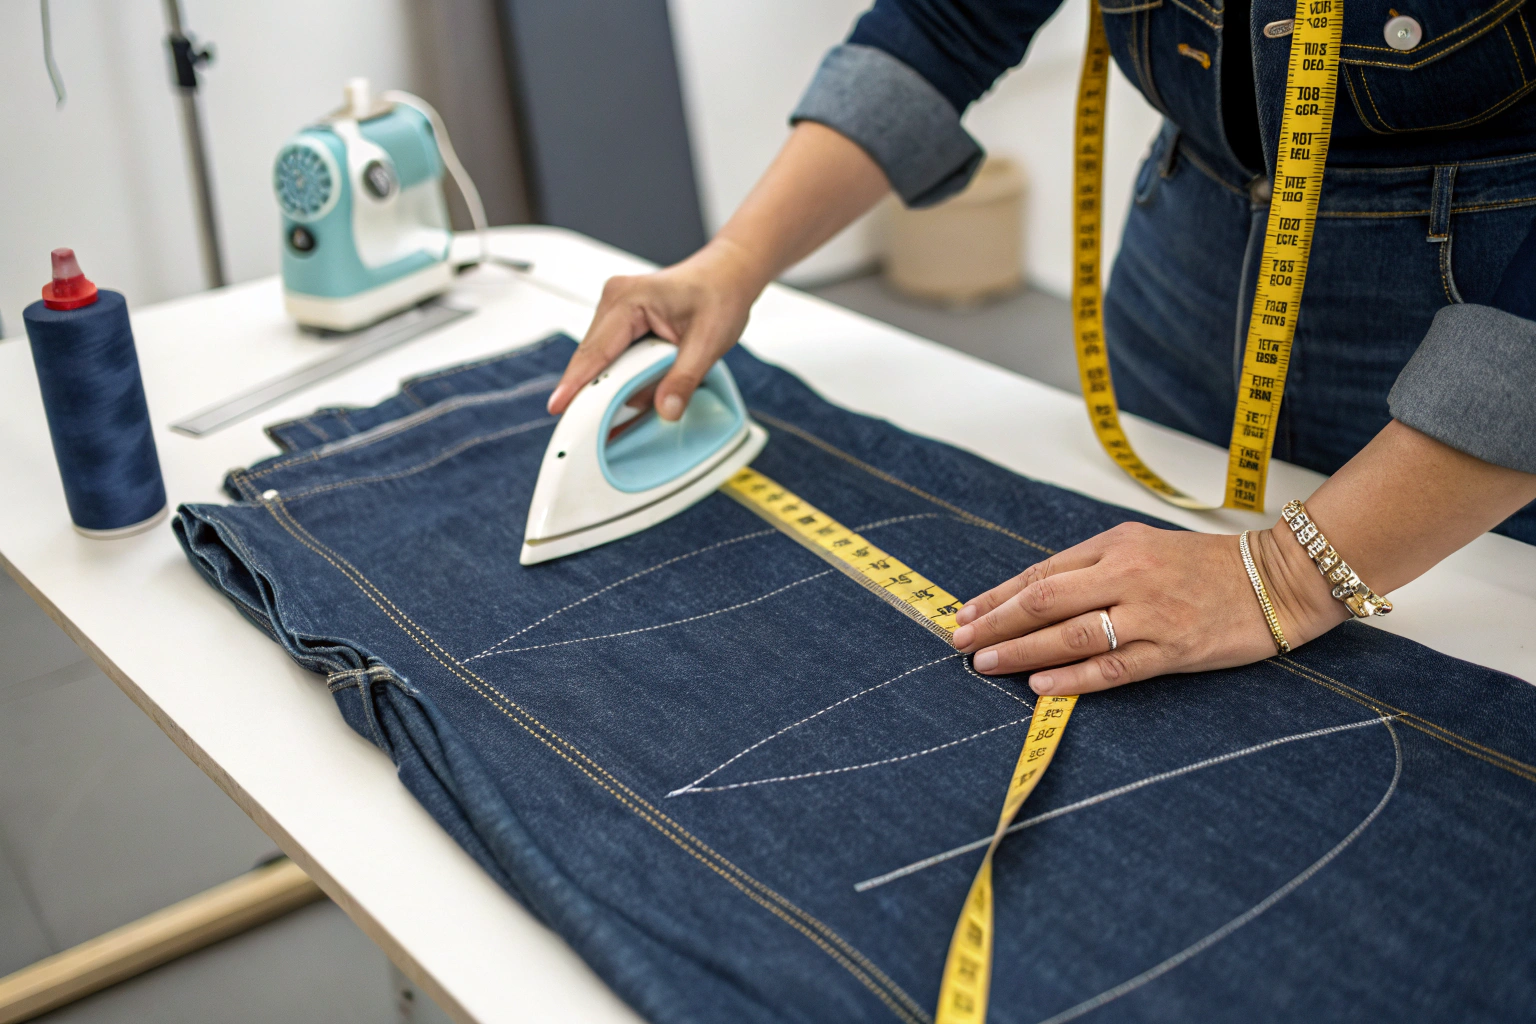
How to Adjust Your Pattern for Fabric Shrinkage Before Cutting?
You’ve done the test. The lab report says 5.5% shrinkage in length, 2.0% in width. Now what? You can’t just cut the fabric 5.5% bigger overall and hope for the best. Shrinkage is not uniform across a garment. A sleeve behaves differently than a bodice. And you have to account for the fact that you are adding fabric before it shrinks to achieve the correct size after it shrinks.
The math is slightly counter-intuitive. If you want a final length of 40 inches and the fabric shrinks 10%, you cannot just add 10% to the pattern (40 + 4 = 44 inches). If you do that, the 44-inch piece shrinks 10% to 39.6 inches. You’re still short.
The correct formula is:
Adjusted Pattern Length = Desired Finished Length / (1 - Shrinkage Percentage)
For a 10% shrinkage:
Adjusted Length = 40 inches / (1 - 0.10)
Adjusted Length = 40 inches / 0.90
Adjusted Length = 44.44 inches
That 0.44 inches doesn’t sound like much, but on a fitted garment, it’s the difference between a sleeve that hits the wrist bone and one that looks like it’s from the kids’ department.
At Shanghai Fumao, we advise clients to Grade the Shrinkage into the Pattern Digitally. Don’t just add a note for the cutter. Modify the actual CAD file. This removes human error on the cutting room floor. If you are working with a contract sewer, provide them with the Pre-Shrunk Measurements as the target. Don’t make them do the math. They’ll get it wrong.
Should You Wash the Entire Roll of Fabric Before Cutting?
This is the nuclear option. And sometimes, it’s the only safe option. If you are a small brand making 50 units of a premium garment, and the fabric is a notoriously unstable viscose or linen, Yes. Wash the whole roll.
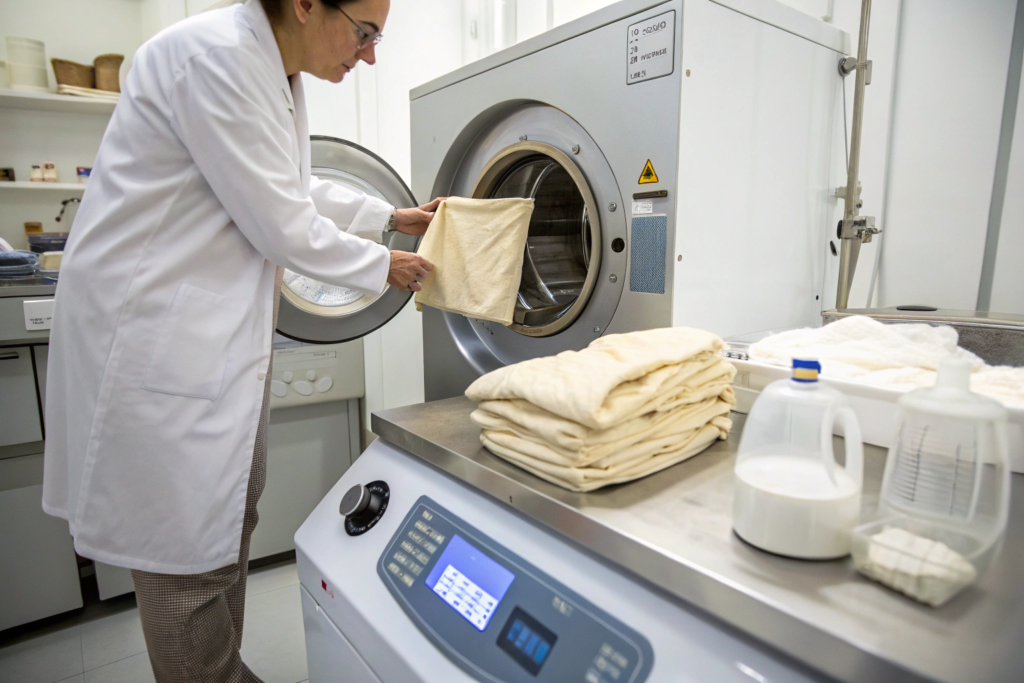
This is called Full Width Shrinking or Garment Dyeing (if done before cutting). You send the fabric to a commercial laundry to be processed. It comes back smaller, softer, and dimensionally stable. You then cut your patterns using the standard measurements because the fabric has already done all the shrinking it’s going to do.
Pros: Zero risk of post-production shrinkage. Perfect for high-end, direct-to-consumer brands.
Cons: It costs money (about $0.50-$1.00 per yard). It changes the hand feel (usually softer). It reduces the usable width of the fabric (you lose yardage). You have to order more fabric upfront to account for the shrinkage loss.
For large production runs (5,000+ units), full-width washing is often logistically impractical and too expensive. In those cases, you rely on Accurate Mill Testing and Pattern Adjustment. This is why you need a mill you can trust. If the mill’s shrinkage report is wrong by even 1%, you have a massive problem on your hands.
At Shanghai Fumao, we can arrange Full Width Shrinking for clients as a value-added service. We work with a commercial laundry that uses a Relaxation Dryer—a giant industrial tumble dryer that pre-shrinks the fabric without harsh chemicals. It’s a premium service for premium brands who want absolute peace of mind. You can read more about this process in articles covering the benefits and methods of pre-shrinking fabric before garment manufacturing.
How Do You Communicate Shrinkage Allowance to a Contract Sewing Factory?
This is where the chain of communication often breaks. You know the fabric shrinks 6%. You adjusted the pattern. You send the pattern to the factory. The factory cuts the fabric. They sew the garment. They check the measurements of the unwashed garment. It’s 6% bigger than the spec sheet. They panic and think they made a mistake. They re-cut the order without telling you. Now you have 1,000 perfectly sewn garments that are 6% too small after the customer washes them.
You must Clearly Specify on the Tech Pack:
"All measurement tolerances on this spec sheet are for POST-WASH / FINISHED GARMENT dimensions. Fabric has been tested to shrink 6% in length (AATCC 135). Pattern includes this allowance. DO NOT ADJUST PATTERN. Verify shrinkage by washing one finished garment from top of production."
And then, you make them Wash One Garment from the first cut and measure it. This is a Top of Production (TOP) Wash Test. It’s non-negotiable. If that TOP sample measures correctly after washing, the factory is cleared to finish the run. If it’s off, you stop production and fix it before 500 units are sewn.
At Shanghai Fumao, we help clients by providing a Garment Shrinkage Projection Sheet. We take their spec measurements and calculate exactly what the unwashed garment should measure. We provide both sets of numbers so the factory knows what to expect. This kind of detailed technical support is what separates a fabric supplier from a true partner. You can find standard tech pack templates that include how to specify shrinkage allowance and post-wash measurements in a garment tech pack.
Conclusion
Shrinkage is not a mystery. It’s physics. It’s the predictable response of fibers to heat, water, and mechanical action. The tragedy is that so many brands treat it like a mystery, hoping for the best and ending up with a warehouse full of unsellable, shrunken garments. You don’t have to be one of them.
The process is clear: Test Early. Test Realistically. Adjust the Pattern Precisely. Verify on the TOP Sample. Whether you do it in a professional CNAS lab like ours at Shanghai Fumao or on your studio floor with a ruler and a dryer, the act of testing gives you control. It turns a potential disaster into a manageable variable. It protects the thousands of dollars you’ve invested in fabric, labor, and marketing.
We’ve seen too many beautiful designs ruined by skipping this step. It’s the unglamorous, tedious work that separates profitable brands from the ones that disappear after two seasons. At Shanghai Fumao, we take this work seriously because we know our fabric is only as good as the final garment on the customer’s back.
If you are planning a production run and want to ensure your fabric is stable, or if you have a shrinkage report from another mill that you don’t quite trust, we can help. Our lab can run a verification test on a sample yardage. It’s a small investment that can save you a massive loss. Reach out to our Business Director, Elaine. She can coordinate a shrinkage test and give you the hard numbers you need to cut with confidence. You can email her at elaine@fumaoclothing.com. Don’t let shrinkage sneak up on you. Test it.