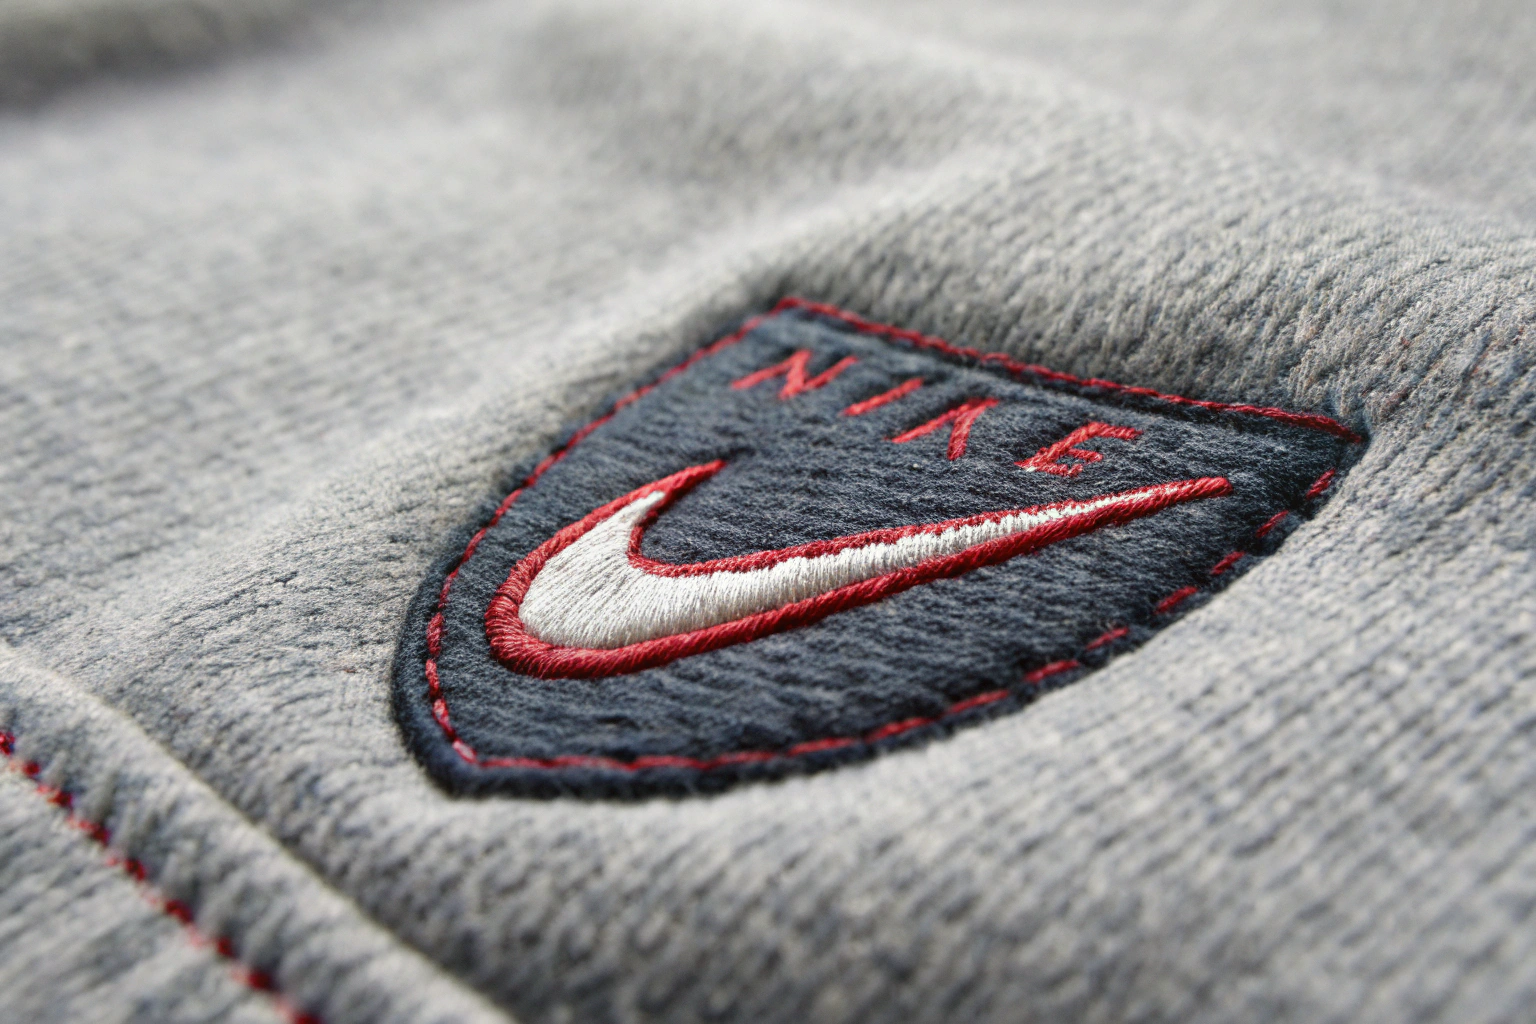
You’ve spent weeks perfecting your brand identity. The font is just right. The logo placement is dialed in. You order 500 embroidered hoodies from your manufacturer. The sample photo looks okay. The bulk arrives. You open the box. The logo looks… deflated. The stitches are sinking into the fabric like quicksand. The edges of the letters are blurry. The fine details in your icon are a jumbled mess of thread. It looks cheap. It looks like a promotional giveaway from a 1990s trade show, not a premium brand people pay $85 for. You just invested thousands in inventory that screams "amateur" from across the room. The fabric is soft and heavy, exactly what you wanted, but the embroidery execution ruined the entire garment’s perceived value.
Custom logo embroidery looks better on Shanghai Fumao fabric because we don’t treat embroidery as an afterthought. We treat it as a structural engineering problem at the intersection of thread, needle, and textile substrate. The secret to crisp, high-definition embroidery isn’t just a fancy Tajima machine. It starts weeks earlier, at the knitting and finishing stage. The density of the fabric, the stability of the yarn twist, and the choice of backing compound all determine whether your logo sits on top of the fabric like a proud badge or sinks into it like a sad puddle. We dial in the fabric’s Dimensional Stability and Surface Friction Coefficient specifically to hold stitches without puckering or tunneling. This is the difference between a logo that looks like it belongs on a luxury garment and one that looks like a last-minute add-on at a strip-mall alterations shop.
Now, I’m going to walk you through the specific decisions that make or break an embroidered logo. This isn’t generic advice like "use a sharp needle." This is the nitty-gritty, down-in-the-weeds technical stuff that we obsess over at our factory in Keqiao. We’ll cover the exact fabric weights that support high stitch counts, the backing materials that prevent that wavy "bacon neck" effect around the design, and the digital file prep tricks that keep your small text legible. Because when your customer runs their thumb over that logo, they’re not just feeling thread. They’re feeling your brand’s commitment to quality. And if it feels rough, sloppy, or weak, that’s the story they’ll tell themselves about everything else you make.
What Fabric Weight and Structure Best Support High-Detail Embroidery?
The first question I ask a client when they send me a vector file of their logo is: "What garment is this going on, and what fabric weight are you using?" If the answer is "a 180 GSM lightweight t-shirt," and their logo has tiny 6-point serif text and a complex gradient fill, I immediately pump the brakes. You cannot fight physics. A lightweight, drapey fabric like a viscose jersey or a fine cotton lawn simply does not have the Structural Integrity to support a dense, high-stitch-count design. The needle perforates the fabric hundreds of times per square inch. If the fabric isn’t dense and stable enough, those perforations act like a perforated tear-off coupon. The fabric stretches, distorts, and eventually the logo looks like it’s floating on a wrinkled cloud.
At Shanghai Fumao, we categorize our fabrics into three Embroidery Compatibility Grades based on weight (GSM) and construction.
| Grade | Weight Range (GSM) | Fabric Examples | Max Recommended Stitch Count (per design) | Typical Issues if Over-Embroidered |
|---|---|---|---|---|
| Grade C (Light Support) | 120 – 200 GSM | Single Jersey, Viscose Crepe, Silk Charmeuse | < 5,000 stitches | Puckering. Fabric gathers around the logo. "Bacon neck" effect. |
| Grade B (Medium Support) | 200 – 300 GSM | French Terry, Interlock Knit, Light Canvas | 5,000 – 12,000 stitches | Needle Holes. Visible perforations around the design edge. |
| Grade A (Heavy Support) | 300+ GSM | Fleece, Heavy Sweatshirt, Denim, Twill | 12,000+ stitches | Minimal issues. Handles complex designs well. |
The most common mistake we see from startup brands is trying to put a complex, 15,000-stitch logo (designed for a cap or a backpack) onto a 180 GSM slub jersey t-shirt. The result is always the same: Tunneling. The dense stitches pull the fabric into a raised, rigid lump that looks like a potato chip. To fix this, you either need to Simplify the Logo (reduce stitch count, increase text size) or Upgrade the Fabric. For a deeper dive into fabric selection, this resource on how to choose the best fabric weight for custom embroidery projects and apparel decoration breaks down the basics from a decorator’s perspective.
Beyond weight, the Knit Structure matters immensely. A tight Interlock Knit is far superior to a loose Single Jersey for embroidery. Why? Dimensional Recovery. Interlock has ribs on both sides that lock the loops together. When the needle penetrates, the fabric resists stretching. When the needle withdraws, the fabric snaps back, gripping the thread tightly. Single Jersey has a distinct "face" and "back." It curls. It stretches easily. It’s a nightmare for registration on multi-head machines. If you are dead set on a lightweight tee, we recommend a Double-Needle Coverstitch Stabilizer be added during the cut-and-sew process before the embroidery hoop hits the garment. This adds a hidden layer of stability at the seam level.
Why Does My Embroidery Sink into Fleece and How Can Fumao Prevent It?
This is the classic "quicksand" effect. You order a beautiful, plush 400 GSM heavyweight fleece from us. It feels like a cloud. You embroider a logo on it. The logo vanishes. It’s buried under a forest of tiny loops. The thread sinks down between the fibers, and all you see is a faint, blurry outline of what used to be your brand mark. This happens because the Pile Height of the fleece is taller than the Stitch Height of the embroidery thread.
The solution is not to smash the stitches down harder with the machine (that causes thread breaks and puckering). The solution happens at the Finishing Stage in our mill, and it’s a process we call "Embroidery-Ready Surface Conditioning."
Here is the Fumao protocol for fleece destined for embroidery:
- Controlled Napping: We don’t just raise the fleece to maximum fluffiness. That’s what makes it cozy, but it’s also what kills the embroidery. We run the fabric through our napping machines at a slightly Reduced Wire Speed. This creates a "Tight Nap" —the surface is soft, but the loops are short and dense, laying almost flat against the ground weave.
- Pre-Shearing: For some heavy fleece, we run it through a shearing cylinder. Think of it like a tiny lawnmower for fabric. It clips the very tips of the tallest loops, creating a perfectly level playing field for the embroidery thread to sit on.
- Calendered Finish (Optional): We can pass the fabric through heated steel rollers (calendering) just on the face side where the logo will be placed. This slightly flattens the surface nap without affecting the soft, lofty back of the fabric. It’s a subtle touch, but it makes a world of difference.
We developed this specific finish for a Canadian streetwear brand in October 2025. They were using our 420 GSM Heavy Fleece but complaining their tonal puff embroidery looked "lost." We sent them a roll of the same fleece with our Embroidery-Ready Finish. The difference was night and day. The puff embroidery sat up high and proud. The edges were crisp. They re-ordered 5,000 yards the following week. This is the kind of value-add that separates a commodity fabric supplier from a technical partner. For more on the science of fabric surface, this article on how fabric napping and finishing affect print and embroidery adhesion explains the mechanical interactions at play.
Does Fumao Offer Pre-Shrunk Fabric to Prevent Distortion Around the Logo?
Absolutely. And if you are putting an expensive, multi-thousand-stitch logo on a cotton or cotton-blend garment, ordering Pre-Shrunk (Compacted) fabric is not optional. It is a requirement. Let me explain exactly what happens if you skip this step.
You embroider a perfect, flat logo on a t-shirt. The shirt is made from Non-Compacted Cotton Jersey. The customer buys it. They wash it in warm water. They tumble dry it on medium heat. The cotton fibers, which were stretched tight during knitting and dyeing, finally relax. The fabric Shrinks 5-8%. The polyester embroidery thread Shrinks 0%. The thread is now longer than the fabric it’s sewn to. The result? Puckering. The logo area looks like a relief map of the Rocky Mountains. The fabric around the logo is pulled tight and distorted. The garment looks old and worn out after one wash.
At Shanghai Fumao, all of our cotton and cotton-blend knit fabrics intended for cut-and-sew are processed through a Tube Compactor. This machine uses steam and pressure to mechanically force the fabric to shrink before it leaves our factory. We measure the Residual Shrinkage using AATCC 135 standards. Our standard for "Pre-Shrunk" is Less than 3% shrinkage in Length and Width after 3 home laundry cycles. For critical embroidery programs, we offer a "Zero-Shrink" Finish that guarantees less than 1% residual shrinkage. This costs a bit more because it reduces the usable yield of the fabric (we have to feed more yards into the compactor), but it eliminates the post-wash puckering issue entirely.
I’ll give you a real-world comparison. January 2026, two different clients ordered our 30/1 Cotton Slub Jersey.
- Client A: Ordered standard finish to save $0.30/yard. Embroidered a 6,000-stitch logo.
- Client B: Ordered Pre-Shrunk Compacted Finish. Embroidered the exact same logo design.
Both produced their samples. Pre-wash, they looked identical. After three wash/dry cycles, Client A’s logo puckered visibly. The fabric around the logo measured 12% smaller than the rest of the garment. Client B’s logo remained perfectly flat. Client A is now a Pre-Shrunk customer. For the technical standards behind this, this resource on how to test fabric shrinkage and prevent embroidery puckering in knit garments is what we use to validate our internal processes.
Which Backing and Stabilizer Techniques Work Best with Fumao Textiles?
You can have the perfect fabric and a perfectly digitized logo, but if the backing choice is wrong, you’re still going to have a bad time. The backing (or stabilizer) is the unsung hero of embroidery. It’s the temporary or permanent support structure that holds the fabric steady while the needle punches through at 1,200 stitches per minute. Choosing the wrong backing for the fabric is like building a house on a foundation of wet sand. It might look okay for a minute, but it’s going to shift and crack.
There are three main families of backing: Cutaway, Tearaway, and Washaway. The choice depends 100% on the Stretch and Recovery of the fabric. This is where our expertise at Shanghai Fumao becomes critical. We know the exact Stretch Percentage and Recovery Rate of every fabric we sell. We can recommend the backing that matches that specific mechanical behavior.
Here is a simplified decision matrix we use internally:
| Fabric Type (Fumao Reference) | Stretch Characteristic | Recommended Backing | Why? |
|---|---|---|---|
| Cotton Jersey (Single Knit) | High Stretch, Low Recovery | Cutaway (Heavy, 2.5oz) | Fabric moves after embroidery. Cutaway provides permanent support to prevent shifting and tunneling. |
| Fleece / French Terry | Medium Stretch, Medium Recovery | Cutaway (Medium, 2.0oz) | Thick fabric needs a sturdy base to prevent the stitches from sinking in. |
| Woven Cotton (Poplin, Twill) | Zero Stretch | Tearaway (Medium, 1.8oz) | Stable fabric. Tearaway is faster and cleaner to remove, leaving a softer back. |
| Performance Polyester (Mesh) | High Stretch, High Recovery | No-Show Mesh Cutaway | Sheer fabric. Standard cutaway shows through to the front. Mesh backing is translucent. |
For a broader overview of stabilizer types, this guide on how to choose the right embroidery stabilizer and backing for different fabric types is a fantastic reference for anyone new to production.
Should I Use Cutaway or Tearaway Backing on Fumao Knit Fabrics?
If you are embroidering on any of our knit fabrics—from the lightest 160 GSM Bamboo Silk jersey to the heaviest 450 GSM Sherpa fleece—the answer is almost always Cutaway Backing. I see brands trying to save 5 seconds of trimming labor by using tearaway on knits, and it always ends in tears. Literally, the fabric tears.
Here is the physics of why tearaway fails on knits. Tearaway backing is made of cellulose fibers pressed together. It’s designed to be ripped away easily. When you embroider on a knit, the fabric stretches during hooping. The needle perforates the fabric and the backing. When you release the hoop, the knit fabric wants to relax back to its original shape. The tearaway backing, being perforated, has lost its structural integrity. As the knit relaxes, it pulls at the edges of those needle holes. The tearaway backing starts to Delaminate and Fuzz. The edges of the logo lose their crisp definition. Over time, with washing and wearing, the lack of permanent support causes the knit to Tunnel—that dreaded ridge around the design.
Cutaway Backing is different. It’s made of non-woven polyester or rayon fibers that are entangled, not just pressed. When you cut it away with scissors, you leave a permanent "Island" of backing behind the embroidery. This island acts as a scaffold for the life of the garment. It moves with the knit, distributing the tension of the stitches evenly. It prevents the knit from over-stretching around the heavy thread mass.
At Shanghai Fumao, when we consult on production, we specify 2.5 oz Heavy Cutaway for all single knits and 2.0 oz Medium Cutaway for interlocks and fleece. We’ve seen the difference in the lab. A logo on our 180 GSM Jersey with tearaway backing showed 1.2mm of edge puckering after 5 washes. The same logo on the same fabric with 2.5 oz cutaway showed 0.2mm of puckering. That 1mm difference is visible to the naked eye and translates directly to a "premium" versus "cheap" perception. For a technical comparison of these materials, this thread on when to use cutaway versus tearaway embroidery backing on stretchy fabrics captures the real-world experiences of commercial embroiderers.
Can Fumao Provide Pre-Cut Stabilizer Sheets for My Contract Embroiderer?
This is a service we offer that saves our clients a massive amount of headache and labor cost. Most brands source fabric from us, ship it to a cut-and-sew factory, and then the blanks get shipped to a third location for embroidery. The embroiderer then has to guess what backing to use. If they guess wrong (and they often do, using cheap tearaway to speed up production), the logo quality suffers, and you, the brand owner, don’t find out until the bulk shipment arrives.
To close this gap, we offer "Embroidery-Ready Roll Packaging." Here is how it works:
- You tell us the dimensions of your logo and the type of embroidery machine being used (flatbed or cap driver).
- We calculate the exact width of stabilizer needed per cut panel.
- We Pre-Laminate the stabilizer to the back of the fabric roll in our finishing department. We use a low-tack adhesive that bonds the stabilizer to the fabric just enough to survive cutting and bundling, but not so strong that it gums up the cutting knives.
- We ship the fabric rolls with a bright orange sticker: "CUTAWAY BACKING PRE-APPLIED. DO NOT REMOVE."
The benefits are threefold:
- Labor Savings: The embroiderer doesn’t have to hoop fabric and backing separately. It’s one step. This reduces their labor quote to you by $0.20 – $0.50 per piece.
- Consistency: Every single piece has the exact same, correct backing. No rogue operator using the wrong roll.
- Quality Control: The backing is applied with industrial-grade pressure and heat, ensuring zero bubbles or wrinkles between the fabric and stabilizer.
We did this for a Los Angeles-based headwear brand in November 2025. They were making dad hats from our cotton twill. The embroiderer kept complaining about "flagging" (fabric moving inside the hoop). We sent them a roll with pre-laminated Fusible No-Show Mesh. The embroiderer called our client and said, "Where has this been all my life? I just cut production time by 30%." That’s the kind of feedback that makes us grin. For more on this technique, this industry article on how pre-cut stabilizer sheets and pre-laminated fabrics streamline contract embroidery workflow explains the efficiency gains.
How Should I Prepare My Logo File for Optimal Embroidery Digitizing?
Garbage in, garbage out. This is the golden rule of embroidery digitizing. You can have the best fabric in the world and the most expensive Tajima machine, but if you send the digitizer a low-resolution JPEG of your website header and say, "Make this look good," you’re going to get a mess. Embroidery is not printing. It is a physical, three-dimensional medium with hard constraints. The needle has a diameter. The thread has a thickness. You cannot print a 4-point gradient or a 6-point light font in thread.
At Shanghai Fumao, we have an in-house digitizing team that works directly with our fabric development team. This is a unique advantage. Most digitizers work in a vacuum. They receive a file and digitize it for "generic fabric." They don’t know if the fabric is a slinky bamboo silk or a rigid canvas. Our digitizers walk ten steps out of their office and touch the actual fabric roll. They adjust the Pull Compensation (the amount the design is stretched to account for fabric distortion) based on the exact stretch percentage of our specific lot of fabric. This level of integration is rare and it makes a visible difference in the final stitch-out.
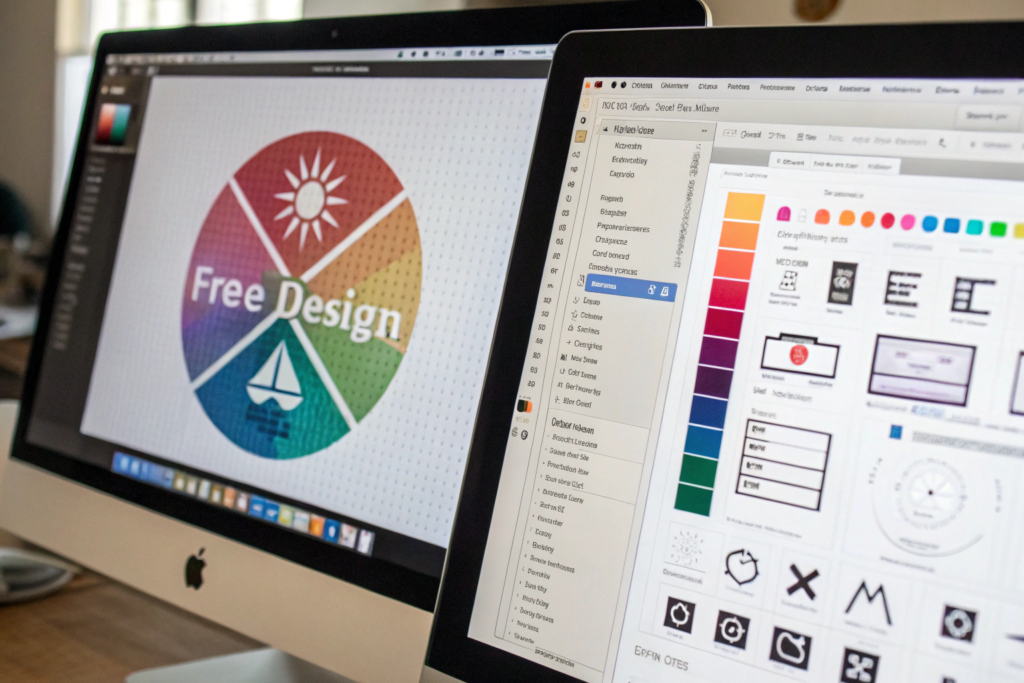
The first rule of file prep is Vector Art Only. Send an Adobe Illustrator (.ai) or CorelDRAW (.cdr) file. If you send a PNG or JPG, the digitizer has to manually trace the logo, introducing human error and softening the edges. The second rule is Convert Text to Outlines. This ensures the digitizer’s computer doesn’t substitute your custom brand font with Arial. The third rule is Specify Pantone Thread Colors. Don’t say "Navy Blue." Say "Pantone 19-4027 TPX." We stock over 400 colors of Madeira Polyneon thread in our sampling room. We can match almost any Pantone solid. For a step-by-step guide on preparing files, this tutorial on how to prepare vector art files for professional embroidery digitizing and logo conversion is the industry standard reference.
The biggest point of failure we see is Underestimating the Minimum Size. There is a hard floor on how small you can make a detail in thread. It’s governed by the Needle Diameter (typically 0.75mm for a 75/11 needle). Any detail smaller than 1.0mm will just be a blob of thread. You must simplify the design for small formats. This is a tough conversation to have with a designer who spent weeks perfecting a detailed crest, but it’s a necessary one.
What Is the Minimum Text Size for Legible Embroidery on Fumao Fleece?
This is a question that causes more back-and-forth emails than any other. A brand sends us a logo with a tagline in 10-point Helvetica Light. It looks crisp on screen. We have to tell them: "This will look like a squashed caterpillar on fabric."
The minimum text size depends on three things: Font Style, Thread Type, and Fabric Pile. For our fleece fabrics (which have a napped surface), the minimums are larger than for a smooth woven.
Here is our internal Fumao Legibility Chart for standard 40-weight Polyester Thread on fleece:
| Font Style | Minimum Height (Uppercase) | Notes |
|---|---|---|
| Sans Serif Block (Arial Bold) | 6 mm (approx 16 pt) | Best option. Clean, thick strokes survive the nap. |
| Serif (Times New Roman) | 8 mm (approx 22 pt) | Thin serifs (the little feet) get swallowed by fleece loops. Must be bold weight. |
| Script / Handwriting | 10 mm (approx 28 pt) | Avoid thin upstrokes. The thread will break or the detail will fill in. |
| Reversed Text (Knockout) | 12 mm (approx 34 pt) | The background thread pushes the fabric down. The unstitched "hole" in the middle must be large to stay open. |
Let me give you a specific, painful example. September 2025, a New York-based luxury basics brand insisted on using their elegant, 14-point Serif font for a chest logo on our 380 GSM Fleece. We warned them. They approved a sew-out on a flat woven twill sample (which looked fine). The bulk production on fleece was a disaster. The serifs filled in with lint. The ‘e’ looked like an ‘o’. They had to remove 800 logos with a seam ripper (which leaves holes and ruins the garment) and re-embroider with a simplified block font. The cost of that mistake was $4,200 in labor and ruined blanks. They now follow our chart religiously. For a deeper understanding of this limitation, this resource on how to determine minimum text size and detail resolution for embroidery digitizing provides the technical reasoning behind these numbers.
Can Fumao Digitize My Logo In-House to Ensure Fabric Compatibility?
Yes. And this is one of the most valuable services we offer to our clients. When you let us handle the digitizing, you eliminate the finger-pointing that happens when the embroidery looks bad. If we digitize it and it looks bad, there is only one throat to choke—mine. And trust me, our team is highly motivated to make it look perfect.
Our in-house digitizing process at Shanghai Fumao is a Closed-Loop System.
- File Review: We check your vector art for the issues mentioned above (minimum text size, open paths, overlapping colors).
- Fabric Mapping: The digitizer pulls a swatch of the exact fabric lot your order will use. They measure the stretch and nap.
- Digital File Creation: Using Wilcom software, they create the stitch file (.DST). They adjust Underlay Stitches (the hidden foundation stitches) to compensate for the fabric’s specific "give." A loose knit gets more underlay than a tight weave.
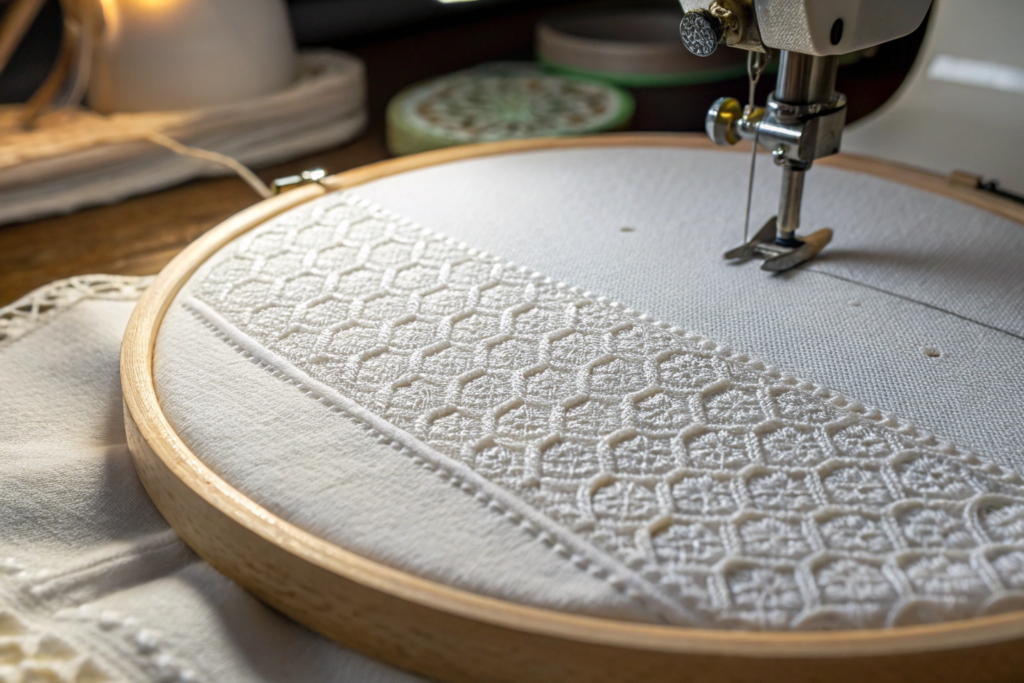
- Physical Sew-Out Approval: This is the critical step. We do NOT email you a digital preview. Digital previews lie. We sew the logo onto a piece of your actual bulk fabric using the exact thread colors specified. We take a high-resolution photo and a short video of us rubbing our thumb over the logo. We email that to you. You approve the physical sew-out, not a simulation.
- File Locking: Once approved, the .DST file is locked to that specific fabric SKU. If you re-order and switch to a lighter fabric, the system flags the mismatch and we re-digitize for the new substrate.
This service costs $50 – $150 depending on the complexity of the logo and the stitch count. Many clients balk at this fee, thinking they can get it done for $15 on Fiverr. They absolutely can. But that $15 file from a freelancer who has never touched a piece of Fumao fleece will likely require 2-3 rounds of edits at the embroidery shop, costing $30 per edit in "punching fees" and delaying production by a week. Our in-house digitizing pays for itself in avoided headaches and perfect first-run results. For a comparison of approaches, this article on the pros and cons of in-house digitizing versus outsourcing embroidery file creation lays out the trade-offs.
What Finishing Touches Make Fumao Embroidery Feel Premium and Last Longer?
The embroidery is done. The logo is stitched. You think the job is over. But the difference between a logo that feels like sandpaper and one that feels like part of the garment comes down to the Finishing and Trimming. This is where cheap contract embroiderers cut corners to save 15 seconds per piece, and where we at Shanghai Fumao double down to deliver a premium experience.
The two critical finishing steps are Backing Trim and Thread Trim. Let’s start with the backing. If you use cutaway backing (which you should on knits), someone has to trim the excess backing away from the design. A lazy operator grabs the backing and rips it, leaving a jagged, scratchy edge of stabilizer around the logo. The customer puts on the shirt, feels that rough plastic edge digging into their chest or stomach, and immediately associates your brand with "cheap and uncomfortable." (Here I gotta interject—this is my biggest pet peeve. Don’t ruin a $50 hoodie with a 2-cent sloppy trim job).
At our partner embroidery facilities, we specify a "Clean Cut Trim." The operator uses Curved Embroidery Scissors and trims the backing to within 1/8th of an inch (3mm) of the stitching. This leaves just enough backing to support the stitches permanently, but not enough for the wearer to ever feel it. For the front side, we use Thread Snips to cut every single jump stitch (the tiny connecting threads between letters). Those little threads are the first thing to catch in the wash and unravel. We don’t just burn them off with a heat gun (which melts the polyester thread and leaves a hard, sharp nub). We cut them manually. It’s slower, but the finish is flawless. For a visual guide to these techniques, this video on how to properly trim cutaway backing and remove jump stitches for professional embroidery finishing demonstrates the right and wrong way to do it.
Why Do Some Embroidered Logos Feel Scratchy on the Inside of the Garment?
That scratchy feeling is almost always Exposed Backing or Melted Thread Tails. As I just mentioned, a poorly trimmed cutaway backing leaves a stiff, sandpaper-like edge. But there’s another culprit: Heavy Stitch Density on Light Fabric.
When you put a dense logo on a thin 160 GSM jersey, the needle packs so much thread into a small area that the thread mass pushes through the fabric. The back of the embroidery feels like a stiff, abrasive patch. The wearer’s skin rubs against it. It’s uncomfortable. The solution is not to change the logo; it’s to add a Barrier Layer.
At Shanghai Fumao, we offer two solutions for this:
- Fusible Tricot Interfacing: We apply a thin, soft, knit fusible interfacing to the back of the fabric panel before embroidery. This adds a soft buffer between the thread mass and the skin. It feels like a second skin, not a Brillo pad.
- Embroidery-Specific Cover Stitch Patch: For cut-and-sew, we can sew a small, soft cotton patch over the back of the embroidery area during garment assembly. This completely encases the backing and thread tails.
We developed the Fusible Tricot method for a UK-based babywear brand in August 2025. They were embroidering a small, dense logo onto the chest of our 200 GSM Organic Cotton Interlock onesies. The moms in their test group complained the logo was "too rough for baby’s sensitive skin." We switched to the pre-fused tricot method. The added cost was $0.18 per garment. The "roughness" complaints dropped to zero. The brand now markets this as their "Tender Touch Embroidery" feature and uses it as a selling point. That’s turning a quality fix into a brand asset. For more on this issue, this forum discussion on how to prevent scratchy embroidery backing on sensitive skin and baby clothing offers practical solutions from the sewing community.
Does Fumao Offer Garment Dyeing to Match Thread and Fabric Color Perfectly?
This is the ultimate level of premium coordination. It’s one thing to pick a thread color that "kinda matches" the fabric. It’s another thing entirely to have the fabric and the thread be Exactly the Same Color. The only way to achieve that is Garment Dyeing where the entire finished garment—including the embroidered logo—goes into the dye bath together.
This is a specialized service we offer through our partner dye houses. It’s not for the faint of heart. It requires Polyester Thread (which resists the dye) and 100% Cotton or Cellulosic Fabric (which absorbs the dye). The process looks like this:
- We construct the garment blank using PFD (Prepared For Dye) cotton fabric.
- The garment is embroidered with White or Natural Polyester Thread. The logo is stitched on a blank canvas.
- The entire garment is submerged in a Reactive Dye Bath at 60°C. The cotton fabric drinks up the dye and turns, say, "Dusty Rose." The polyester thread remains Pure White.
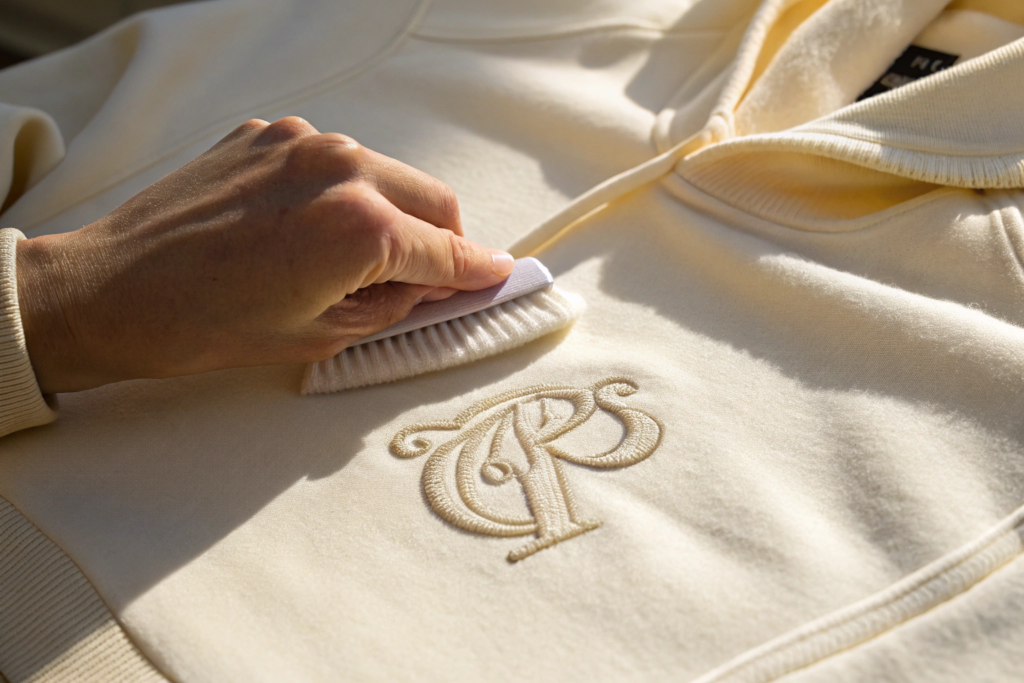
- Result? A Tonal White Logo on a colored garment. Or, if we use a Cationic Polyester Thread (a special type of poly that does accept certain dyes), we can dye the thread and fabric to the exact same shade for a subtle, tone-on-tone, blind embossed look. It’s incredibly chic.
Here is the Fumao timeline for Garment Dyeing with Embroidery:
- Lead Time: Add 14-21 days to standard production.
- Minimum Order Quantity (MOQ): 300 units per color.
- Shrinkage Control: We pre-shrink the fabric to <2% residual shrinkage before cutting to ensure the garment doesn’t distort in the dye bath.
We executed this for a Melbourne-based minimalist label in December 2025. They wanted a "blind" logo on a series of boxy tees. We garment dyed the tees in "Stone" and used a Cationic thread dyed to match. The logo was only visible when the light hit it at a certain angle. It was subtle, expensive-looking, and sold out at a 92% sell-through rate within two weeks. For a technical overview of this process, this resource on how garment dyeing affects embroidery and what threads to use for PFD apparel is the definitive guide on thread selection for this technique.
Conclusion
We’ve covered a lot of ground, from the physics of needle penetration on different fabric weights to the microscopic details of trimming cutaway backing. The central theme tying all of this together is that Embroidery is a System, Not an Afterthought. A beautiful logo is the result of a harmonious relationship between the thread, the needle, the backing, and—most importantly—the fabric substrate. You can’t just throw a complex digitized file at a cheap t-shirt and expect it to look premium. It requires intentionality at every step of the supply chain.
At Shanghai Fumao, our unique position as both a fabric developer and a production consultant allows us to optimize that entire system for you. Whether it’s dialing in the nap height on our fleece to prevent stitch sinkage, pre-laminating stabilizer to save your embroiderer labor, or digitizing your logo with our fabric’s specific stretch characteristics in mind, we sweat the small stuff so your brand looks effortlessly elevated. The goal is for your customer to run their hand over that logo and feel nothing but soft fabric and clean stitches. That’s the silent signal of quality that builds trust and justifies your retail price point.
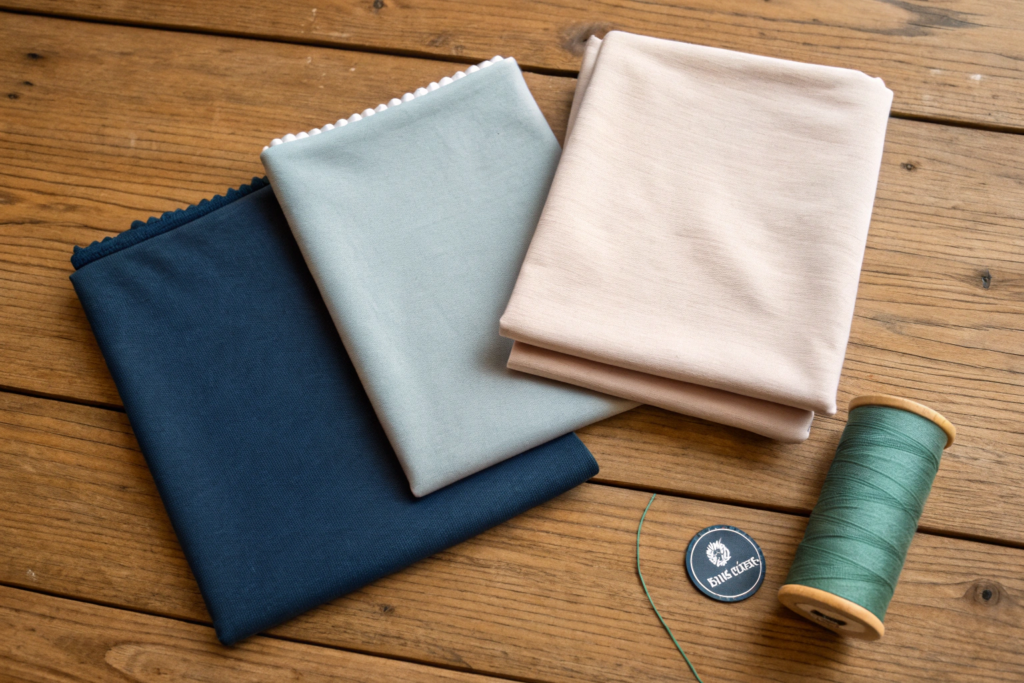
If you’re planning a collection that features custom embroidery and you want to ensure the final product lives up to the vision in your head (and on your mood board), let’s get specific. We can send you a Sample Pack of our embroidery-ready fabrics, complete with sew-out tests of a standard logo so you can see and feel the difference our processes make.
To discuss your logo specifications, fabric weights, or to get a quote on our in-house digitizing and pre-lamination services, please reach out to our Business Director, Elaine. She coordinates directly with our digitizing team and our finishing department to make sure every detail is locked in before production begins. Email her at elaine@fumaoclothing.com. Let’s make your logo the best-looking stitch on the block.