So you’ve fallen in love with a piece of embroidered lace. Maybe it's on a runway sample or a vintage piece. The design is breathtaking—a mix of raised textures, shimmering threads, and delicate net. But when you think about sourcing it in bulk, a wave of questions hits: How is this actually made? Can it be produced consistently? What’s the real cost and timeline? You're not just buying fabric; you're commissioning a form of wearable art, and the process behind it feels like a mystery.
The production of embroidered lace fabric is a multi-stage symphony that transforms digital designs and simple threads into intricate, dimensional textiles. It is not a single process but a fusion of two: the creation of a base fabric (often lace or net) and the precision embroidery that embellishes it. The journey from concept to bulk roll involves over a dozen precise steps, from digital punching and machine setup to meticulous finishing and inspection. Understanding this process is the only way to source it intelligently, control quality, and avoid costly surprises.
Forget the image of a single artisan hand-embroidering for days. Modern commercial embroidered lace is a feat of engineering, where advanced computerized machines replicate artisanal detail at scale. However, this doesn’t remove the need for skill; it transfers it to the technicians who program, thread, and fine-tune these machines. Let’s pull back the curtain and walk through each critical stage, so you know exactly what you’re paying for and how to ensure you get the masterpiece you envision.
Stage 1: Design & Digital Punching – Where Art Meets Algorithm
This is the foundational stage where your vision is translated into a language machines understand. It’s the most critical point for accuracy and aesthetic outcome. A beautiful sketch is not enough; it must be engineered for production. This stage involves digitizing the artwork, selecting stitch types, and programming the machine path to ensure the design is not only beautiful but also stable, efficient to produce, and free of potential flaws like thread breaks or puckering.
Many bulk failures originate here. A poorly digitized file can lead to distorted designs, weak points in the fabric, or massively inflated production times. At Shanghai Fumao, our in-house digitizing team are veterans who understand both art and the mechanical limits of our 32-head Barudan machines. They don’t just convert images; they engineer the embroidery for durability and efficiency.
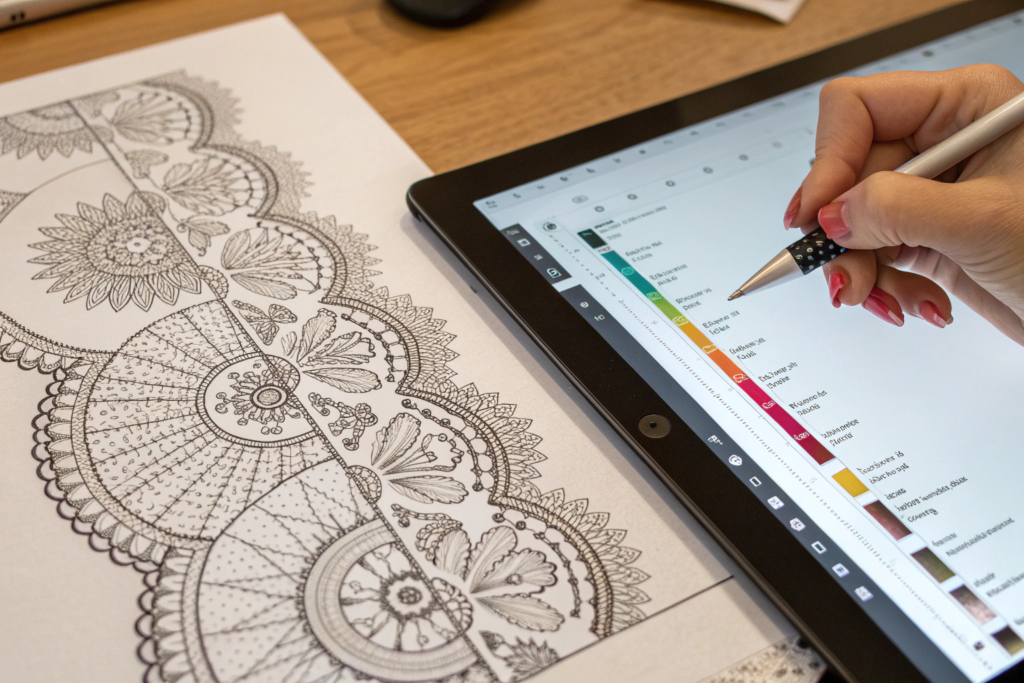
How is a Hand-Drawn Sketch Turned into an Embroidery Machine File?
The process is called digitizing or “punching.” A specialized technician uses software (like Wilcom or Tajima DG/ML) to trace over your artwork. They don’t just trace; they make a series of strategic decisions:
- Stitch Type Assignment: Should this rose petal be a satin stitch (shiny, raised) for definition, or a fill stitch (matte, flat) for coverage? Should the stem be a run stitch?
- Stitch Direction & Density: The angle of stitches affects sheen and strength. Density (stitches per cm) must be balanced; too sparse and the base fabric shows, too dense and the fabric can pucker or become stiff.
- Underlay Stitches: This is the hidden foundation. A layer of stabilizing stitches is laid down first to anchor the top stitches and prevent distortion on stretchy bases like nets.
- Thread Trims and Jumps: The software plans the most efficient path for the machine head, minimizing thread trims and “jumps” (where the needle moves without stitching) to save time and reduce potential snags.
We learned this the hard way with a client in early 2023. They sent a gorgeous, dense floral pattern. Our junior digitizer used a high-density fill stitch for large areas. The result? The lace net base gathered and puckered uncontrollably. Our senior technician re-digitized it, using a lighter, open fill stitch pattern with strategic underlay. The aesthetic was preserved, production speed increased by 25%, and the fabric remained supple. Forums like the Machine Embroidery subreddit are filled with discussions on these technical nuances.
Why Does Digitizing Cost Extra and Take 3-5 Days?
Because it is highly skilled, iterative work. It’s the blueprint for your entire production run. The cost (typically $50-$300 per design, depending on complexity) buys you:
- Technical Analysis: Assessing the design’s feasibility on your chosen base fabric.
- File Creation: The detailed programming described above.
- Sample Stitch-Out: Running a small section of the design on the actual fabric to check for issues. This often requires 1-2 rounds of adjustments (redigitizing).
- Final File Optimization: Locking in the settings for bulk production.
Rushing this stage is the #1 false economy. A well-digitized file is the single biggest factor in achieving consistent quality and controlling bulk production costs. An optimized file can reduce machine runtime by up to 30%, directly saving you money. Resources like Wilcom's official hints and tips for digitizing explain the professional depth of this process.
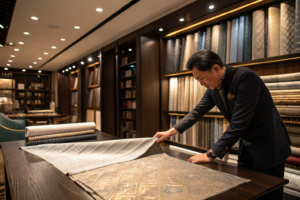
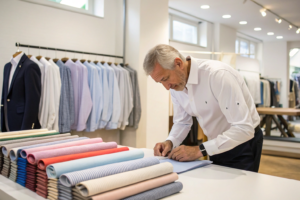
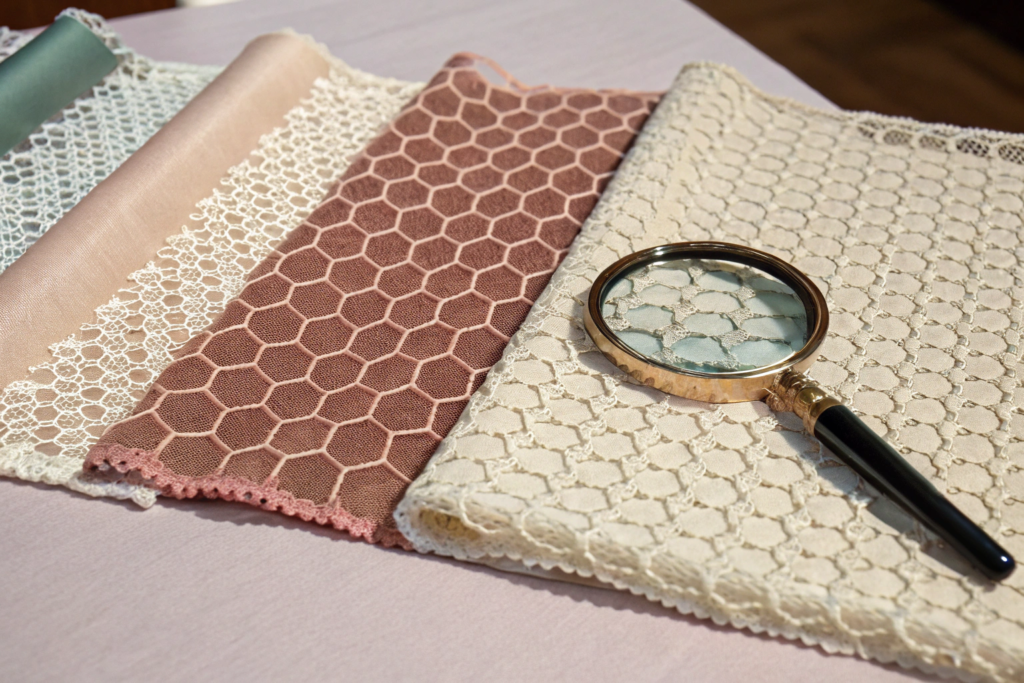
Stage 2: Base Fabric Selection & Preparation – The Canvas Matters
The embroidered lace is only as good as the fabric it’s built upon. The base fabric is the canvas. Its properties—weight, stretch, fiber content, and stability—dictate the embroidery’s final look, hand-feel, and performance. You cannot embroider a heavy, dense design onto a flimsy tulle and expect it to hold shape. This stage involves selecting and often pre-treating the base fabric to ensure it is ready to withstand the embroidery process.
Common base fabrics include:
- Hexagonal Net/Tulle: Lightweight, classic lace base. Good for delicate, all-over patterns.
- Powernet: Stretchy and stable, ideal for lingerie and activewear where recovery is key.
- Warp Knitted Mesh: Very stable with minimal stretch, perfect for intricate, dense embroidery.
- Flocked or Brushed Net: Provides a velvety background for a luxurious feel.
The base fabric often needs pre-stabilization. This means applying a temporary water-soluble or heat-away backing to provide rigidity during the high-speed needle punching. This backing is washed or peeled off after embroidery, leaving the fabric soft.
How Does Base Fabric Choice Impact the Embroidery Outcome?
The impact is profound across four dimensions:
- Dimensional Stability: A stretchy base (like powernet) requires expert digitizing with compensating underlay to prevent the design from shrinking and distorting the fabric after the stabilizer is removed.
- Puckering Risk: Lightweight bases are prone to puckering if the stitch density is too high. The solution is either a denser base fabric or a lower-stitch-density digitizing approach.
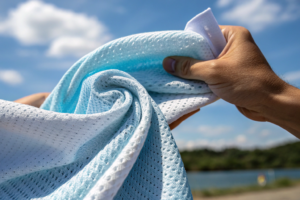
- Visual Effect: Embroidery on a sheer net creates a floating, ethereal look. On a solid or flocked base, the design appears more grounded and opaque.
- Functional Performance: For a bra cup, the base must have recovery. For a structured gown overlay, it must be stable.
In a project for a French lingerie brand last fall, the client insisted on a super-soft, ultra-sheer net. Our initial sample puckered badly with their chosen dense embroidery. Instead of forcing it, we presented an alternative: a slightly heavier but still sheer warp-knit mesh with a silicone dot backing for stability. The embroidery laid perfectly flat, and the final garment’s drape was even better. This is the kind of proactive consultation that saves projects. Industry resources like Fabriclink's guide to stabilizers detail this crucial relationship.
What is "Water-Soluble Backing" and When is it Non-Negotiable?
Water-soluble backing (often called vinyl or solvy) is a thin, plastic-like film that is hooped with the base fabric. It provides critical temporary stability during embroidery, especially for free-standing lace designs or embroidery on extremely delicate nets. After stitching, the entire piece is washed in warm water, dissolving the backing and leaving only the interconnected embroidery threads—this is how those intricate, freestanding lace appliqués are made.
It is non-negotiable in two cases:
- For Freestanding Lace (FSL): The embroidery threads are the fabric. The backing is the only thing holding them in place during stitching.
- On Highly Unstable or Sheer Fabrics: Where even tear-away stabilizer might distort the fabric when removed.
The catch? It adds cost (the backing material and the washing/drying step) and requires careful handling to avoid tangling in the wash. We use a dedicated, gentle washing line for this. For a high-fashion Italian house, we produced 5,000 meters of FSL trim using this method in Q2 2024. The key was perfecting the wash temperature and agitation to dissolve the backing completely without felting the embroidery threads. Communities focused on specialty embroidery techniques often share best practices.
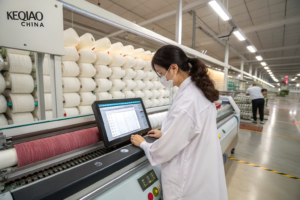
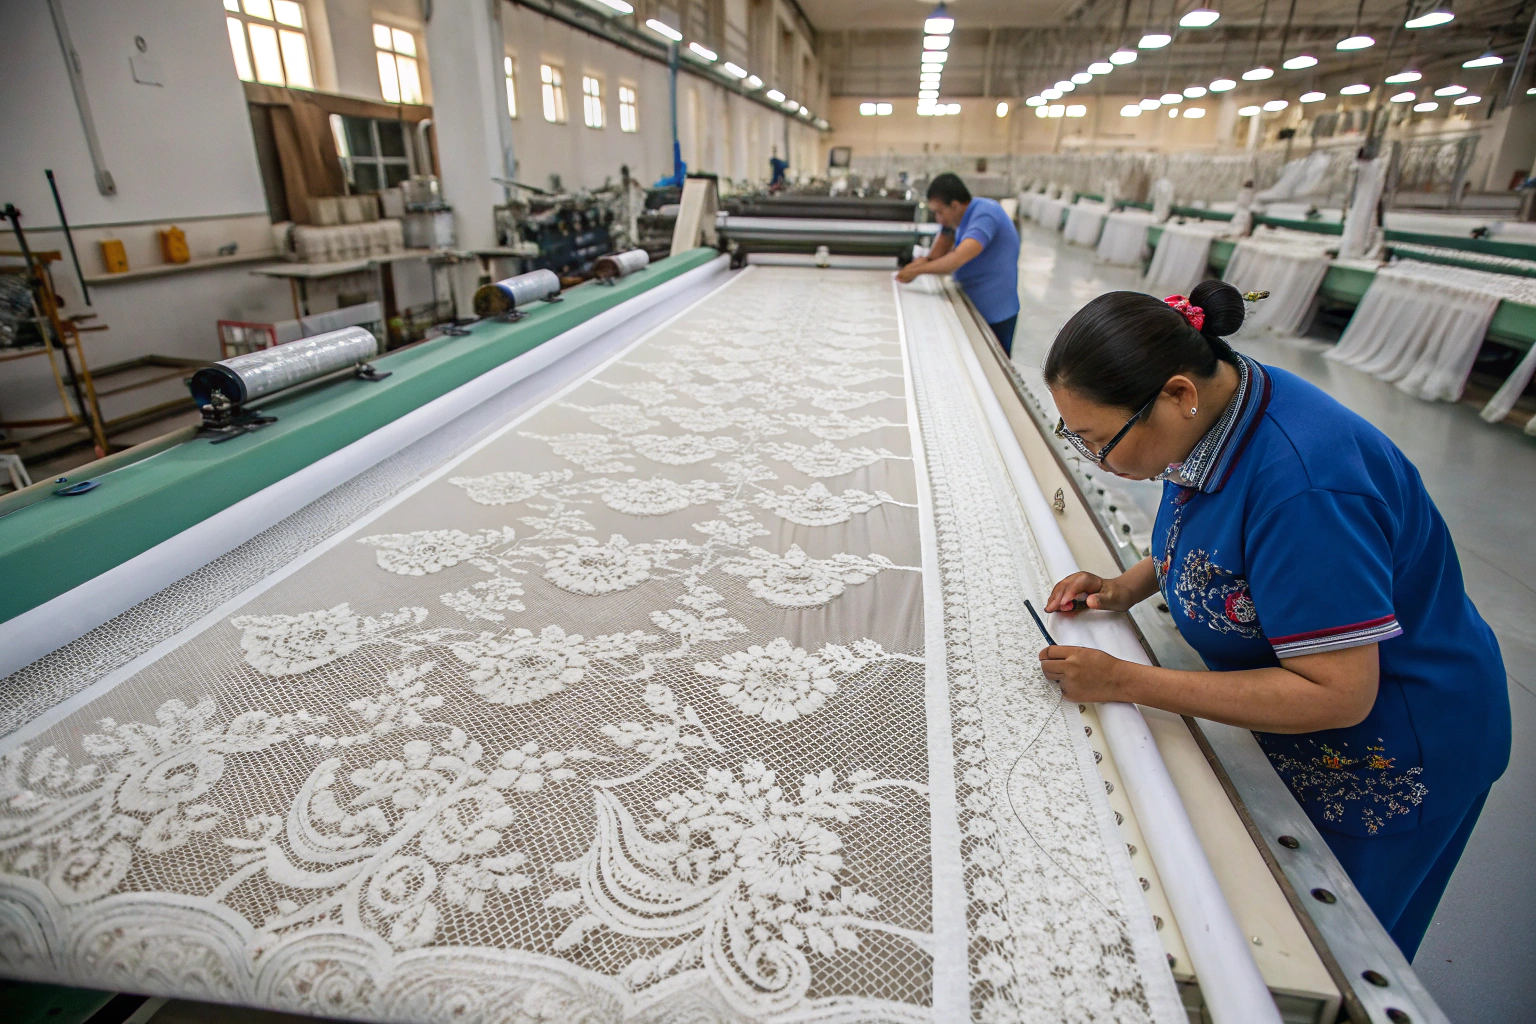
Stage 3: Machine Embroidery & In-Line Monitoring – Precision at Scale
This is the execution phase, where the digital file meets the physical world. Modern commercial embroidery is done on multi-head computerized machines (we have 32-head and 16-head Barudans). Each “head” is like an independent sewing machine, and all operate in unison from the same digital file, producing multiple identical panels simultaneously. A single machine frame can hold a roll of fabric several meters wide, embroidering the pattern across its entire width in a repeating grid.
The process sounds automated, but it requires constant skilled oversight. A technician, or “machine minder,” sets up the job: loading the correct threads (which can involve hundreds of cones for a complex design), hooping the fabric with its stabilizer, aligning the start point, and inputting the file. Once running, they monitor for thread breaks, tension issues, or needle breaks, which must be repaired immediately to minimize defects.
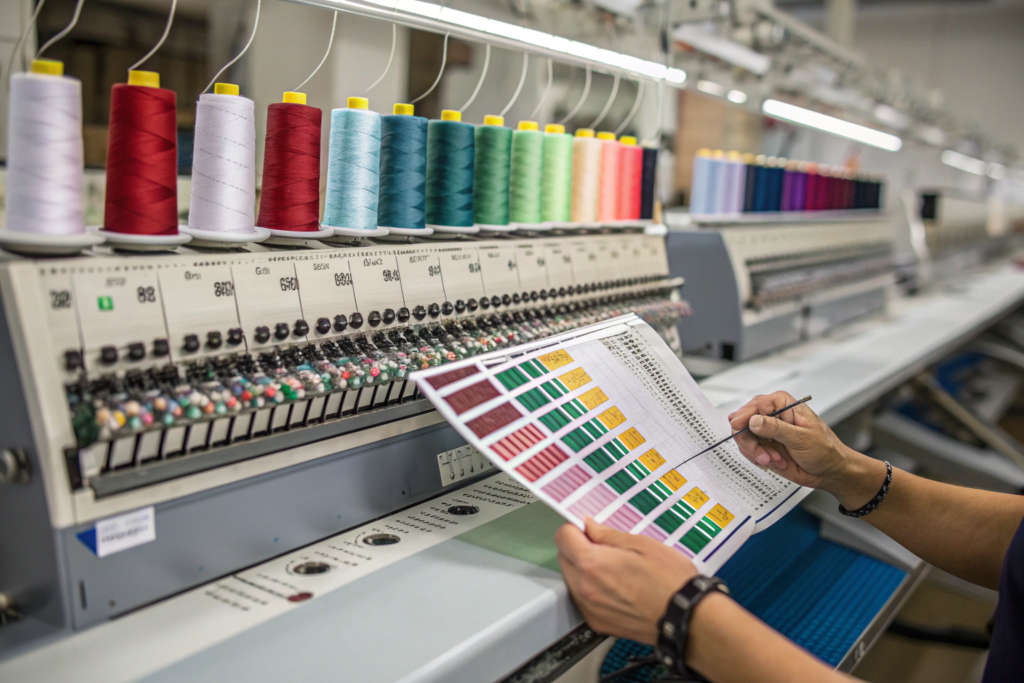
How Many Colors and Thread Types Can Be Used in One Design?
Virtually unlimited, but practicality and cost dictate choices. A single design can incorporate dozens of thread colors and types—metallic, matte, glossy, glow-in-the-dark, or even heat-sensitive threads. However, each color change requires the machine to stop, trim the old thread, and pick up the new one. A design with 30 color changes will take exponentially longer to produce than one with 5, significantly increasing cost.
The key is strategic design. Can two similar shades be combined? Can a color effect be achieved with thread mixing (using two different threads in the same needle)? For a client’s festive collection, we achieved a stunning iridescent effect by mixing a fine metallic silver thread with a royal blue polyester thread in a satin stitch. It looked like three colors but used only two production stops. Understanding the different properties of embroidery thread types from a major supplier helps in making these specifications.
What are the Most Common Machine Defects and How are They Caught?
Even on the best machines, defects occur. The most common are:
- Thread Breaks/Skips: Caused by old needles, incorrect tension, or poor-quality thread. Results in incomplete stitches.
- Puckering: Caused by incorrect stabilizer, excessive stitch density, or improper hooping tension.
- Misalignment (Jumpy Design): Caused by file errors or mechanical hiccups in the machine.
- Birdnesting (Tangled Bobbin Thread): Caused by incorrect bobbin tension or timing.
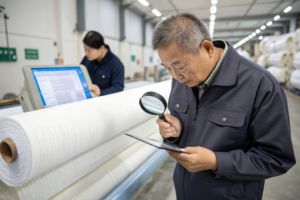
This is where Inline Quality Control (IQL) is vital. The machine minder does not just wait for alarms. They perform first-piece inspection on the initial panel off the machine, checking it against the approved strike-off. They then conduct periodic spot checks every 30-60 minutes, examining for the defects listed above. At Shanghai Fumao, we log every thread break and needle change. This data helps us predict maintenance and improve file settings for future runs. For bulk buyers, knowing the standard classification for embroidery defects helps in writing clear QC specifications.
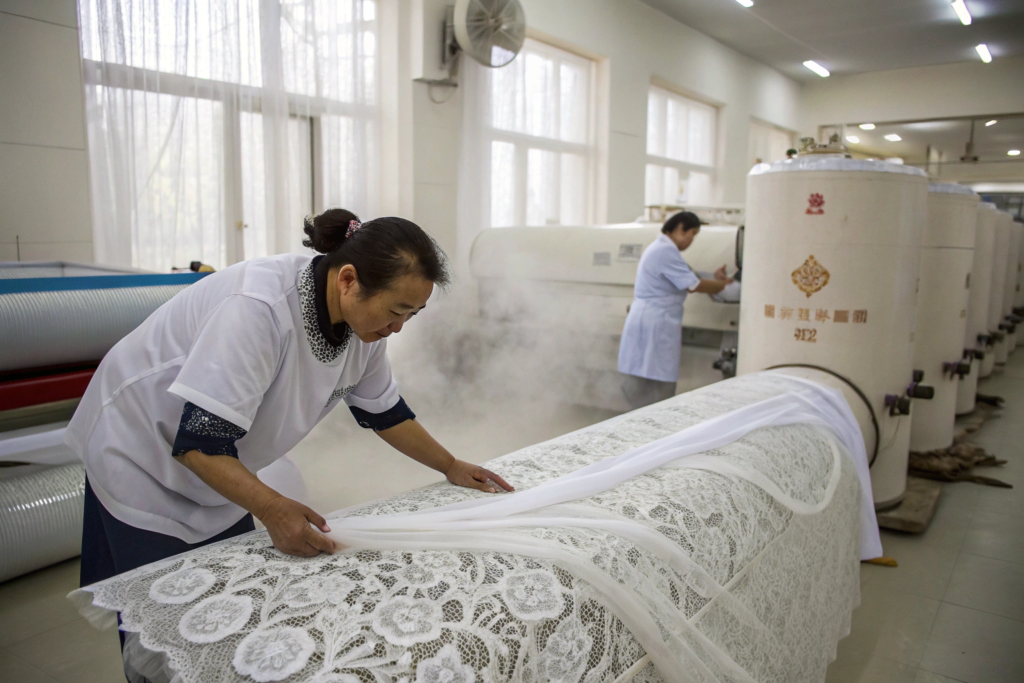
Stage 4: Finishing, Inspection, & Packaging – The Final Polish
The fabric coming off the machine is not finished goods. It’s “greige” embroidery. This stage transforms it into the luxurious product you receive. It involves removing stabilizers, washing, steaming, pressing, and meticulous inspection. This is where the final hand-feel and appearance are locked in.
The process flow is:
- Backing Removal: Tear-away backings are physically pulled off. Water-soluble backings are washed out.
- Washing & Softening: The fabric is washed to remove oils, dirt, and any residual chemicals. A softener (silicone-based is common) may be added to give the lace a smooth, desirable hand.
- Drying & Setting: Usually done at a controlled temperature to pre-shrink the fabric and set the stitches.
- Pressing/Steaming: Done on a large, flat-bed press or steam table to remove wrinkles and give a pristine, finished appearance.
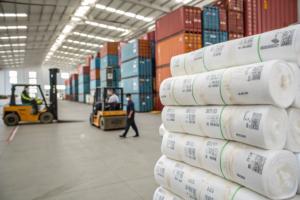
- Final Inspection & Packaging: Every meter is inspected on a light table, defects are marked, and the fabric is rolled onto tubes with protective wrapping.
Why is Final Pressing/Steaming a Critical Step for Embroidery?
Pressing does more than just remove wrinkles. It:
- Sets the Stitches: Heat helps the polyester or rayon embroidery threads relax and lay flat, locking in their shape.
- Enhances Sheen: A proper press brings out the luster in satin stitches, making the design pop.
- Improves Drape: It removes any residual stiffness from the stabilizers or washing process.
- Provides a Professional Finish: It’s the difference between a homemade look and a luxury product.
The temperature and pressure must be carefully calibrated. Too much heat can melt or glaze synthetic threads; too little leaves the fabric looking unfinished. For a velvet-based embroidered lace we produced, we used a low-temperature steam vacuum table to set the embroidery without crushing the delicate pile of the velvet base.
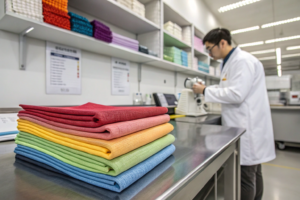
What Does a 100% Inspection on a Light Table Actually Reveal?
A final inspection on a backlit table is non-negotiable. It reveals flaws invisible under normal light:
- Micro-holes or tears in the base fabric caused by needle strikes.
- Inconsistent stitch density or thin spots in the embroidery.
- Tiny thread tails or loops that weren’t properly trimmed.
- Traces of residual stabilizer.
- Color inconsistencies across the width of the fabric roll.
Our QC team marks any defect with a small sticker. For AQL 2.5 inspections, we measure the distance between defects to determine if a roll is first-quality or must be downgraded. In our last major order for a UK retailer, this stage caught a subtle but critical “barre” effect—a faint horizontal streak caused by a slight tension variation on one machine head. Only 50 meters were affected and were cut out. This prevented a potential whole batch rejection. Detailed protocols like those found on professional inspection service guides outline this rigorous process.
Conclusion
The production of embroidered lace fabric is a profound journey from artistic inspiration to technical execution. It demystifies the “magic” and reveals it as a manageable, albeit complex, manufacturing process. Success hinges on partnering with a supplier that masters every link in this chain—digitizing, base fabric sourcing, precision machining, and artisanal finishing.
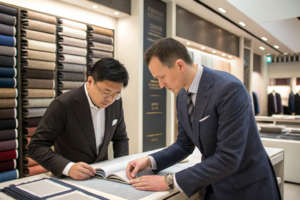
When you understand this process, you move from being a passive buyer to an informed partner. You can ask the right questions, set realistic expectations, and approve samples with confidence. You gain control over the variables that determine quality, cost, and timeline.
If you have a design that demands the texture, luxury, and dimension of embroidered lace, don’t leave its production to chance. Partner with a team that lives and breathes this process. At Shanghai Fumao, with our dedicated embroidery factories and vertically integrated control, we are built to translate your most ambitious lace concepts into flawless, bulk reality. Let’s discuss how to bring your vision to life. Contact our Business Director, Elaine, to begin the conversation: elaine@fumaoclothing.com.