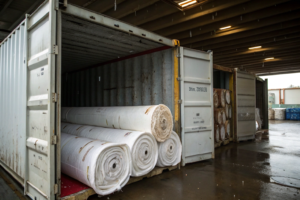
I've been in the Chinese textile industry for over 20 years, running our operations here in Keqiao. And if there's one phone call I dread receiving, it's the one that comes two weeks after a shipment lands.
You know the call.
"David, the garments don't fit. They're too small. What happened?"
I get it. You've approved the samples. You've checked the colors. You've signed off on the handfeel. But somehow, after production, the finished garment is a size smaller than it should be.
The culprit? Shrinkage.
And it's not just about the fabric. It's about how you handle it before you even lay out the cutting table. In 2024 alone, I personally helped three US-based clothing brands avoid what would have been catastrophic losses—totaling nearly $400,000 in wasted materials and rushed air freight—simply by teaching them how to properly calculate fabric shrinkage before cutting.
So today, I'm going to walk you through exactly what we do in our factory. No fluff. Just the real, practical steps we use every single day to ensure that when a garment leaves our facility, it fits exactly as intended.
What Is Fabric Shrinkage and Why Does It Destroy Knitted Garments?
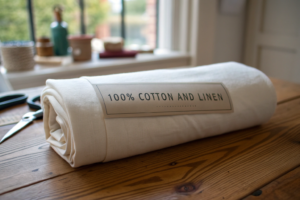
Let me start with a simple truth: all knitted fabrics shrink.
I don't care if it's organic cotton jersey from the most expensive mill in Italy or basic polyester blend from a local trader. If it's a knit, it will move when it gets wet and when it gets hot.
The difference between a successful garment production run and a disaster is knowing how much it will shrink and compensating for it before the cutter touches the fabric.
What Actually Happens Inside a Knitted Fabric When It Shrinks?
Think of a knitted fabric like a very complicated, interconnected spring system.
When we knit the fabric on circular knitting machines—and we run about 45 of them here—the yarn is under tension. It's being stretched, pulled, and looped into those characteristic interlocking stitches we call a knit structure.
Now, imagine stretching a rubber band and then tying it into a knot. When you let go, what happens? The rubber band wants to return to its original, relaxed state. That's exactly what your knitted fabric wants to do.
But here's the thing that most people don't understand.
Shrinkage isn't just about the fibers. It's about the construction of the fabric.
In 2023, we had a client from Seattle who was launching a line of high-end yoga wear. They were using a beautiful modal-spandex jersey. The fabric felt incredible. They sent us a sample from their previous supplier and said, "Match this shrinkage."
We ran our standard test. The sample shrank 8% in length and 5% in width.
The client panicked. "That's too much! Our pattern maker didn't account for that!"
Here's what I explained to them. With a modal-spandex blend, the shrinkage isn't a defect. It's the fabric relaxing. The spandex, when it's knitted under tension, holds the fabric in a stretched state. When it hits water and heat, the tension releases, and the spandex pulls the fabric back to its natural, unstretched state.
That 8% shrinkage wasn't a problem. The problem was that their pattern maker didn't know it was coming.
We ended up re-making their samples with a pre-washed fabric. The final garments fit perfectly. But they lost three weeks and paid for express shipping to make their launch date.
How Can a 5% Shrinkage Wreck an Entire Production Run?
Let me give you a real-world example.
Last year, a European sportswear brand placed an order with us for 5,000 pieces of a cotton-polyester fleece hoodie. The pattern was designed for a relaxed fit. The shrinkage on the fabric we supplied, based on our lab tests, was 4% in length and 3% in width.
But here's what happened at their cut-and-sew factory in Vietnam.
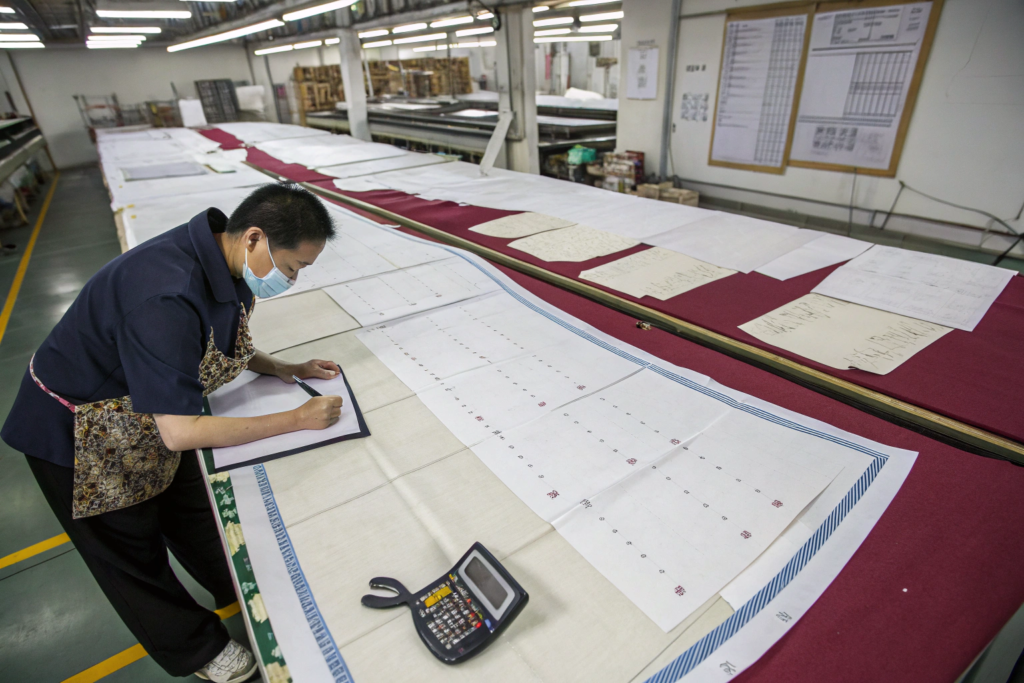
The cutting department received the fabric. They laid out the marker, which is the pattern layout for cutting. They cut all 5,000 pieces based on the pattern dimensions without adding any shrinkage allowance.
The garments were sewn. They looked great. They passed inspection.
Then they were washed.
And suddenly, the 4% shrinkage in length meant the hoodie body was now two inches shorter than intended. The sleeves were an inch and a half shorter. The relaxed fit became a fitted look. Some sizes were completely unwearable.
The brand had to discount the entire collection by 40% to move it. They lost about $85,000 on that single order.
Here's the kicker.
If their cutting department had simply taken the fabric shrinkage data we provided—which was clearly marked on every roll's QR code—and adjusted the marker length by 4% and the width by 3%, that entire disaster would have been avoided.
So when I say shrinkage destroys knitted garments, I mean it. And I've seen it happen more times than I can count.
How Do I Perform the Shrinkage Test Correctly in My Own Facility?
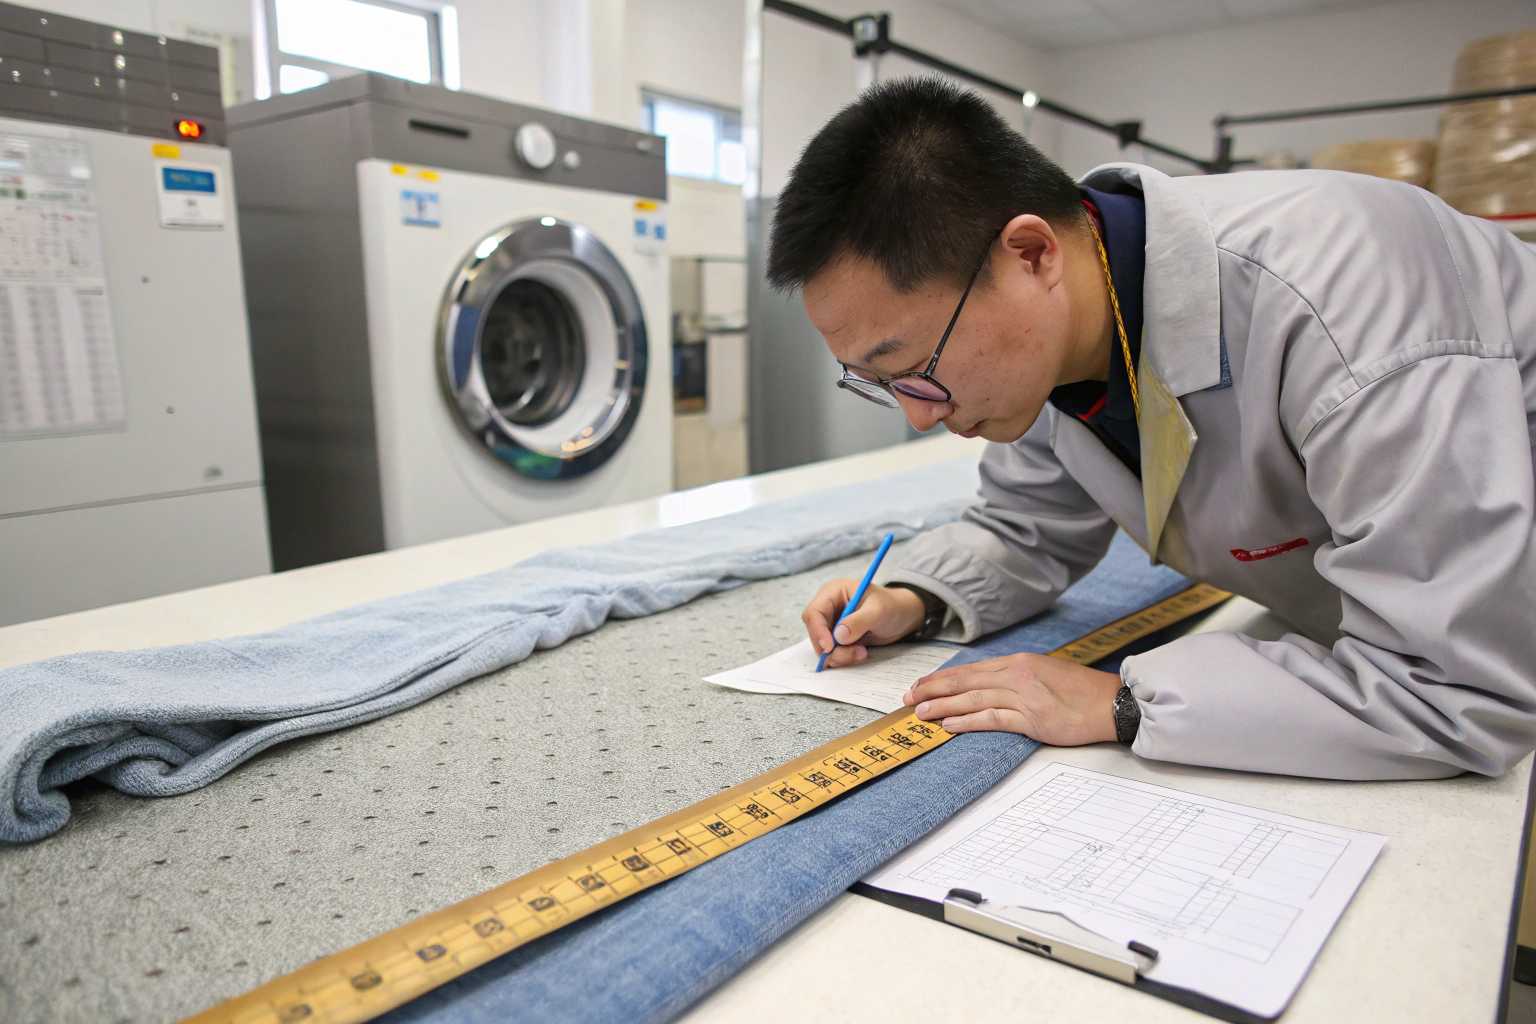
I'm going to tell you exactly how we do it in our lab. And I want you to know that you can do this yourself. You don't need a million-dollar lab. You just need a ruler, a marker, a washing machine, and a few hours.
But you have to do it right.
What Equipment and Conditions Do I Need for an Accurate Test?
Let me be specific.
First, you need a sample of the fabric that's representative of the actual production rolls. Don't grab a random off-cut from the edge of the roll. The fabric at the edges is often under different tension than the center.
Here's our standard procedure:
-
Cut three samples. We always test three separate pieces from different parts of the roll. Why? Because even on a well-knit roll, there can be variations. One sample from the beginning, one from the middle, one from near the end.
-
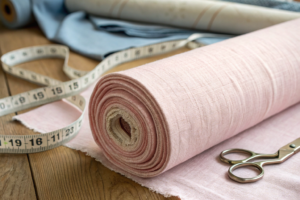
Mark a precise square. We use a 50cm x 50cm square. Some people use 40cm x 40cm, but I prefer 50cm because the larger measurement gives you more accurate percentage calculations. Use a permanent marker that won't wash out. Draw the lines clearly.
-
Measure and record. Before washing, measure the length and width of your marked square in three places each. Record the smallest measurement. We use a metal ruler—don't use a soft tape measure, it stretches and gives you inaccurate readings.
-
Wash and dry. And this is where most people mess up.
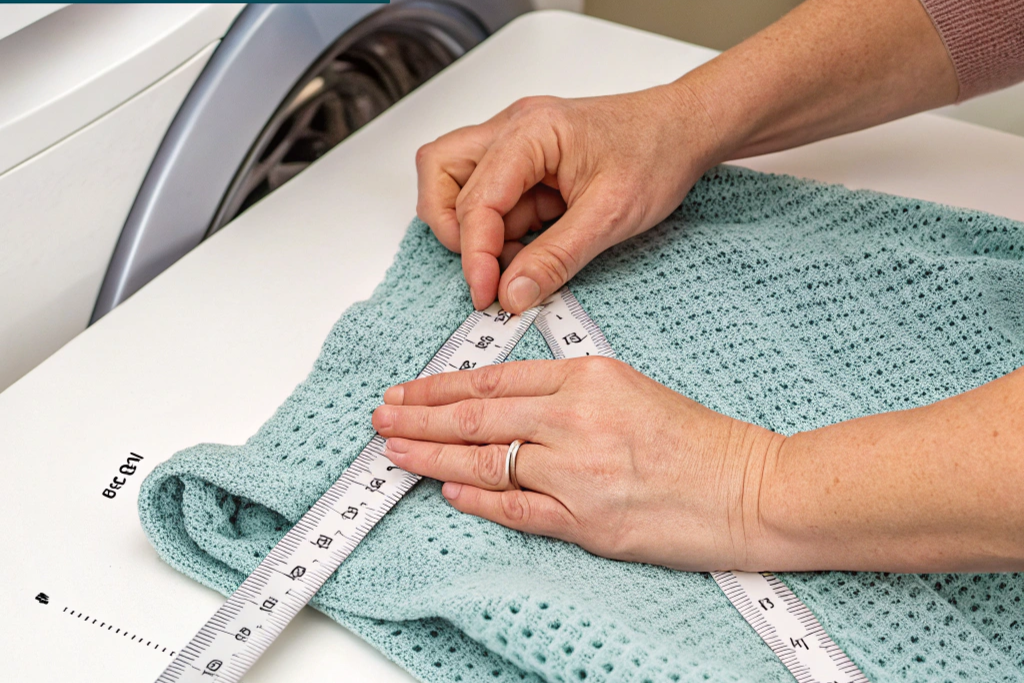
You must wash the fabric exactly the same way the final garment will be washed by the end consumer.
If it's a t-shirt that will be machine washed and tumble dried, you wash it on a normal cycle with warm water and tumble dry it on medium heat.
If it's a piece that will be dry cleaned, you dry clean your test sample.
If it's a garment that the care label says "hand wash cold, lay flat to dry," you do exactly that.
I can't tell you how many times a client has called me and said, "David, your fabric shrunk 10%!" And when I ask them how they tested it, they say, "I just threw it in the washer and dryer on high heat."
Well, yes. If the care label says cold wash and low heat, and you blast it with hot water and high heat, you're going to get more shrinkage. The fabric isn't the problem. The test method is the problem.
- Measure again. After drying, lay the sample flat on a table. Don't stretch it. Just let it relax. Measure your marked square again. Record the length and width measurements.
Now you have your numbers.
The formula is simple:
Shrinkage percentage = (Original measurement - Final measurement) ÷ Original measurement × 100
So if your original 50cm length becomes 48cm after washing, your shrinkage is (50-48) ÷ 50 × 100 = 4%.
How Do I Handle Spandex and Other High-Stretch Knits?
This is where it gets tricky. And this is where I see even experienced factories make mistakes.
Spandex, or elastane, behaves differently than cotton or polyester. It has memory. It wants to snap back.
When we test spandex-containing fabrics—and we do a lot of them here for athleisure and swimwear—we have to consider something called "growth."
Growth is different from shrinkage.
Shrinkage happens when the fabric contracts from its original dimensions. Growth happens when the fabric is stretched and then fails to return completely to its original dimensions.
For a yoga pant with 20% spandex, the shrinkage test alone isn't enough. We also do a stretch and recovery test.
Here's how we do it:
We mark a 50cm x 50cm square. We stretch it to 80cm (which is 60% stretch) and hold it for 30 minutes. Then we release it and measure how much it recovers after 30 minutes, after 1 hour, and after 24 hours.
If it doesn't return to within 2% of its original length, we know there's a growth issue that will cause bagging at the knees or seat after wear.
In 2023, we had a client from Australia who was making compression leggings. They came to us after their previous supplier shipped fabric that looked great on the roll but bagged out after three wears.
We tested the fabric they'd been using. The shrinkage was fine—only 3%. But the growth? After stretching, the fabric only recovered 92% of its original length after 24 hours. That meant the leggings would stretch out and never come back.
We reformulated the fabric for them with a higher-quality spandex and adjusted the knitting tension. The new fabric had 3% shrinkage and 98% recovery. Their customers stopped complaining about baggy knees. And they've been ordering from us ever since.
What Shrinkage Allowances Should I Give My Pattern Maker and Cutting Department?
Once you have your shrinkage numbers, the real work begins.
And this is where a lot of brands drop the ball. They have the data. They have the test results. But they don't communicate it to the people who need it—the pattern maker and the cutting department.
How Much Do I Add to the Pattern?
Let me give you a practical example from our operations.
We supply a lot of fabric to a large cut-and-sew factory in Bangladesh that makes t-shirts for several European brands. They have a very systematic approach to shrinkage, and it works.
When they receive a new knitted fabric, they test it. Then they take the shrinkage percentage and apply it to their patterns before the marker is made.
Here's the simple rule they use:
If the shrinkage is 4% in length, they add 4% to the pattern length.
If the shrinkage is 3% in width, they add 3% to the pattern width.
But here's the catch—and this is important.
You add it to the pattern, not to the cutting dimensions.
What's the difference?
If you just cut the fabric 4% longer, but the pattern hasn't been adjusted, the proportions of the garment change. The neckline might shift. The armhole might end up in the wrong place.
You need to give your pattern maker the shrinkage data before they grade the pattern. They need to build the shrinkage allowance into the pattern itself, not just stretch the fabric when cutting.
I had a client in Chicago learn this the hard way in early 2024. They were making a run of 2,000 organic cotton polo shirts. They knew the fabric shrank 5%. They told their cutting department to "cut 5% longer."
The cutting department added 5% to the body length and sleeve length but didn't adjust the placket or the collar pattern.
The result? After washing, the body and sleeves were the right length, but the collars were too tight because the placket had shrunk in width, and the collar pattern hadn't been adjusted to compensate.
They had to rip out 2,000 collars and re-sew them. It cost them an extra $12,000 in labor and delayed their shipment by three weeks.
So my advice? Give the shrinkage data to your pattern maker. Let them do their job. They know how to build that allowance into the pattern so every piece of the garment—the collar, the cuffs, the placket, the pockets—shrinks proportionally.
What About Different Fabric Constructions—Jersey, Rib, Interlock?
This is where having a real textile background matters.
Different knitted structures behave differently.
Let me show you with a table from one of our internal training sessions.
| Fabric Structure | Typical Shrinkage Pattern | Why |
|---|---|---|
| Single Jersey | Higher in length than width | The open, unbalanced structure allows more relaxation in the length direction |
| Rib Knit | Higher in width than length | The alternating knit and purl stitches create more stability lengthwise but more movement widthwise |
| Interlock | Most balanced, usually 2-4% in both directions | The double-knit structure creates a more stable, balanced fabric |
| French Terry | Varies by backing loops | The looped back creates uneven tension that releases differently than the face |
| Spandex Blends | Length shrinkage is usually the biggest concern | The spandex, when tension is released, pulls the fabric back in the length direction more aggressively |
Here's a real example.
In 2022, we supplied a New York-based streetwear brand with a 2x2 rib fabric for their cuffs, collars, and waistbands. The shrinkage test showed 2% in length but 7% in width.
Their pattern maker, who was used to working with jersey, added 7% to the width of the rib pieces.
Good decision.
If he hadn't, the cuffs would have been too tight after washing. The waistbands would have been uncomfortable. The whole collection would have felt wrong.
Because he used the correct data for the specific fabric structure, everything fit perfectly. The collection sold out.
That's the difference between a production disaster and a successful launch.
How Can I Work with My Supplier to Prevent Shrinkage Issues Before They Start?
I'm not just a fabric supplier. I'm a problem solver.
And the biggest problem I see is that brands treat shrinkage as something that happens after the fabric arrives. They test it, they panic, and then they scramble to adjust.
But the best time to deal with shrinkage is before the fabric is even knitted.

What Questions Should I Ask My Fabric Supplier Before Ordering?
I'm going to give you the questions I wish every client would ask me before they place an order.
Because if you ask these questions, you're not just buying fabric. You're buying a predictable outcome.
Question 1: "What is your standard shrinkage testing protocol?"
If the supplier hesitates, that's a red flag. A good supplier should be able to tell you exactly how they test—what washing temperature, what drying method, how many samples, what equipment.
At Shanghai Fumao, we use the AATCC 135 standard for woven fabrics and the AATCC 150 standard for knitted fabrics. We can tell you our protocol in about 30 seconds because we do it every single day.
Question 2: "Can you provide shrinkage data from the actual production batch, not just lab dips?"
This is crucial.
A lab dip sample is usually knitted on a small sample machine under different tension than the production knitting machines. The shrinkage on a lab dip might be 3%, but on the production run, it could be 5% because the production machines run at higher tension.
We always test production samples. When we ship a roll of fabric, every roll has a QR code. You scan it, and you can see the shrinkage test results from that specific batch. That's real data. Use it.
Question 3: "Have you pre-shrunk the fabric, or do I need to account for residual shrinkage?"
Some fabrics are pre-shrunk in the finishing process. We have a compacting machine—it's like a big steam press that relaxes the fabric and reduces the potential for shrinkage.
But not all fabrics can be compacted. And even with compacting, there will still be some residual shrinkage.
If we compact a jersey fabric, we can reduce shrinkage from 8% to 3%. That's a huge difference. But we need to know that you need it compacted. It's an extra step, and it costs a little more, but for many clients, it's worth it.
How Can We Build Shrinkage Control into the Supply Chain from Day One?
Let me tell you about one of my favorite client relationships.
A Japanese brand—I won't name them, but they make very high-end basics—has been working with us for five years. And they have what I consider the perfect approach to shrinkage.
Here's what we do together:
-
They give us their shrinkage target upfront. For their cotton jersey t-shirts, the target is 3% maximum shrinkage in both directions after five home laundries. They don't want to discover after the fact. They tell us the goal from day one.
-
We engineer the fabric to meet that target. This means selecting the right yarns. A lower-twist yarn will shrink more. A combed cotton will behave differently than a carded cotton. We adjust the knitting machine settings—the stitch length, the yarn tension, the cylinder gauge. We work with our dye house to use the right finishing processes. Compacting. Sanforizing for wovens. It's all part of the plan.
-
We test at every stage. Yarn test. Grey fabric test. After dyeing test. After finishing test. After compacting test. We don't wait until the end to find out if we hit the target. We check at every step and adjust as we go.
-
They test when the fabric arrives. They do their own verification. And because we've been communicating the data throughout the process, there are no surprises.
Last year, for one of their production runs, we hit the 3% target on the first try. No adjustments. No delays. Their pattern maker already had the allowance built in. The garments came out perfect.
That's not luck. That's a process.
And it's a process that starts with communication between the brand and the supplier.
So if you're a brand or a cut-and-sew factory reading this, here's my challenge to you.
Stop treating shrinkage as something that happens to you.
Start treating it as something you control.
Ask the questions. Run the tests. Communicate the data. Build the allowances into your patterns.
And find a supplier who will do the work with you, not just ship you fabric and hope for the best.
We've been doing this for over 20 years. We have the lab, we have the equipment, and we have the experience to help you get it right.
Conclusion
Fabric shrinkage isn't a mystery.
It's a measurable, predictable, and controllable aspect of garment production.
I've watched brands lose tens of thousands of dollars because they skipped the shrinkage test. I've seen perfect collections ruined because the pattern maker didn't get the data they needed. And I've seen too many shipping containers held up because the finished garments didn't fit and the buyer refused to accept them.
But I've also seen the opposite.
I've seen small brands outcompete massive corporations because they paid attention to the details. They tested their fabric. They communicated with their pattern makers. They built allowances into their markers. And when the final garments came out of the wash, they fit exactly as intended.
That's the kind of partner I want to be.
Not just someone who sells you fabric.
Someone who helps you avoid the disasters, navigate the complexities, and build a product that your customers will love and wear again and again.
If you're working on a knitted garment collection and you want to make sure your fit is right from the first piece, I invite you to reach out.
Let's talk about your fabric. Let's test it together. Let's build a plan that accounts for every percentage point of shrinkage before the cutter ever touches the fabric.
Because at the end of the day, a garment that fits is a garment that sells. And that's what we're both here to do.
Ready to get your shrinkage right? Contact our Business Director, Elaine, directly at elaine@fumaoclothing.com to discuss your upcoming production runs. We'll help you test, plan, and execute with precision.